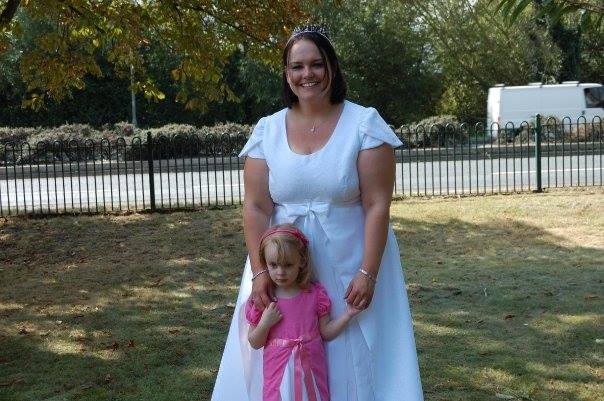
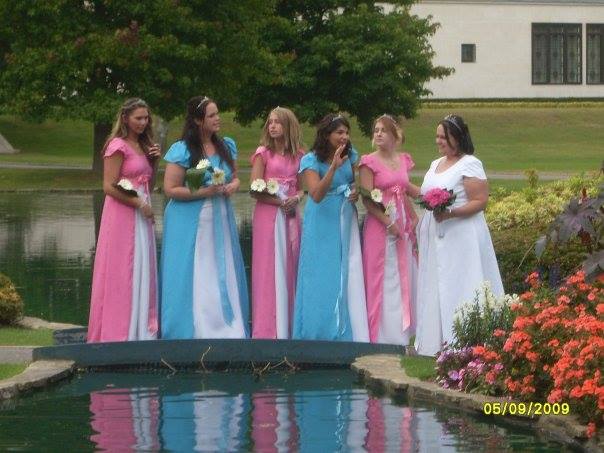
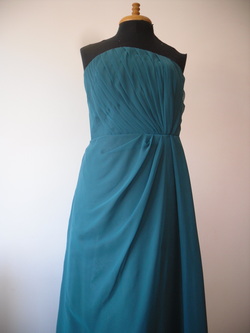
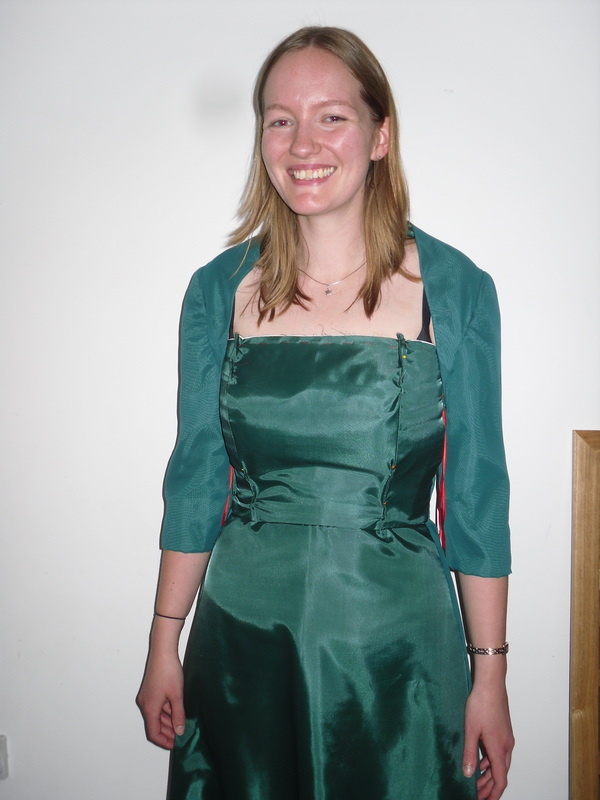
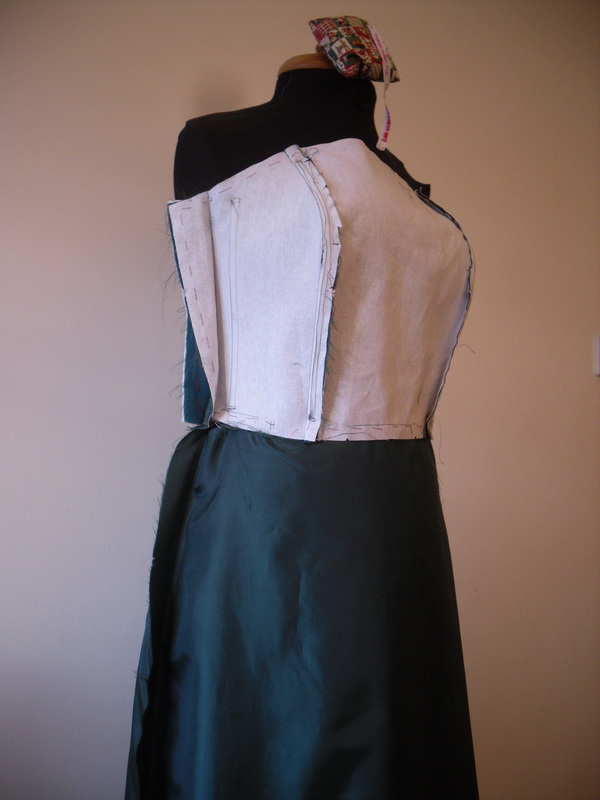
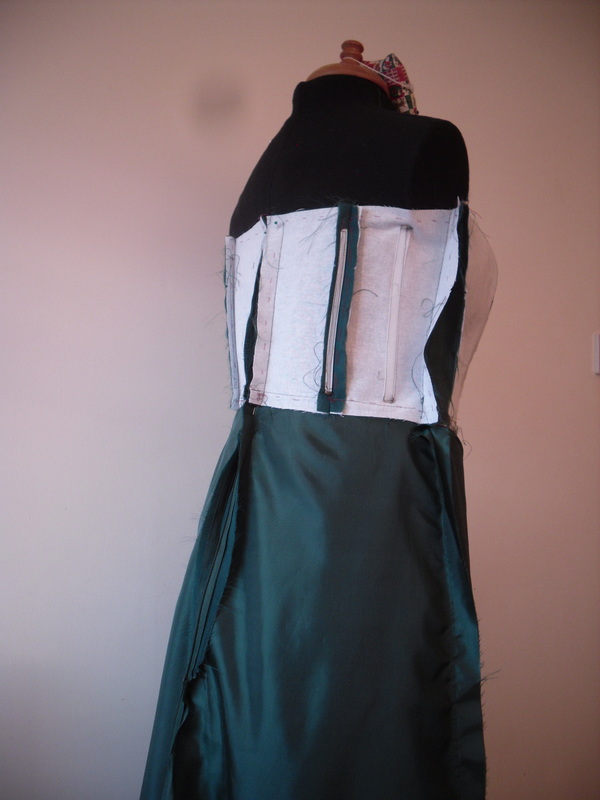
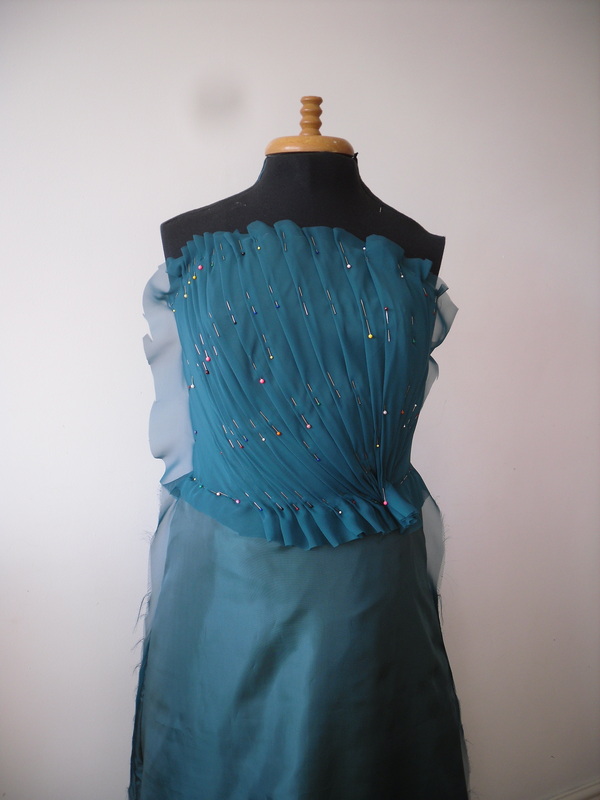
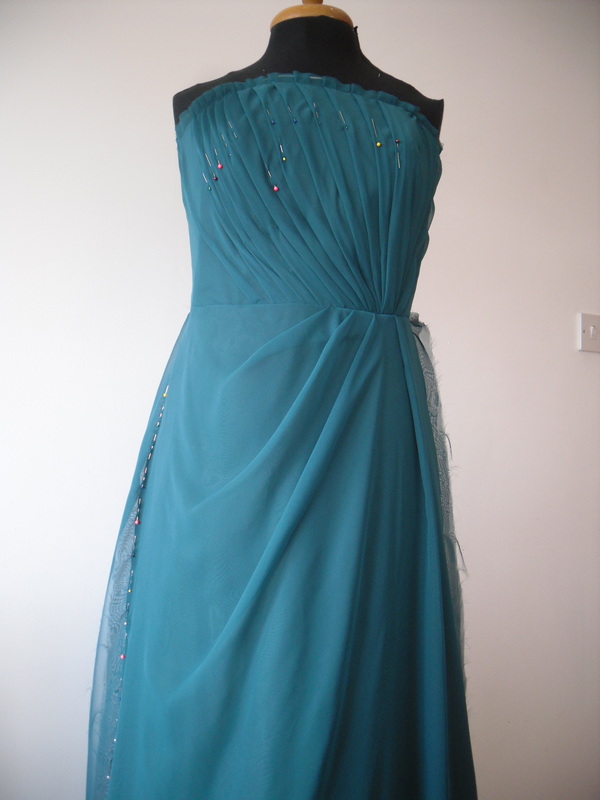
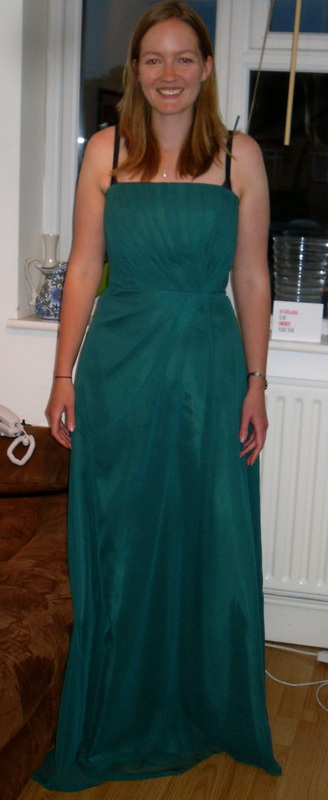
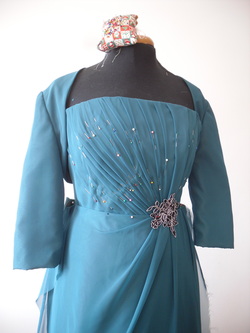
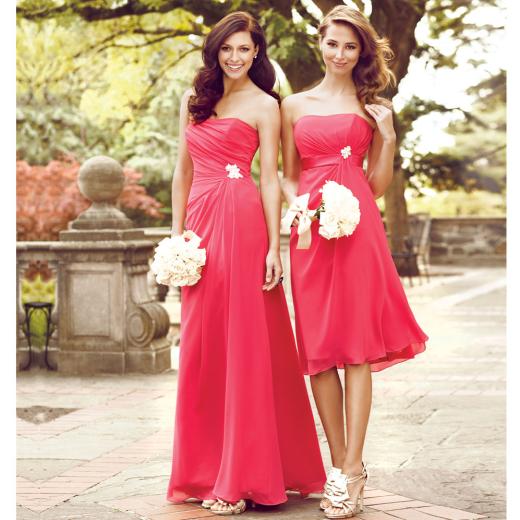
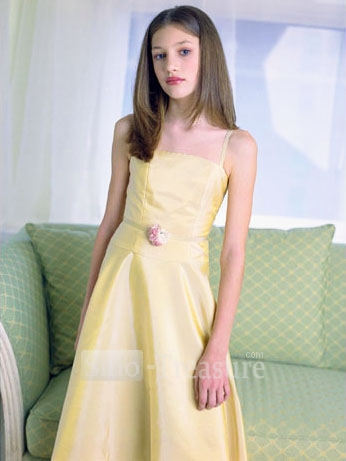
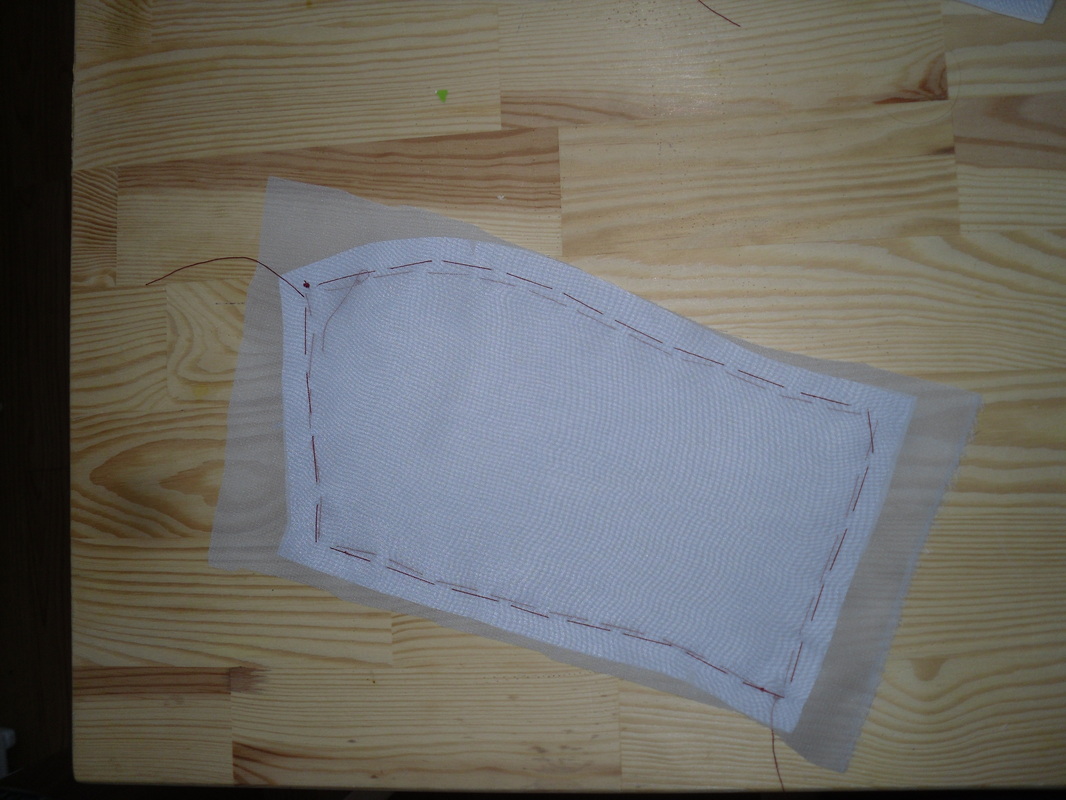
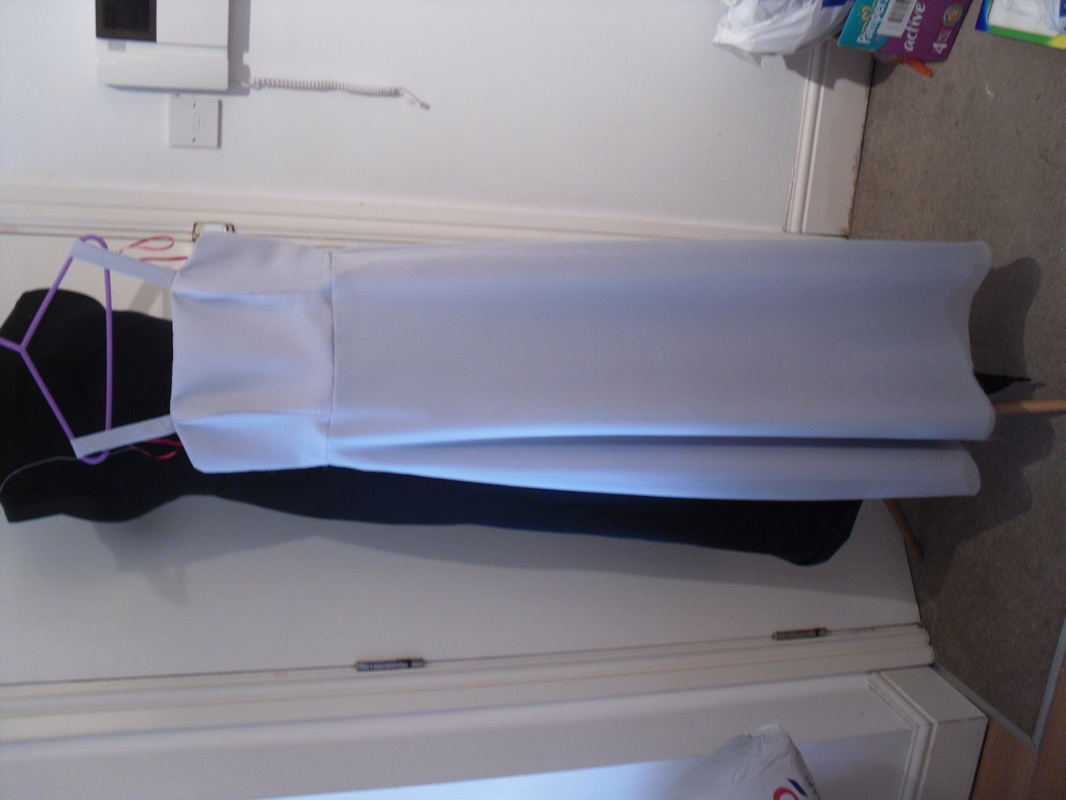
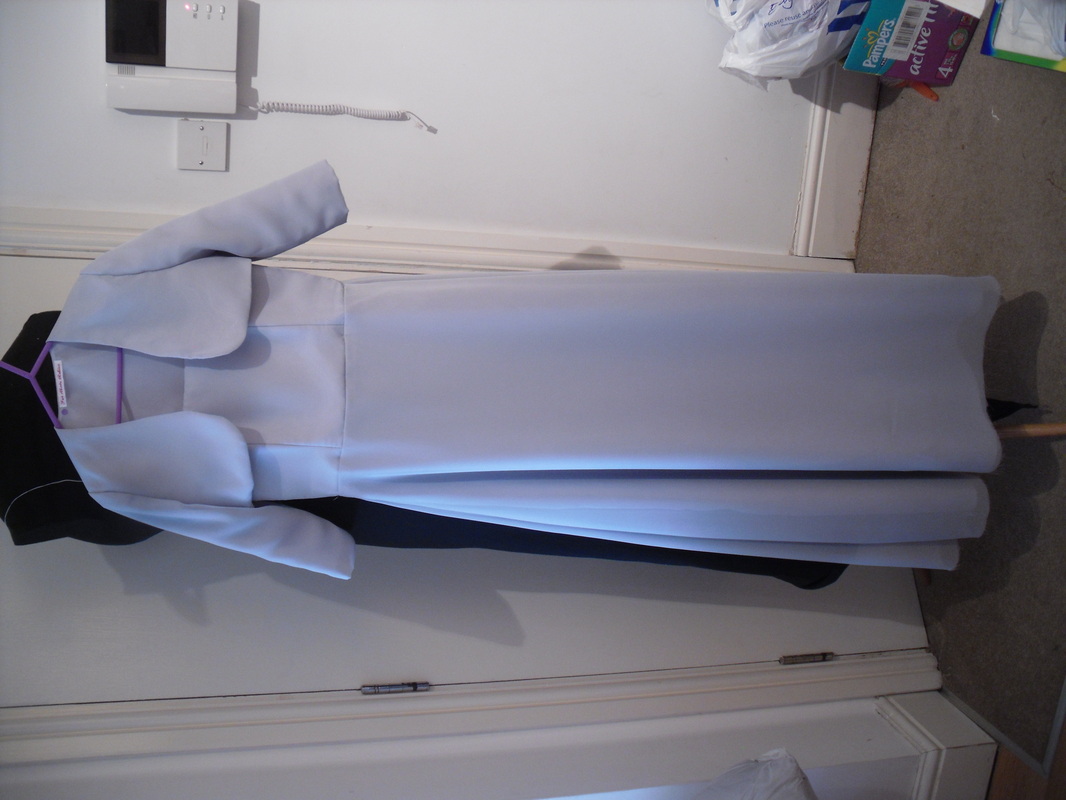
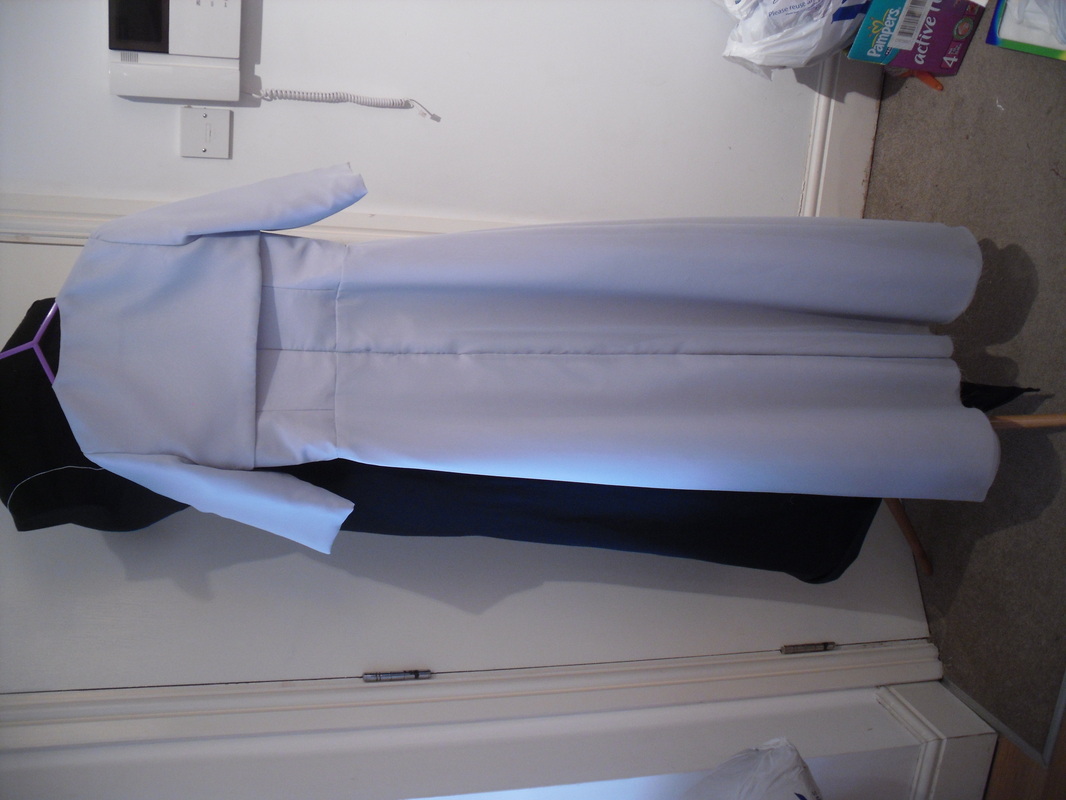
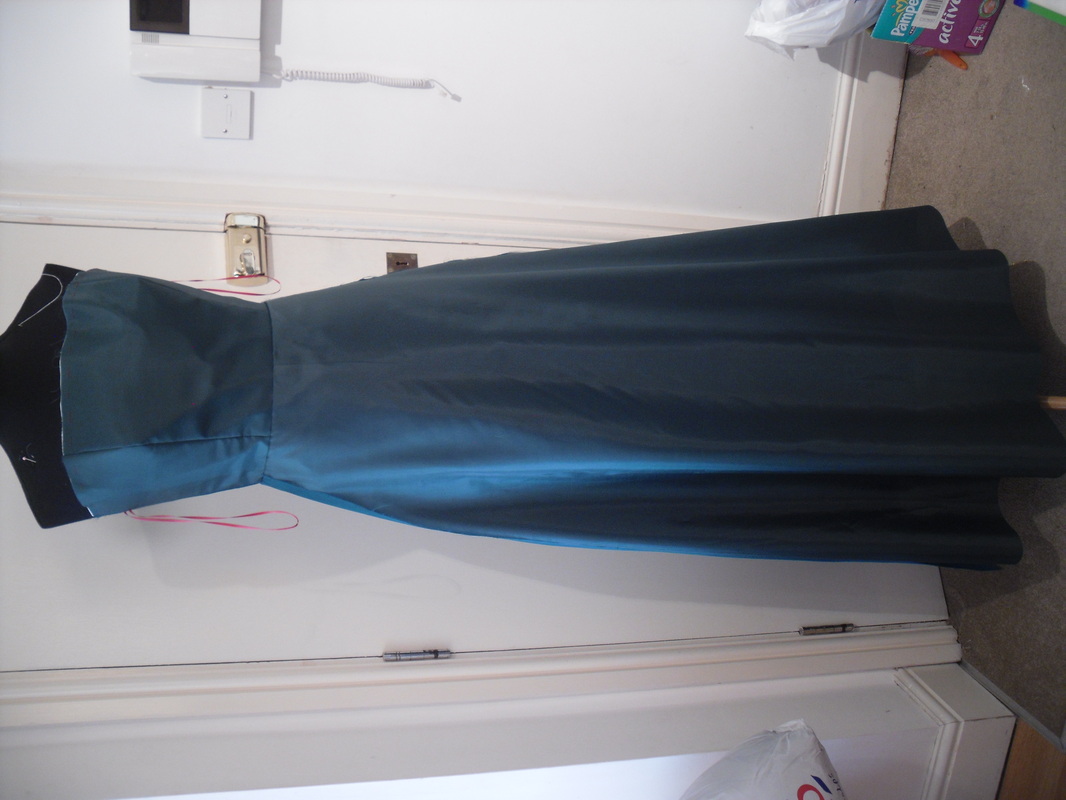
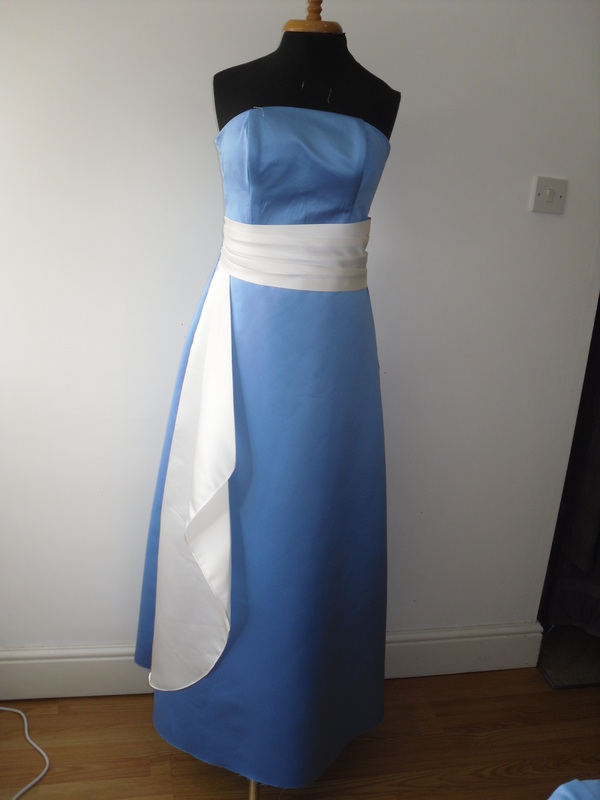
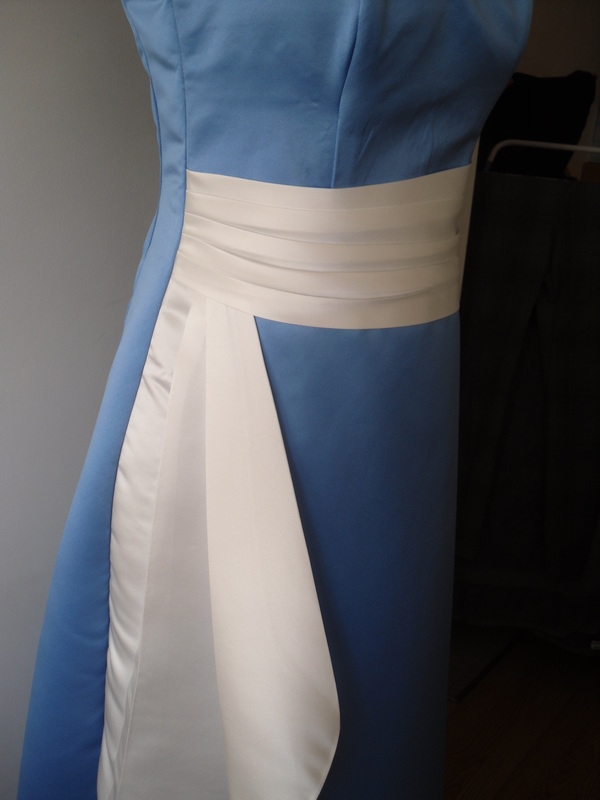
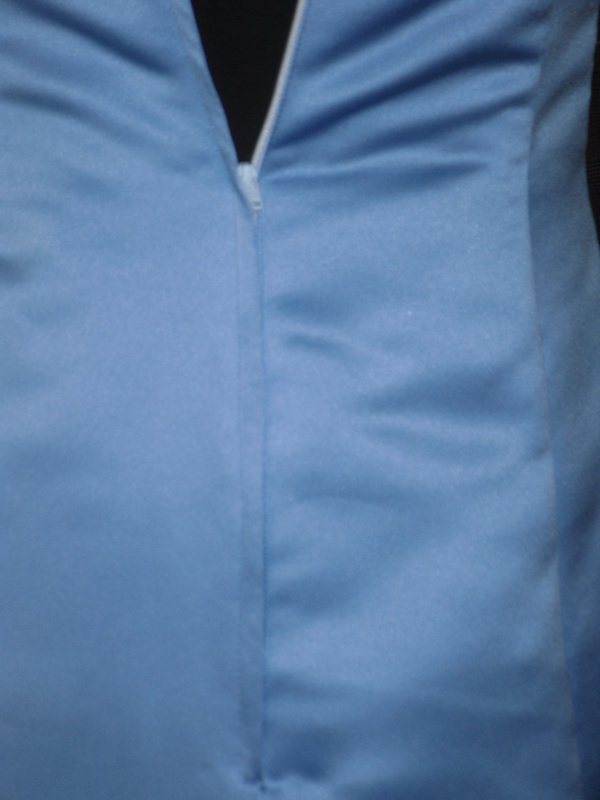
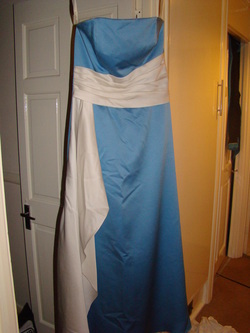
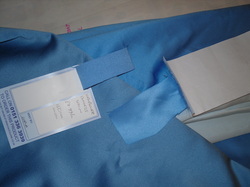
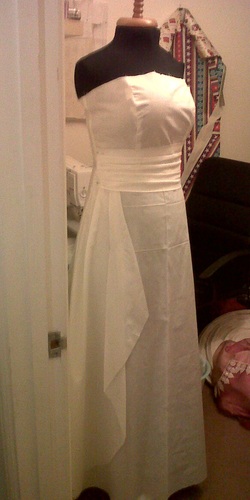
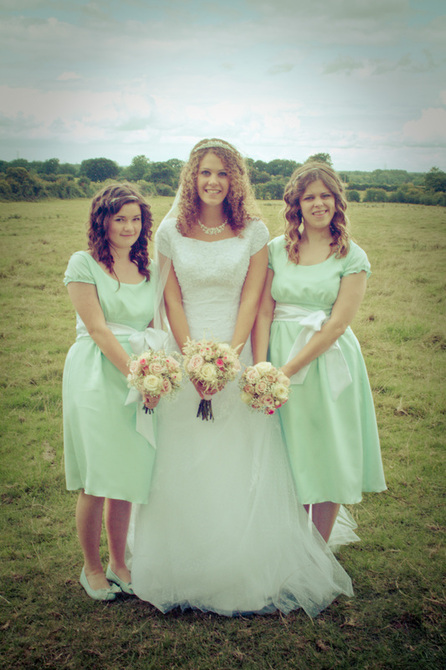
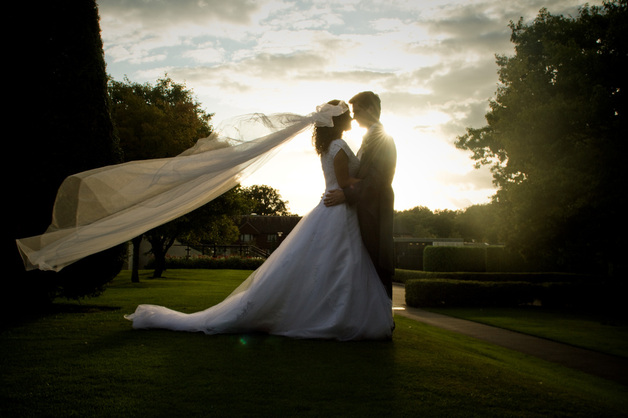
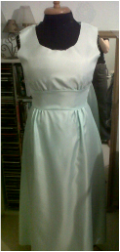
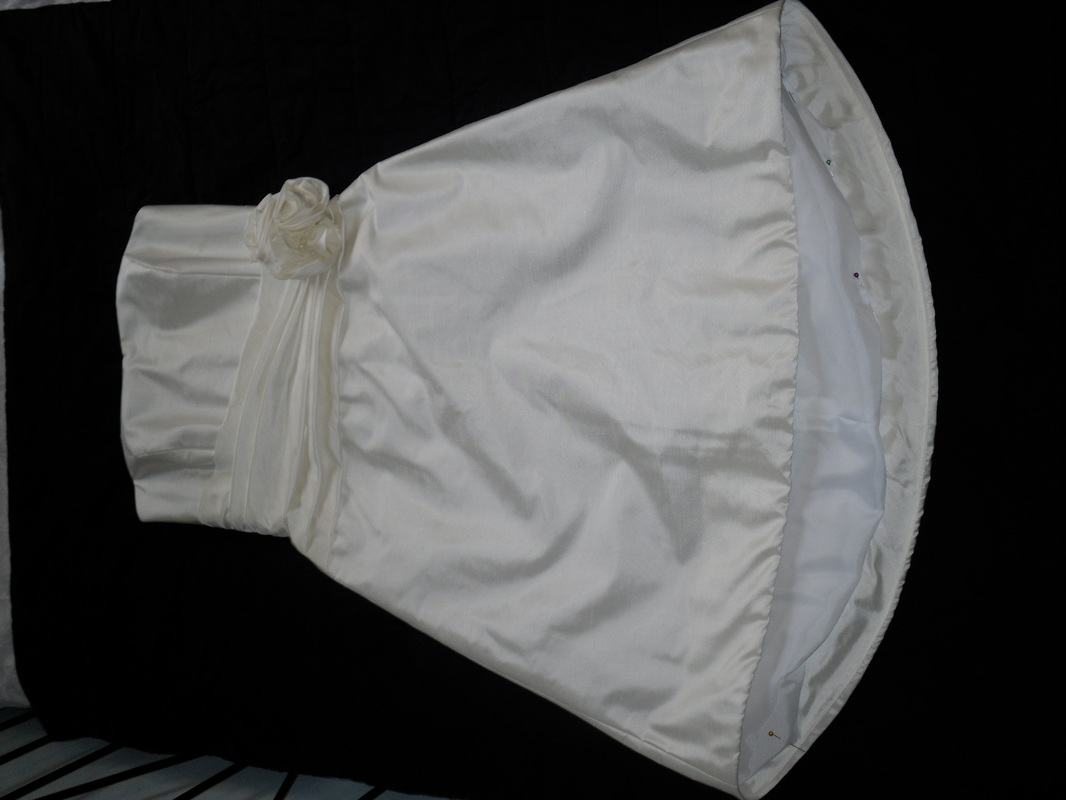
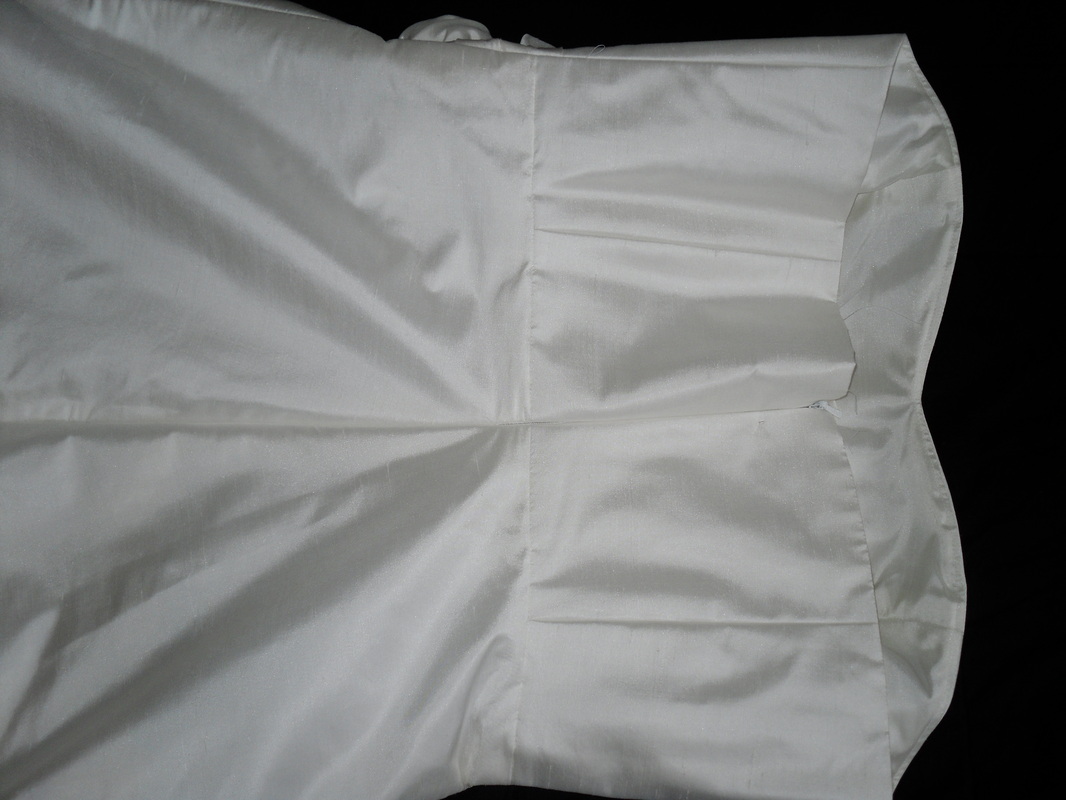
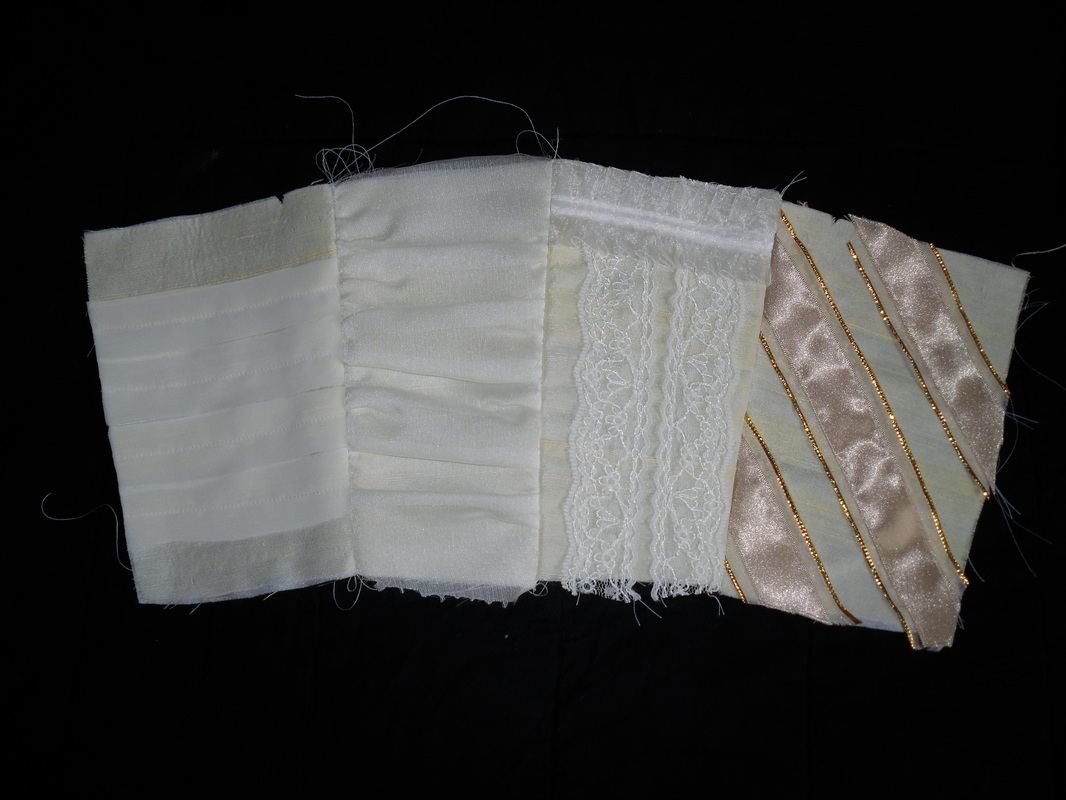
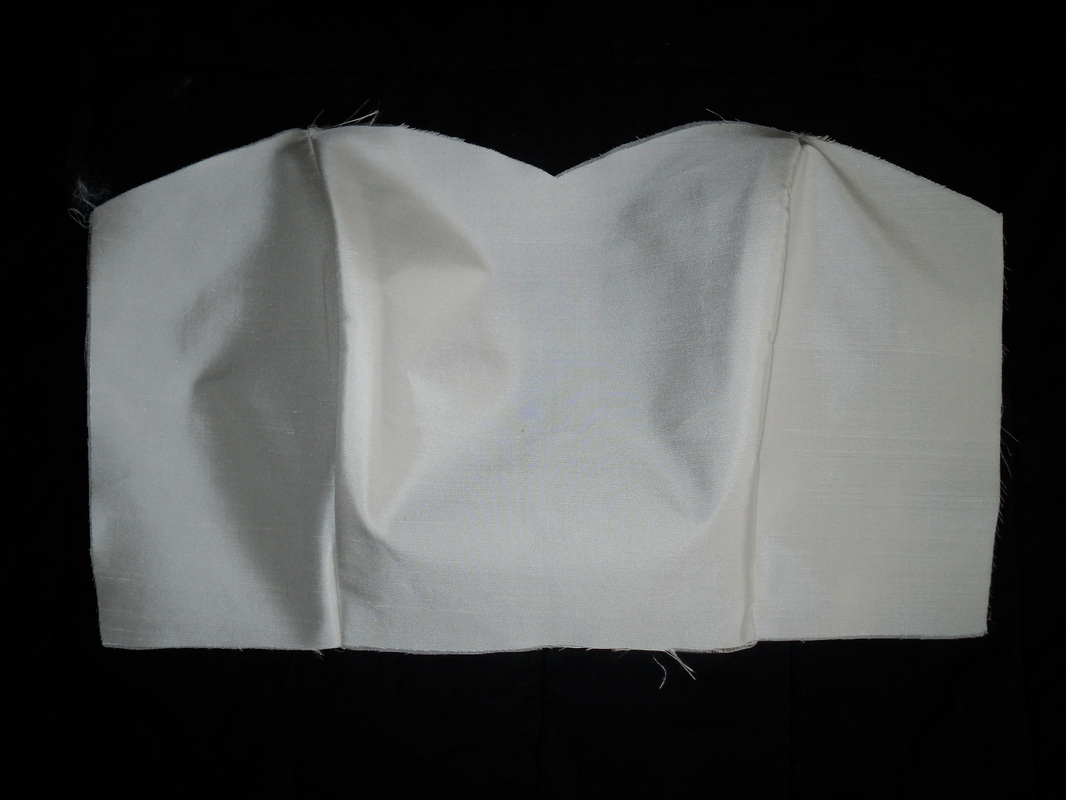
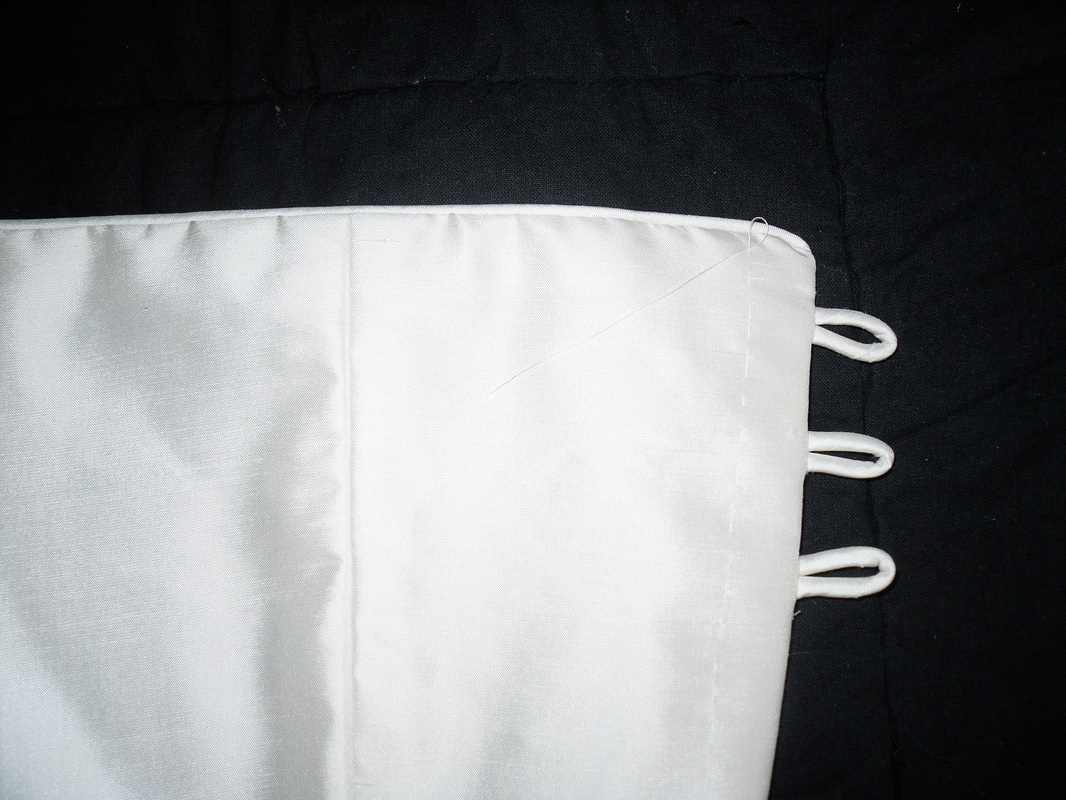
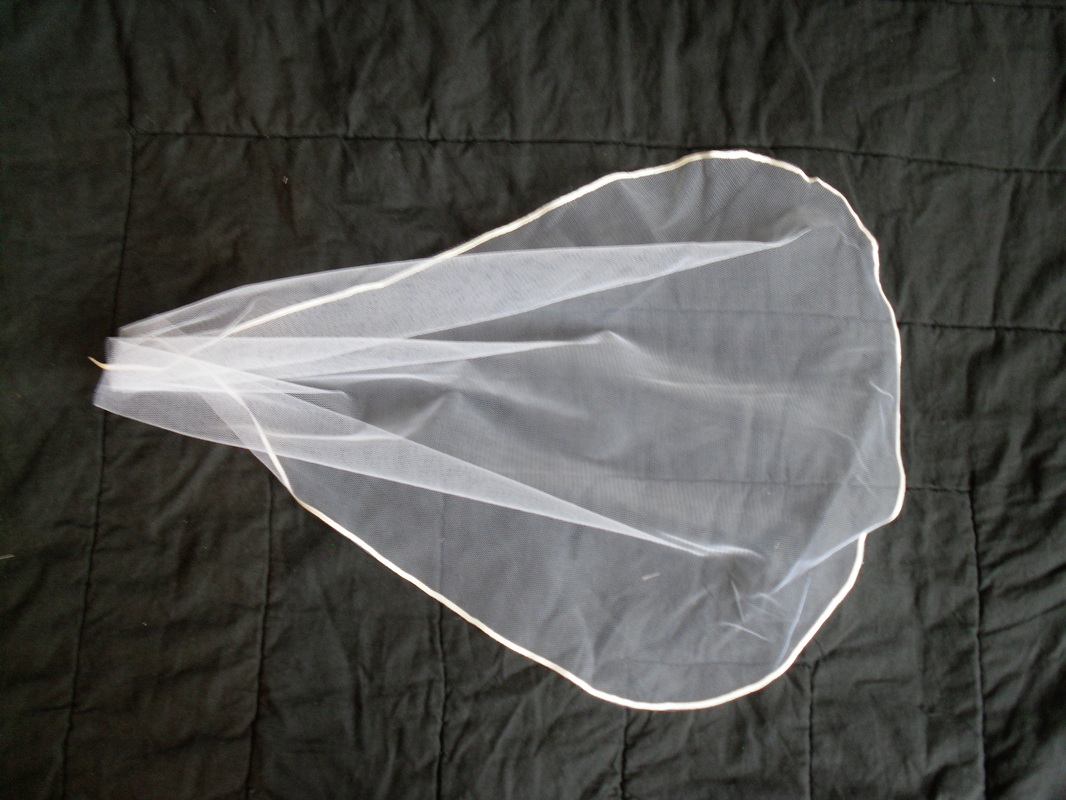
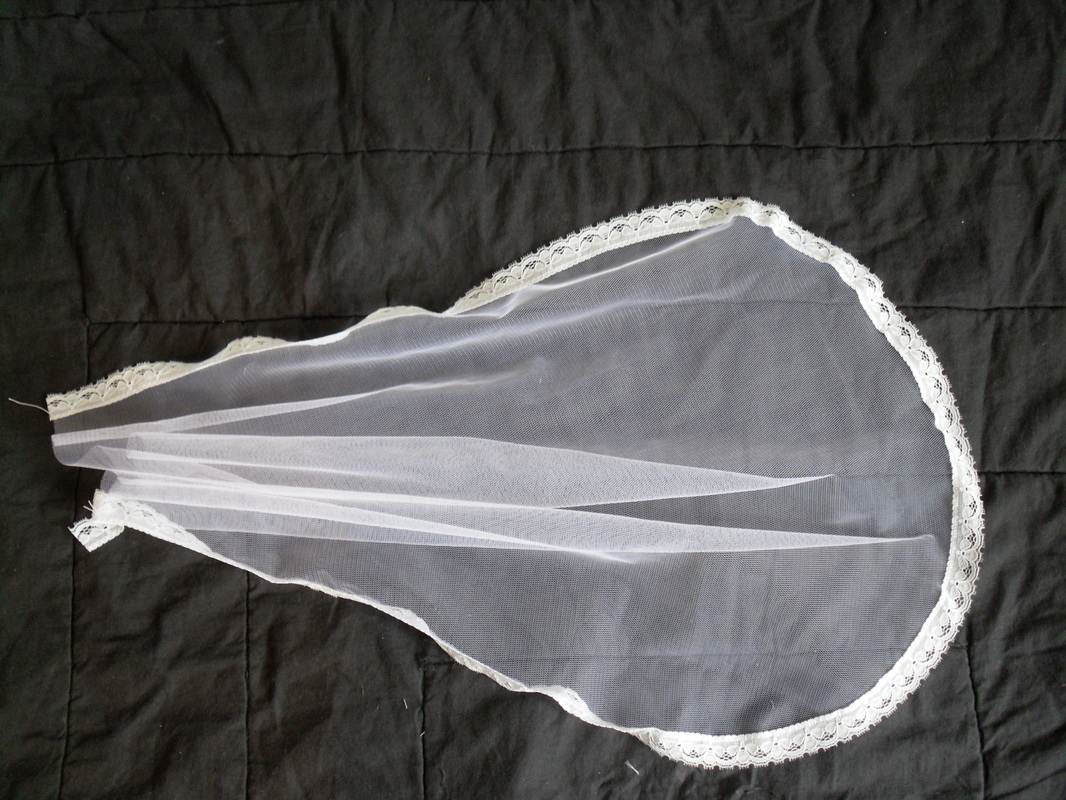
Around 5 years ago I made 6 bridesmaids dresses and a wedding dress for a friend. She really wanted dresses inspired by the curtain dress in Enchanted, and we had fun visiting the local fabric shops to pick out the fabric. This was the first wedding dress I made and I was pretty nervous about doing it but she begged me so I gave it a go, and looking at the pictures now I'm proud of the results, and excited to hopefully make some more soon :) She just shared these pictures on Facebook so I thought I'd share them with you.
0 Comments
Since I now have the green chiffon dresses completed I thought I'd give you a step by step guide to adding the chiffon fronts. 1. Fitting the bodice - pin the bodice to fit as needed 2. Sew the alterations as pinned 3. With alll the alterations done, you can add boning to the seam allowance as needed. Front... 4. ...and back I wanted to make sure I had a nice firm foundation to drape the chiffon over 5. Pin the chiffon overlay to the bodice, pleating as desired to follow the curves of the bodice. I started with a large square of chiffon and used the bias as my starting line down the right hand seam. 6. Once your happy, unpick the seams to detach the bodice front from the dress and machine stitch around the edges to attach the chiffon. Remove the pins from the edges and trim the excess chiffon to the edges of the bodice. Hand sew the pleats down everywhere you have a pin. 7. Attach the skirt front to the bodice, leaving a gap of about an inch at each side. Sew the seams in the skirt underlayer. 8. With the dress on the form, pin along your desired skirt seams (wrong sides together). Be careful to follow the hang of the fabric and not to create puckers. If possible, leave it hanging over night and check the seams are still straight in the morning. Use lots of pins and place them in the direction you'll be sewing - in my case I'll sew top to bottom, so the point of each pin is at the top. 9.Sew the seams with the edge of your foot on the line of pins. Try not to stretch the fabric as you sew - just guide it through. 10. Trim the seam allowance to about 1/8". This stuff frays quickly so I suggest not trimming till you're ready to stitch. 11. Turn your skirt so its right sides together and pin along the seamlines in the same direction as before, making sure to enclose the seam allowance 12.Sew the lining together with the same alterations as the dress. Add a waist stay - a piece of gross grain ribbon sewn to the waistline from side back seam to side back seam 13. At the final fitting we will mark where to add hooks and eyes to the waist stay. The waist stay will fit snuggly around the waist and will support the dress. 14. Attach the lining to the dress in the usual way, not forgetting to tack the waist seam of the lining to the waist seam of the dress so that the waist stay can do its work. And that's it! `Thanks to Lizi for letting me use her photos :) Just a quick update on these - all the girls have been for their fitting now, no disasters :) They all needed taking in (a little or a lot) but I intentionally ere'd on the larger side as pinning something snug is soooo much easier than having to unpick a seam to let it out! Now that I've got the fitting correct, I can start adding the chiffon layer, and its all rather exciting! I found the canvas was buckling a little at the center front and back, so I added more boning on the front and back seams then put the dress on the dummy and just started pinning. The bodice overlay uses a large bias cut square, and starting from the top left I've pinned tucks, aiming them all toward the right front seam and spreading them further apart as I worked accross the bodice. A few of the tucks don't reach all the way to the top, and these are used to shape the fabric without the need to cut and sew. There's lots of pins in still, every pin will be replaced with a single tiny stitch to keep everything in place. The black and silver at the waist is some left over lace I had, just to see what it will look like with a it of sparkle there. The skirt piece was flat pattern drafted, cutting and slashing the front skirt pattern piece to create 3 diagonal and one vertical pleats. I'm really please with how this is turning out, can't wait to get it all put together! I've been very busy working on bridesmaids dresses! I'm making 6, 3 juniors in silver and 4 adults in dark green. Both designs are made from lined chiffon, and the adults are going to have a draped front and skirt, with a diamonte detail which the bride will be providing. There will be matching boleros with 3/4 length sleeves. Working with chiffon hasn't been as bad as I feared so far. I've hand tacked the chiffon to each of the jacket and bodice pieces BEFORE cutting, to prevent slippage. For the skirt pieces, I've layered the chiffon OVER the lining piece, weighted it down and then cut. I've used a very fine needle in the machine and french hems on the skirts, always stitching top to bottom (I've seen bottom to top recommended, but I'm putting in invisible zips and have waistlines to match, so I need to sew from top down after the zip is inserted. So far, no pulls or puckering so its all good :) The junior bodices are interlines with a medium weight sew in interfacing for stability as the heaviest fabric in this dress is the lining fabric. The adult bodices are interfaced with collar canvas, and are boned at the side front and side back. The adults dresses have no chiffon overlay at the front yet, as the plan is to do all the fitting adjustments on the bare shell and then drape the chiffon over each dress individually so it follows each girls curves nicely. So far, I have the 3 adults ready to fit, 1 junior completely done and another well under way :)
After 3 attempts at making the drape (first one the iron spat black stuff on, second attempt I cut out back to front (so it would've been correct fot the left side of the dress, but had the dull side out on the left)) I finally have the bridesmaid dress outer layer put together! The picture on the right is there because it was my first attempt at melting the ends of rigelene boning to stop the ends sticking into the wearer - surprisingly easy to do, although I was also surprised how easy it is to set fire to! I'm finding this project time consuming, not because its complicated but because I constantly have to go back and correct my own sloppy habits which I've developed sewing for myself - for example I pinned in the zip before overlocking the seam, sewing for me I'd have shrugged my shoulders and just overlocked below the zip, but I want to 'up' my standard so it was unpinned, overlocked and pinned in again. Ironing with a press clothe is another one which is taking a bit of practise! I had a fitting of the muslin, and I've realised I don't realy know how much to allow for the thickness of the bridal satin. At the moment I've sewn all the seams at 5/8" except the side seam, which I've sewn a scant 1/4" - I figure that gives me 1 1/2" to play with, which should be plenty. If not, I have plenty of blue fabric to recut the front bodice and should be able to make any adjustments needed there. Now to contact the bride and organise another fitting! 'C' contacted me and asked if I could make her a bridesmaids dress - sure! But what makes it a bit more complicated is that she already has dresses for two of her bridesmaids, and wants a third one to match! Here's the picture she sent me. The two dresses she had were slightly different shades, so she was happy to have a third shade for the third dress, so I wasn't too worried about matching fabric (its duchess satin by the way). Matching the fabric turned out to be way more of an effort than I expected - I tried fabric land, John Lewis and tatters, no luck - they all hade baby blue, dark blue and teal, but nothing in between - I guess this colour isn't one of this seasons must haves. I turned to the internet for help, and requested samples from two place - bridallace,co,uk and calicolaine.co.uk. Bridal lace was particularly helpful, sending not only the swatch I requested but 3 similar blues in duchess stin. Both companies privided really good matches (I was so excited to see them, I'd just about given up by that point), but the calico laine offering ws half the price, so thats what we ordered. There has so far been quite a lot of hassle with the order - they get the benefit of the doubt so far, but if it doesn't work out to my satisfaction I'll tell you all about it ;) And last but not least, here's my toile of the dress. I started with Simplicity 4655 (Out of Print) as I had it to hand but made a whole load of changes! I added a waist seam and merged the three front panels into one at the front, and changes the back to have two panels on each side instead of three. The waist section was probably the trickiest to draft, I started with a rectangle wide enough to go round the front of the dress, and then measured and marked up each side where each pleat should fall. What I didn't realise was how much curve the uneven pleats were going to add! I ended up with a piece which was much too short, so I cut it up the middle and added another couple of inches. In fact in these pictures its still a little too short, it stretches seam to seam but there's no seam allowance left. The drape I drafted by drawing the chape of the original drape on a piece of paper, complete with pleats and overlaps. I then traced each layer seperately, cut them out and stuck them together in 'unfolded' format. This worked out perfectly first time! Here is a shot of the completed bridesmaids dresses,. I also made my sisters veil - a very simple design finished with a single row of stitching, but it looks pretty amazing!
The pattern is vogue 8469, the fabric is chinese satin from fabric land and they will have white sashes at the waist. Thats about all I have to say except that so far, the pattern has gone together nicely. Just wanted to prove I have actually been sewing! I have 2 to make and I'm about a third of the way through :) So this week I went on a 3 day bridal sewing course at the Alison Victoria sewing school. I learned a little but gained a lot of confidence when I realized that I already knew about most of the tricks, even if I'd never tried them. So this set of picture is of a 1/4 size wedding dress I made on the course. The bodice section is interlined with medium weight collar canvas. Bones are sewn down the center (not the seams) of the side front and side back collar canvas panels before putting them together with the silk. Everything is pressed before assembly and then pressed ONLY on the seams during construction - I've suddenly recognised the value of a tailors ham and a seam roll, they always seemed rather useless before. The dress is assembled as a complete front and a complete back and then put together, so that any fitting adjustments can be made easily. There is a concealed zip, put in by attaching one side, doing the zip up, pinning and sewing a 1cm section at the waist and the doing the zip up to check the match. Once the waist seams match, the remainder of the zip is sewn in. Finally, the centre back seam is sewn from a few mm below the zip and the seam allowances attached to the zip at the bottom. The skirt is interlined with dress net (this is what gives the swishy noise) to help stop it wrinkling and provide shape. Because the net can distort it must be hand tacked to each skirt piece around all edges - not as long a job as it sounds. Be careful ironing afteThe bottom of the skirt is finished with a 10cm bias strip and horsehair braid, then allowed to turn naturally (not forcing it to turn on the seam line, and do not press!) and tacked to the net interlining. The lining is silk for the bodice section and acetate for the skirt - silk + silk = static. A ribbon is machine stitched to the waistline from side back to side back, and fastened with a button or hook and eye to keep the dress from slipping down. The tops are sewn together, understitched and then the waist seam allowances are hand tacked to secure. The lining is turned to be the same length as the dress and then lifted to 2/3rd of the way up the bias band and tacked down, allowing a pleat to form. Some more samples - 4 different ways of decorating a panel, a quick way of boning a bodice (useful for prom dresses and bridesmaids) and a back panel with piped edge and corded roleux button loops. Apparently adding the chord makes the loop sit happily around a shanked button, which is a useful tip - I altered a wedding dress for someone years ago and had to make the loops so tight you could hardly do them up before they'd stay done up. Below are 6 different veil finishes. Veils can be cut circular and gathered down the middle, Oval and gather about 2/3rd of the way up, or U shaped and gathered along the top edge. They are attached to hair slides and its the responsibility of the hairdresser to put them in (not the dressmaker). The 4 options for the length of a veil are shoulder length, waist length, hem length or cathedral (train) length. Apparently a cathedral length train with crystals sewn on can retail for £400 - that's probably £360+ of profit.
|
AuthorMy crazy costuming, sewing and maybe other stuff too blog! Hopefully others can learn from my mistakes and I can learn from your comments :) Hey you! ;)According to the stats people are actually visiting this site - I'd love to know who you are so please leave comments!
Archives
June 2017
Categories
All
|