So this week I went on a 3 day bridal sewing course at the Alison Victoria sewing school. I learned a little but gained a lot of confidence when I realized that I already knew about most of the tricks, even if I'd never tried them.
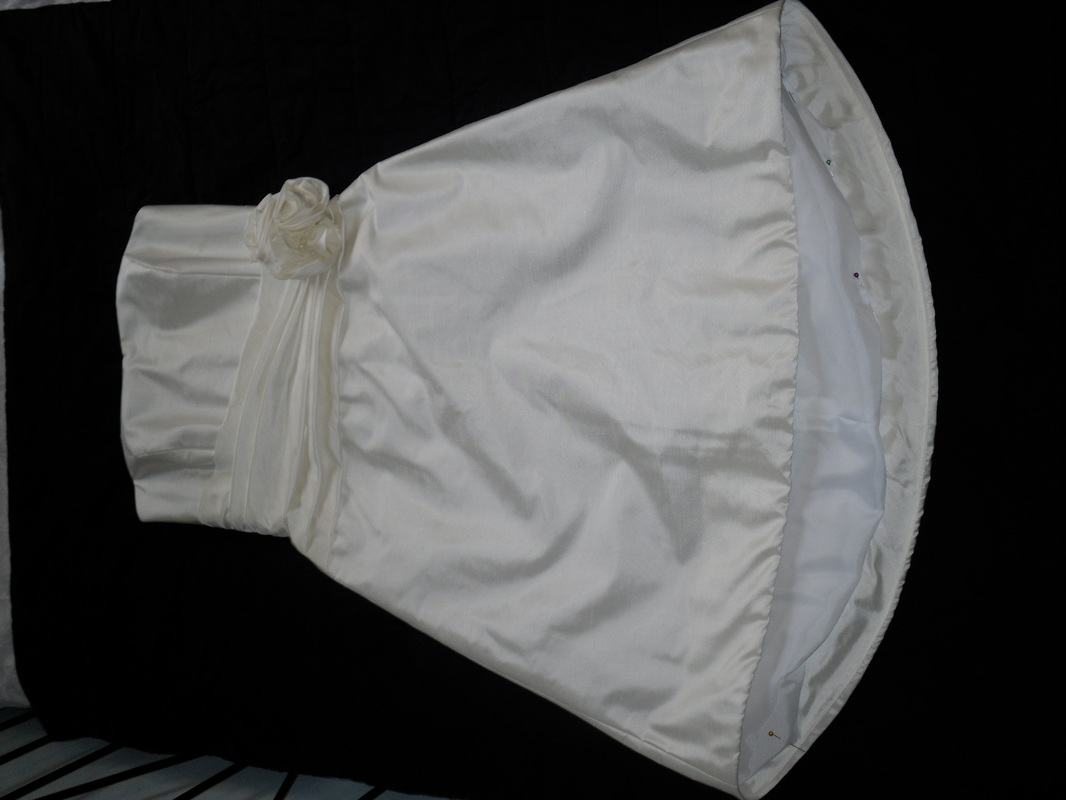
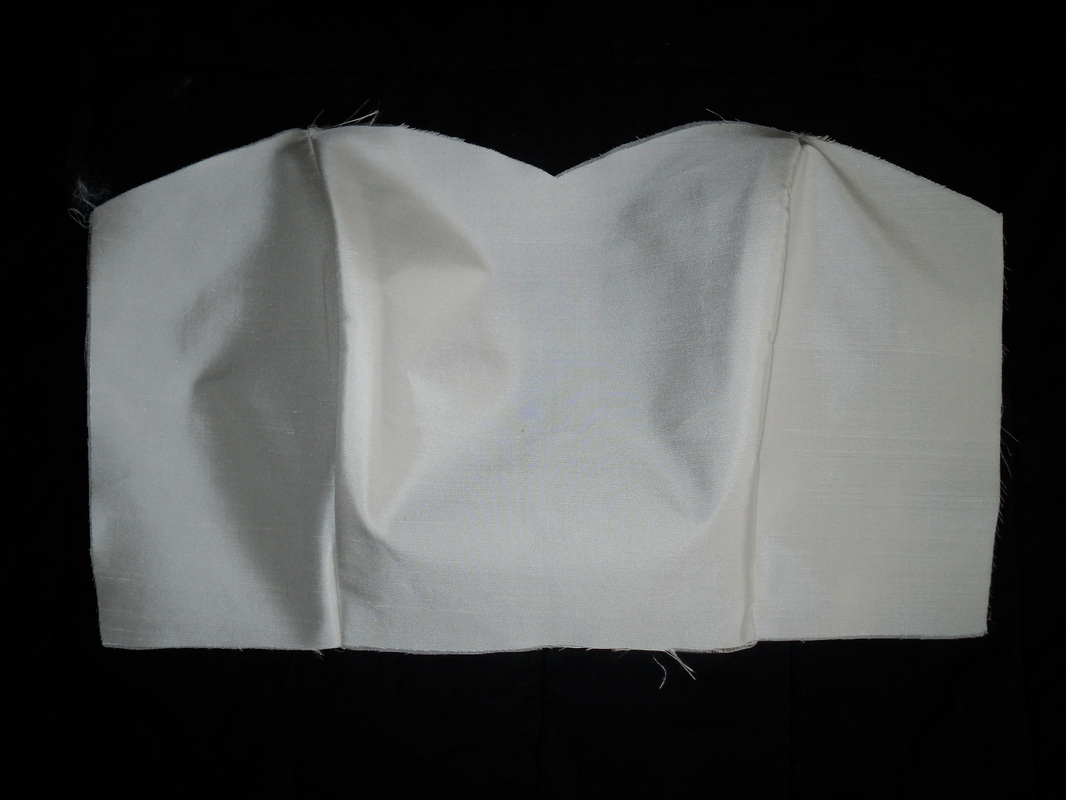
So this set of picture is of a 1/4 size wedding dress I made on the course. The bodice section is interlined with medium weight collar canvas. Bones are sewn down the center (not the seams) of the side front and side back collar canvas panels before putting them together with the silk. Everything is pressed before assembly and then pressed ONLY on the seams during construction - I've suddenly recognised the value of a tailors ham and a seam roll, they always seemed rather useless before.
The dress is assembled as a complete front and a complete back and then put together, so that any fitting adjustments can be made easily. There is a concealed zip, put in by attaching one side, doing the zip up, pinning and sewing a 1cm section at the waist and the doing the zip up to check the match. Once the waist seams match, the remainder of the zip is sewn in. Finally, the centre back seam is sewn from a few mm below the zip and the seam allowances attached to the zip at the bottom.
The skirt is interlined with dress net (this is what gives the swishy noise) to help stop it wrinkling and provide shape. Because the net can distort it must be hand tacked to each skirt piece around all edges - not as long a job as it sounds. Be careful ironing afteThe bottom of the skirt is finished with a 10cm bias strip and horsehair braid, then allowed to turn naturally (not forcing it to turn on the seam line, and do not press!) and tacked to the net interlining.
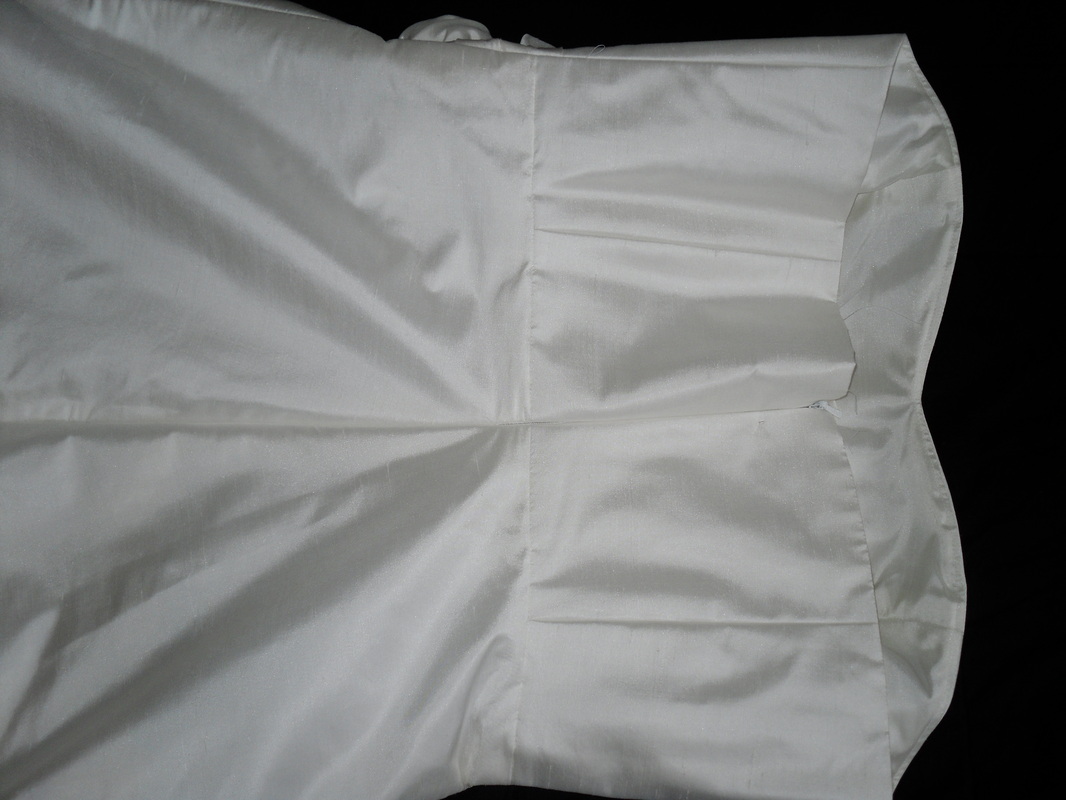
The lining is silk for the bodice section and acetate for the skirt - silk + silk = static. A ribbon is machine stitched to the waistline from side back to side back, and fastened with a button or hook and eye to keep the dress from slipping down. The tops are sewn together, understitched and then the waist seam allowances are hand tacked to secure. The lining is turned to be the same length as the dress and then lifted to 2/3rd of the way up the bias band and tacked down, allowing a pleat to form.
So this set of picture is of a 1/4 size wedding dress I made on the course. The bodice section is interlined with medium weight collar canvas. Bones are sewn down the center (not the seams) of the side front and side back collar canvas panels before putting them together with the silk. Everything is pressed before assembly and then pressed ONLY on the seams during construction - I've suddenly recognised the value of a tailors ham and a seam roll, they always seemed rather useless before.
The dress is assembled as a complete front and a complete back and then put together, so that any fitting adjustments can be made easily. There is a concealed zip, put in by attaching one side, doing the zip up, pinning and sewing a 1cm section at the waist and the doing the zip up to check the match. Once the waist seams match, the remainder of the zip is sewn in. Finally, the centre back seam is sewn from a few mm below the zip and the seam allowances attached to the zip at the bottom.
The skirt is interlined with dress net (this is what gives the swishy noise) to help stop it wrinkling and provide shape. Because the net can distort it must be hand tacked to each skirt piece around all edges - not as long a job as it sounds. Be careful ironing afteThe bottom of the skirt is finished with a 10cm bias strip and horsehair braid, then allowed to turn naturally (not forcing it to turn on the seam line, and do not press!) and tacked to the net interlining.
The lining is silk for the bodice section and acetate for the skirt - silk + silk = static. A ribbon is machine stitched to the waistline from side back to side back, and fastened with a button or hook and eye to keep the dress from slipping down. The tops are sewn together, understitched and then the waist seam allowances are hand tacked to secure. The lining is turned to be the same length as the dress and then lifted to 2/3rd of the way up the bias band and tacked down, allowing a pleat to form.

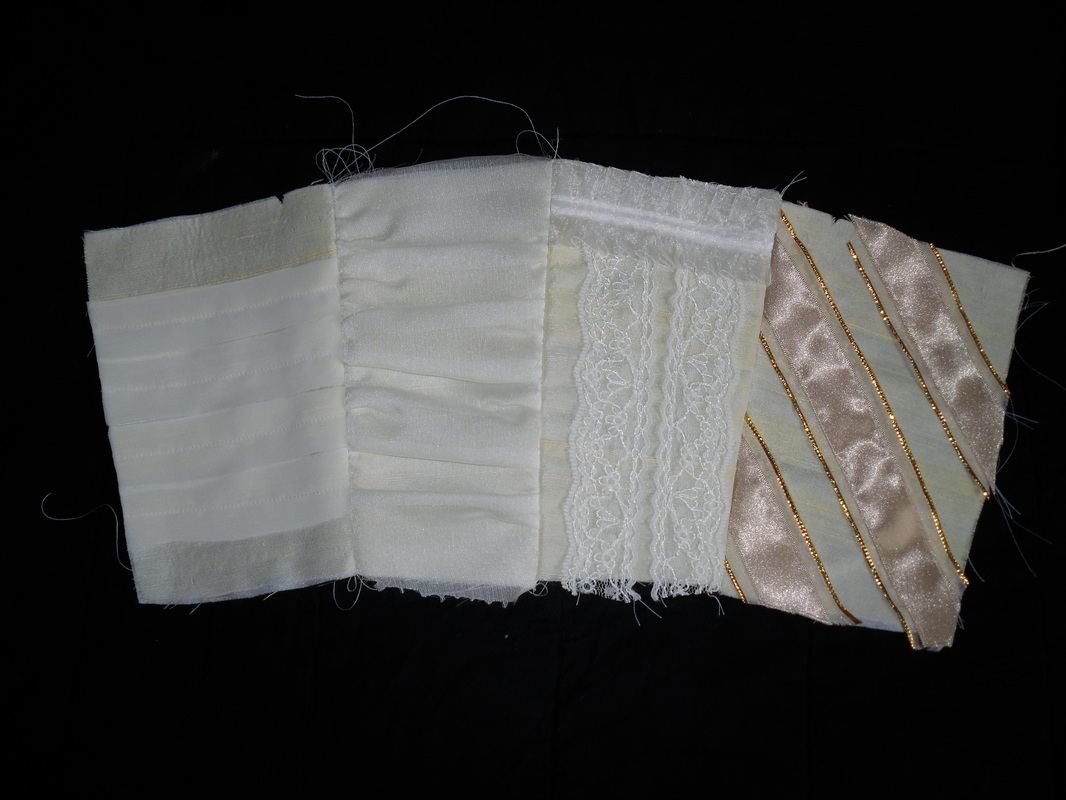
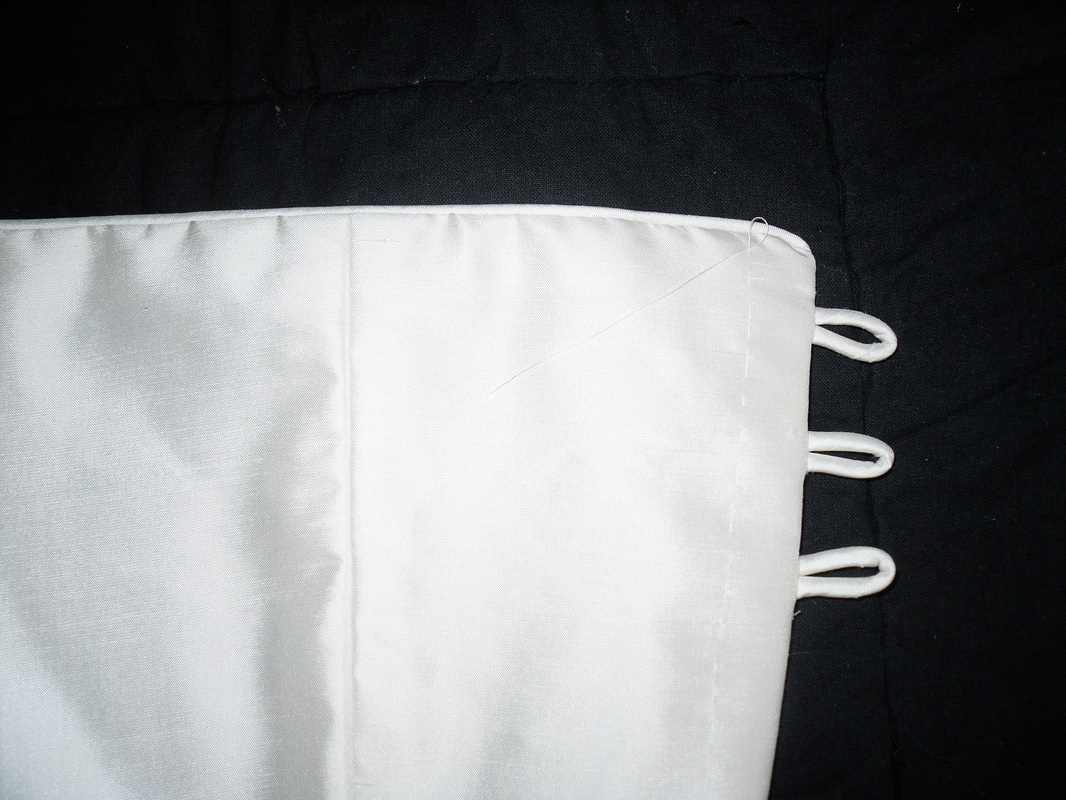
Some more samples - 4 different ways of decorating a panel, a quick way of boning a bodice (useful for prom dresses and bridesmaids) and a back panel with piped edge and corded roleux button loops. Apparently adding the chord makes the loop sit happily around a shanked button, which is a useful tip - I altered a wedding dress for someone years ago and had to make the loops so tight you could hardly do them up before they'd stay done up.
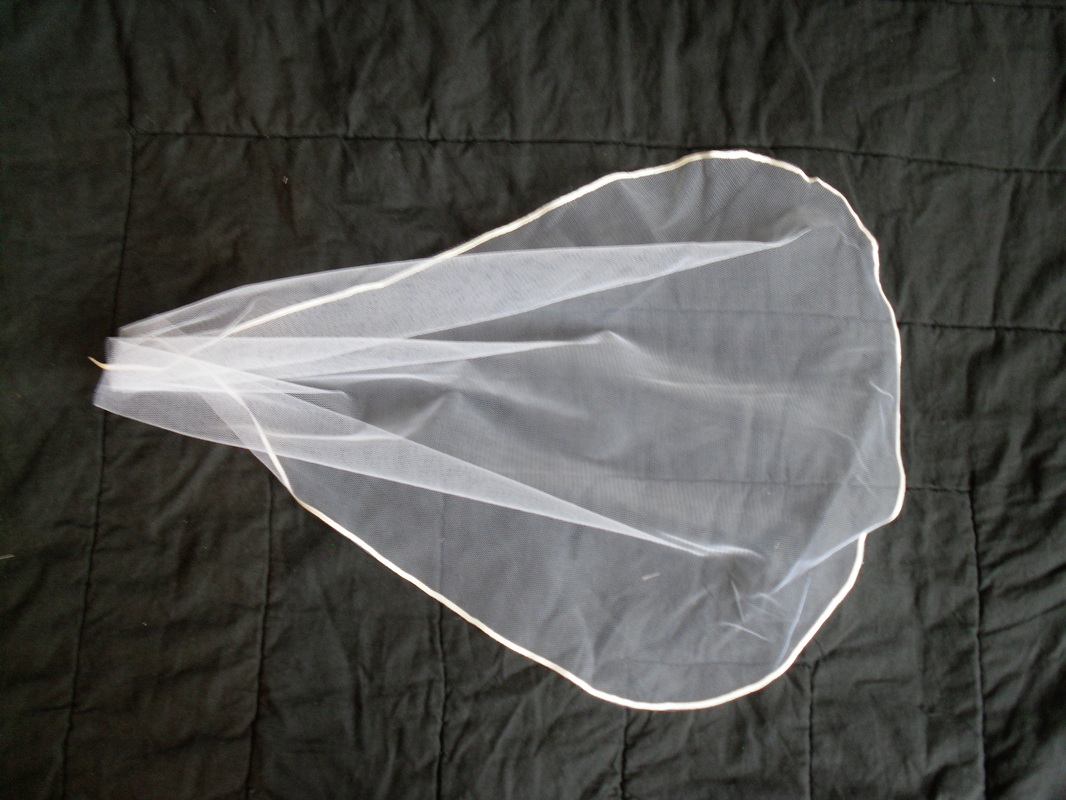
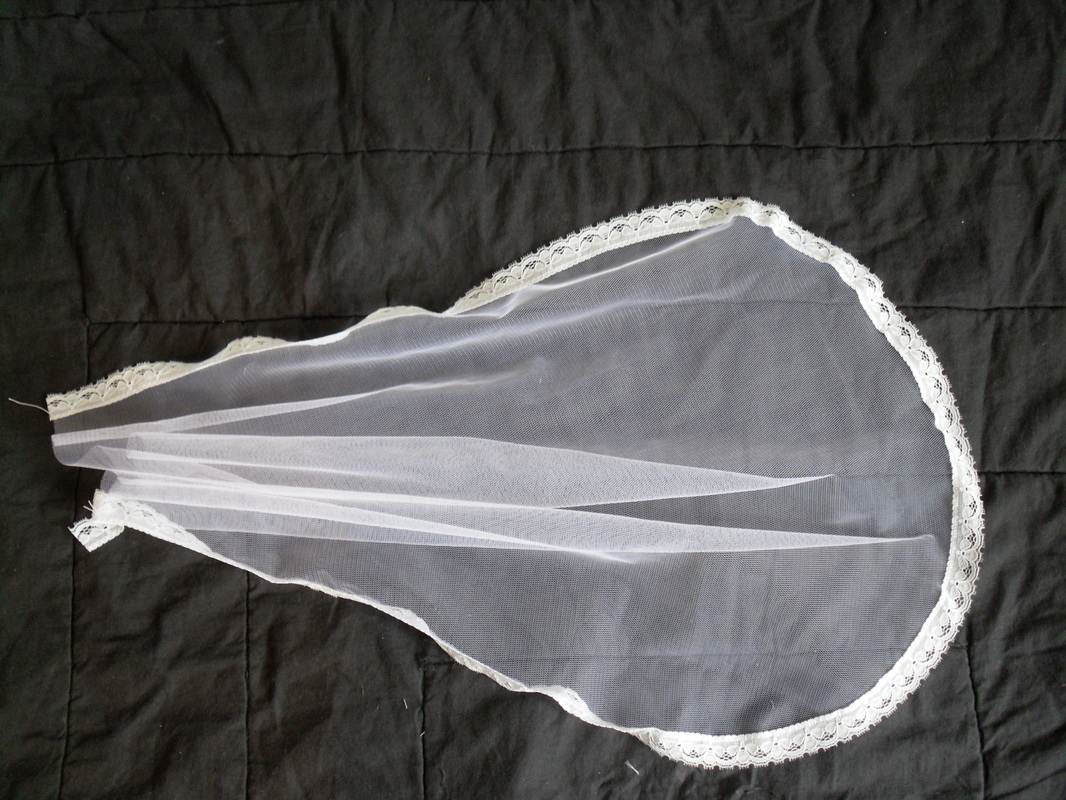
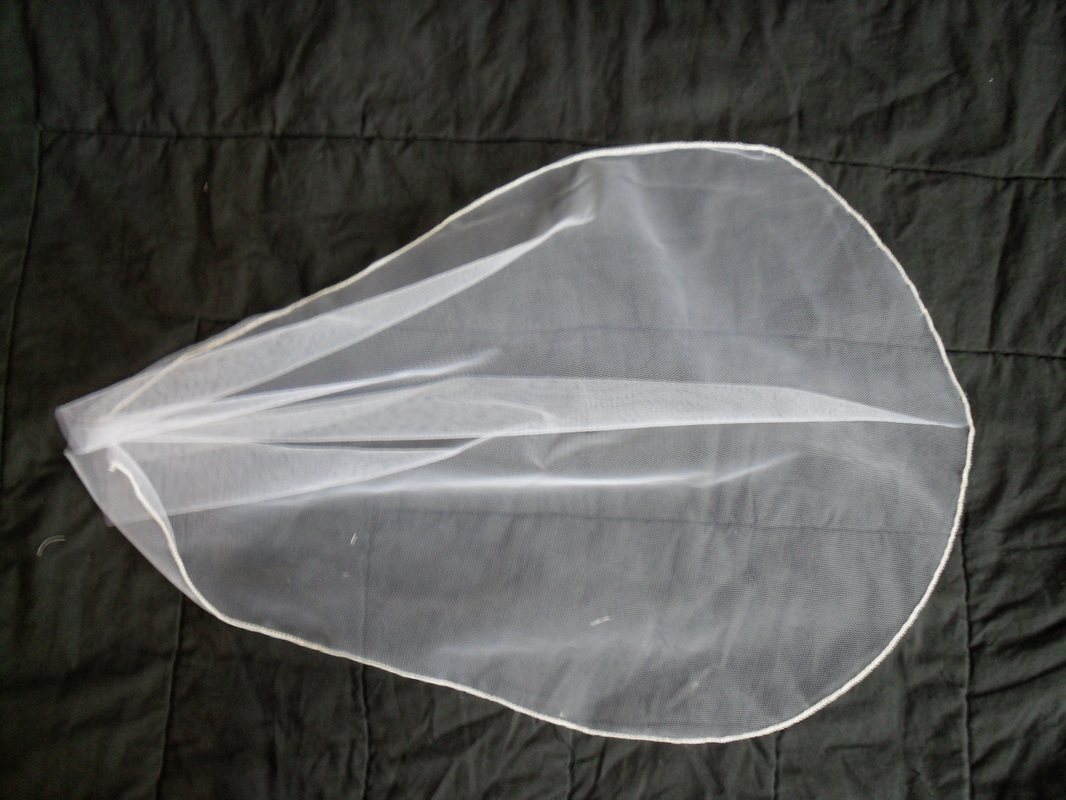
Below are 6 different veil finishes. Veils can be cut circular and gathered down the middle, Oval and gather about 2/3rd of the way up, or U shaped and gathered along the top edge. They are attached to hair slides and its the responsibility of the hairdresser to put them in (not the dressmaker). The 4 options for the length of a veil are shoulder length, waist length, hem length or cathedral (train) length. Apparently a cathedral length train with crystals sewn on can retail for £400 - that's probably £360+ of profit.


 RSS Feed