FarAboveRubies
  • Blogs
    • Blog
    • My Wedding Dress
  • Gallery
    • Formal Wear Gallery
    • Historical Costume Gallery
    • Theatre Gallery
  • Shop

Thistle Design

11/18/2010

0 Comments

 
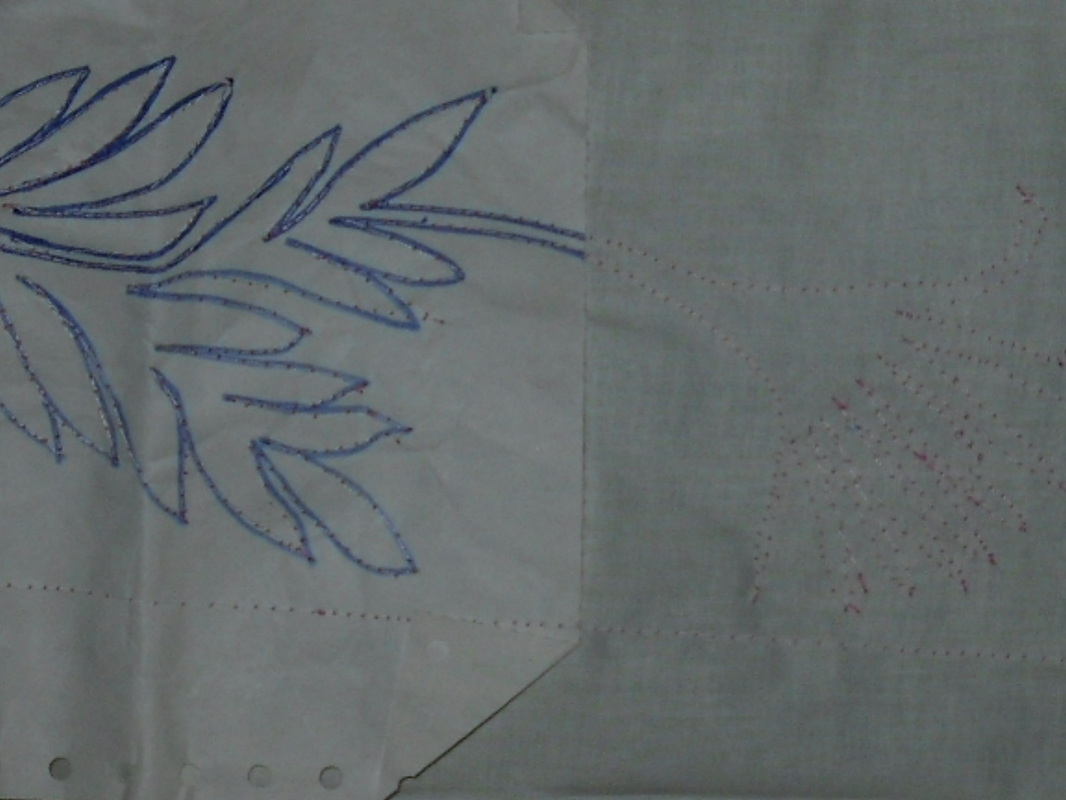
I've started work on planning the embroidery design for this dress. The first step was to draw out the design for the skirt, using a grid drawn over the original to scale correctly. The circular heads of the thistles are made using puffs of fabric, the leaves and petals are done with cord 'couched' (stitched over) to the fabric.
Once I'd drawn the design, I made two copies - one a direct tracing, the other a mirror image. The plan is to machine stitch through the paper onto the skirt interlining fabric (unbleached cotton, sold as curtain lining) then tear the paper away. There are two reasons for doing it this way rather than drawing it on - the first is that this will provide a line which I can follow with my fingers when working from the right side of the fabric, the second is that I'm stitching it using 50 yard spools of thread - which means when I'm done I'll know to the nearest 50 yards how much cord I need to buy.
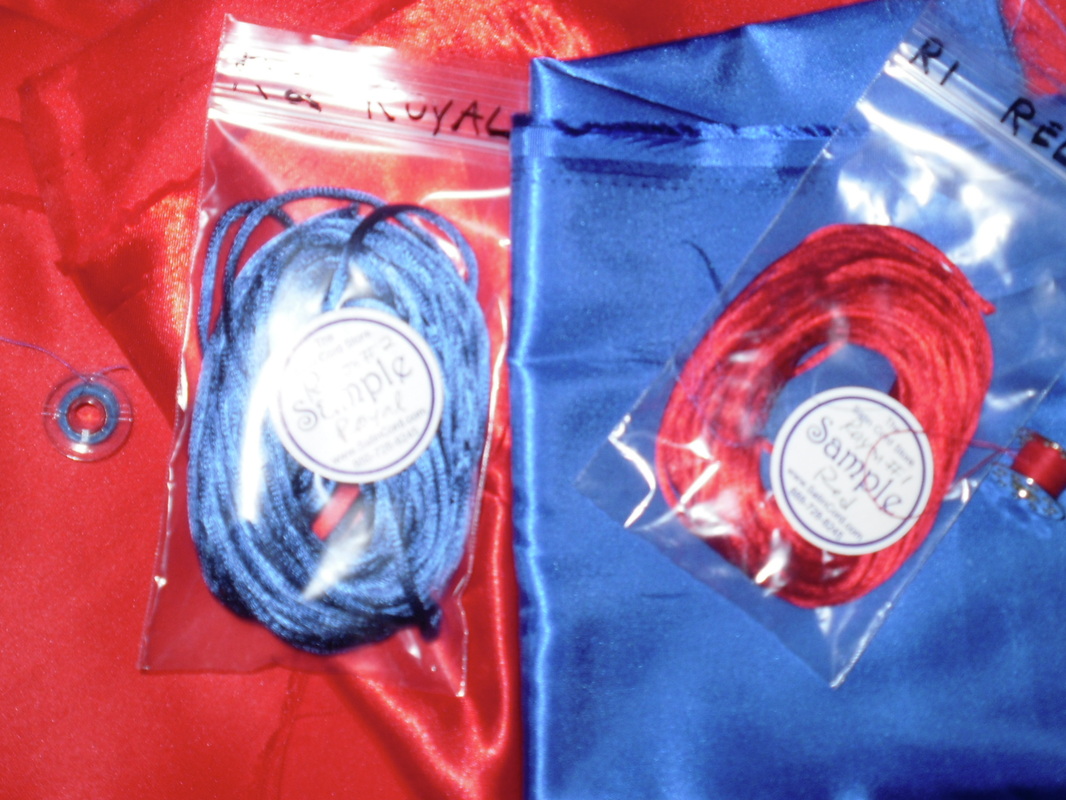
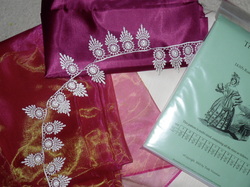
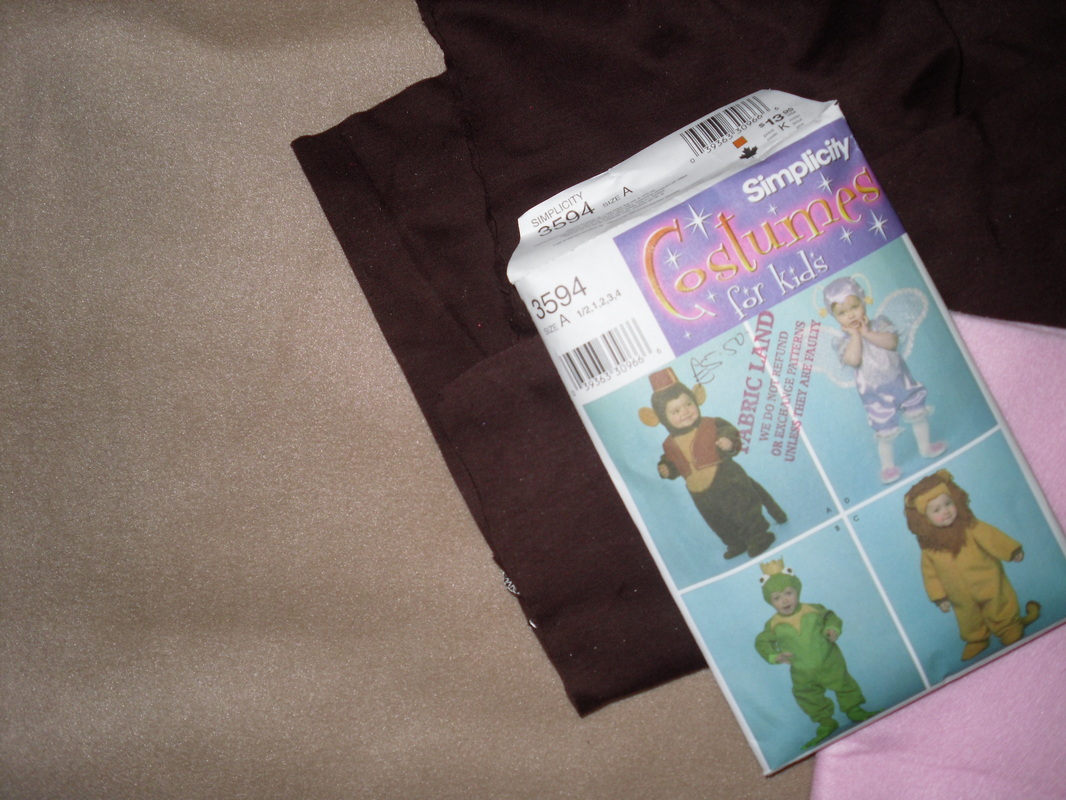
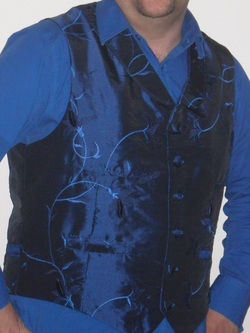
The third picture is some material samples - specifically chinese satin, acetate satin and duchess satin. The chord is size one and size two from the sample card I received, and I plan to make up samples of embroidered designs and gathered strips to see which fabrics work best for the design of the dress and to support the design.This also give me a change to try out different stitches for attaching the cord, the biggest decision being whether to stitch over the cord or through the cord.
0 Comments

1830s Ballgown

11/16/2010

0 Comments

 
Picture
Having got as far as I can with Johns coat, I've decided to go back to start work on this dress.
The fabrics I picked up a while ago - I decided to go for a dark pink rather than the peach of the original, mainly because I liked the sheer fabric - it has a little shine but not too much. I chose cream lace to go with it - the lace has to be strategically cut to allow it to drape into those scallop shapes, and I plan to do some sort of reconstruction to create long dangly bits similar to the original. But it was affordable which is the main thing! I also have a plain habatae silk fabric to make bias binding for the sleeves, the belt and any other bits that need to be solid rather than transparent. The lining fabric is a curtain fabric which has a slight slub effect reminiscent of dupion, but again was a budget option.

Picture
Actual sewing progress so far: I have cut out and flat lined the underbodice, sewn it together and adjusted it to fit - which involved taking about 2 inches off at the center front and 2 inches off the top of the shoulder. I have a feeling this may bring the neckline up higher than is intended, but the bust darts seemed to be better place with the whole thing pulled up higher, and it makes it easier to adapt to be modest which is always good! I think part of the reason for the adjustments may be that I've lost a little weight since I measure, the proportions seemed good just overall too large.
I realised when I tried it on that I cut out the pointed front version rather than the straight front - I must really have cold brain to have not realised that while I was sewing it up! The solution for now is a pencil line drawn on the fabric to mark where the waist will be. Looking at the pictures again I noticed that the original dress doesn't have a lining - I was planning to make the overlay and underlay as one for skirt and sleeves, and will probably anchor my bodice overlay to the underbodice as well. I assume that the reason they were originally separate was for ease of cleaning, and at the moment can't think of a good reason to not put them together.

0 Comments

Johns frock coat

11/15/2010

0 Comments

 
Picture
Progress on Johns frock coat - its all coming together remarkably well! Only question is whether it fits - its at the stage where I'd really like him to try it on, but since I have a stinking cold I'm quarantining myself and will have to wait a few days before I see it on. I'm too impatient to stop work till then however, so I'm going to go ahead and put in the lining and facings, just leaving the sleeve and hem finishing till after he's tried it on.
I've added an inch and a half above the waist, so hopefully that will be enough to make the waistline fall in the correct place.
One thing I have noticed is that the upper welt pocket tends to fall open, it seems as if the weight of the coat pulls it down. If this isn't resolved by having a proper sized body inside the coat I guess I could stitch it shut, but I'd be interested to know what the proper solution would be.

0 Comments

A present for Joey

11/15/2010

2 Comments

 
I have a 2 year old nephew who loves to growl at people and who went to the zoo and thought every cat was a lion. So his christmas present is going to be a lion costume. Its nearly finished, just need to get more wool to finish off the back of the mane :)
2 Comments

Mens waistcoat

11/7/2010

0 Comments

 
Picture
With a deadline in mind (the Dickensian Christmas in Rochester in December 4th) I've starte work on a Victorian outfit for my BF. I'm so lucky to have a guy that not only lets me dress him up, but actually has an opinion on what he wants to wear.
The waistcoat is from Simplicity pattern 2895 and was easy to make - I'm not 100% happy with the welt pockets, but I don't think anyone will be looking at them from a range of 6" so 95% happy will do. It fits well too! The only problem with it is the length, which I think is a little short - not surprising, since he has (in his own words) a freakishly long torso. Mental note to adjust for length when I make the frockcoat.

Picture
The other thing I want to make for him is something to keep him warm and dry in the unpredictable english weather. After to-ing and fro-ing about whether he'd rather have a coat or a cape, I did a little research and came up with the parfect solution - an inverness coat. This is a sleeveless coat with a shorter cape section. The cape section can go all the way round or be sewn into the side seams to form a kind of open sleeve.
I was extremely please to discover not just 1 but 3 cutting diagrams for inverness coats while looking for ideas online.

Pattern 1

Patterns 2 and 3

At the moment I think I'm going to focus on pattern 1, but use patterns 2 and 3 for additional information as required.

0 Comments

    Author

    My crazy costuming, sewing and maybe other stuff too blog! Hopefully others can learn from my mistakes and I can learn from your comments :)

    Hey you! ;)

    According to the stats people are actually visiting this site - I'd love to know who you are so please leave comments!

    Archives

    June 2017
    April 2017
    February 2017
    August 2016
    February 2016
    January 2016
    June 2015
    October 2014
    September 2014
    October 2013
    May 2013
    April 2013
    March 2013
    February 2013
    January 2013
    November 2012
    October 2012
    September 2012
    August 2012
    July 2012
    June 2012
    April 2012
    March 2012
    January 2012
    October 2011
    August 2011
    February 2011
    January 2011
    December 2010
    November 2010
    October 2010

    Categories

    All
    1830s
    1860s
    1870s
    1880s
    Bridal
    Coat
    Custom Order
    Florence Maud Dowding
    Historical Accuracy
    Historical Sew Fortnightly
    Holy Grail 2011
    Inspiration
    Kids Clothes
    Modern Clothing
    Pattern Drafting
    Project Destash
    Random Stuff
    Underwear
    Victorian Menswear

    RSS Feed

    Picture
Powered by Create your own unique website with customizable templates.