For years I've wanted to attend a victorian ball. Well, I'm still not getting to go as finances are too stretched at the moment (tickets yes, tickets plus hotel plus fabric for my dress plus something for the hubby to wear, unfortunatley not). But I am determined I'm going at some point this year, so I've started work on a dress.
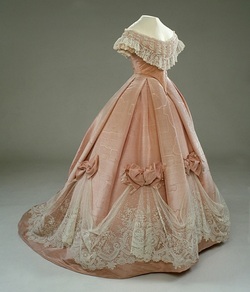
Since a good percentage of the potential balls are Dickensian rather than victorian, I decided this one needed to be an 1860s ballgown. After a bit of googling I found it - pink, not too frilly but frilly enough. I love the moire effect on the expanse of skirt, the unique lace drape at the bottom of the skirt and the chiffon puffs on the bertha. Its just yummy!
Unfortunately I couldn't find the original source of this pic, just a few couples on tumblr. I'm trying to do better with my referencing, and since I started trying I've realised just how bad the internet community is for 'stealing' images.
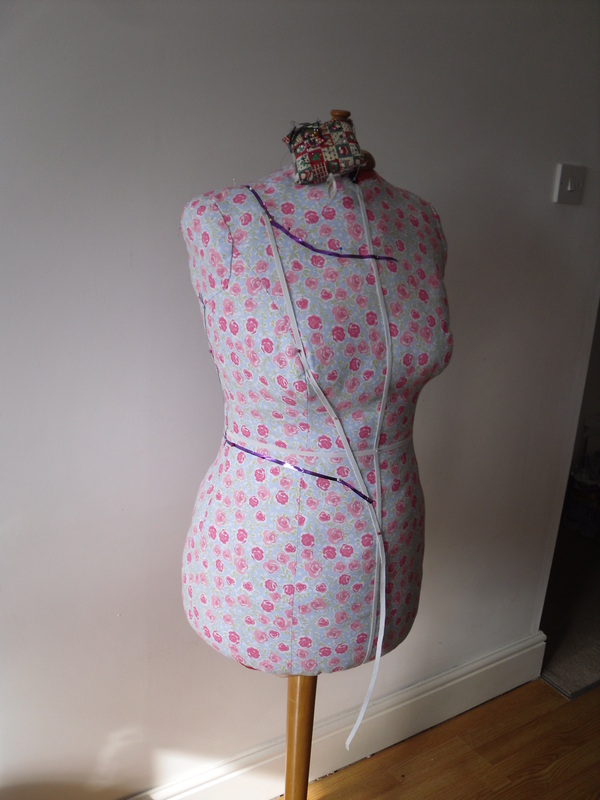
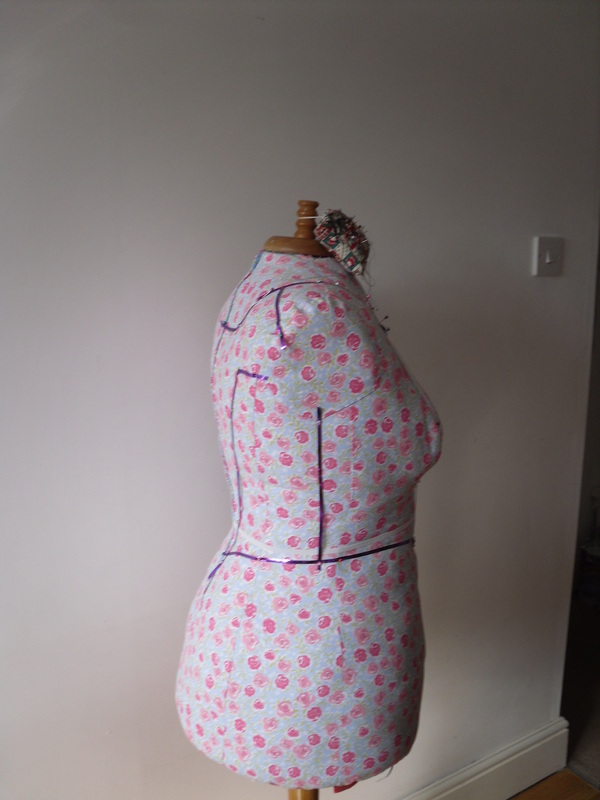
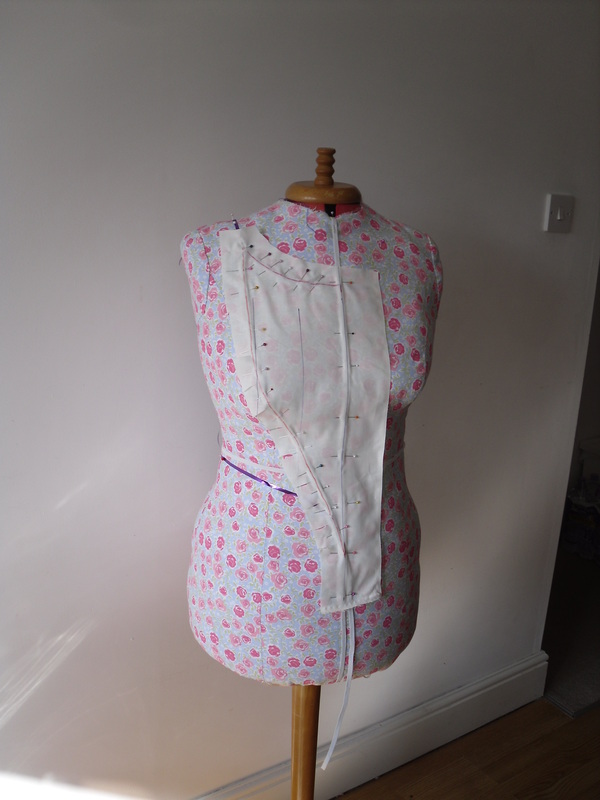
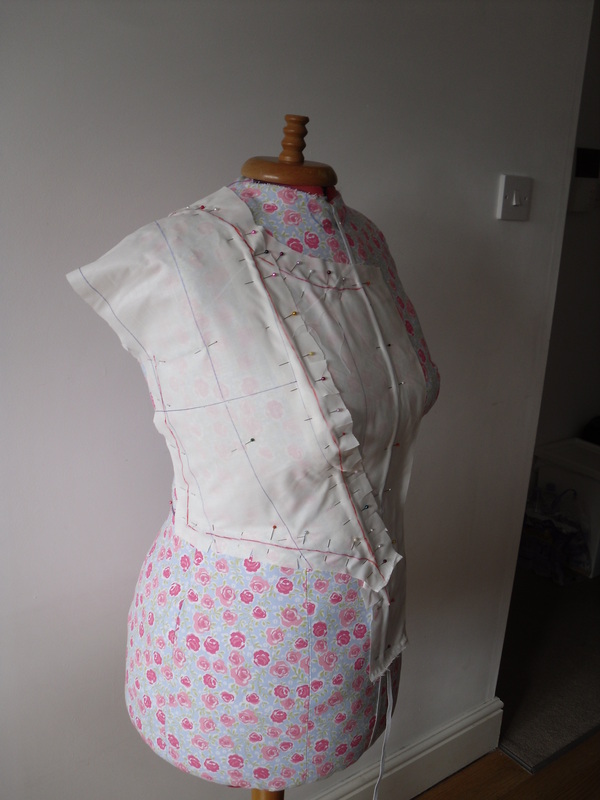
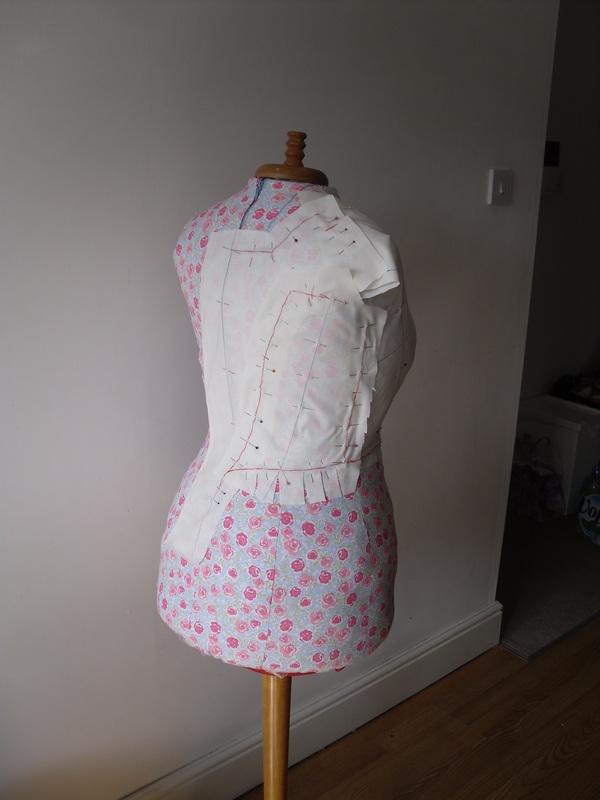
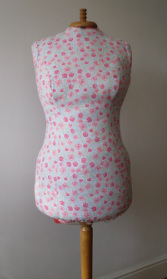
Using my shiny new dress form, I started by marking out the lines for the bodice. I used the diagram for a similar dress from the same era given in Janet Arnolds Patterns of Fashion 2 to determine where the seam lines should be, as I couldn't really see them on the picture. I marked the lines with ribbon, not forgetting to make sure the bust seam actually goes over the bust point.
I marked the grain lines on four pieces of scrap fabric, and refered to Patterns of Fashion again to make sure the grain of each piece was aligned correctlyy. I then pinned the piece in place along that grain line before smoothing out to the ribbon lines and pinning. The last step was to mark the seam lines in pen before going to the next piece.
Once you've done all the pieces, mark notches on each seam line before you unpin and use the resulting pieces as the pattern to cut the toile.
Since a good percentage of the potential balls are Dickensian rather than victorian, I decided this one needed to be an 1860s ballgown. After a bit of googling I found it - pink, not too frilly but frilly enough. I love the moire effect on the expanse of skirt, the unique lace drape at the bottom of the skirt and the chiffon puffs on the bertha. Its just yummy!
Unfortunately I couldn't find the original source of this pic, just a few couples on tumblr. I'm trying to do better with my referencing, and since I started trying I've realised just how bad the internet community is for 'stealing' images.
Using my shiny new dress form, I started by marking out the lines for the bodice. I used the diagram for a similar dress from the same era given in Janet Arnolds Patterns of Fashion 2 to determine where the seam lines should be, as I couldn't really see them on the picture. I marked the lines with ribbon, not forgetting to make sure the bust seam actually goes over the bust point.
I marked the grain lines on four pieces of scrap fabric, and refered to Patterns of Fashion again to make sure the grain of each piece was aligned correctlyy. I then pinned the piece in place along that grain line before smoothing out to the ribbon lines and pinning. The last step was to mark the seam lines in pen before going to the next piece.
Once you've done all the pieces, mark notches on each seam line before you unpin and use the resulting pieces as the pattern to cut the toile.

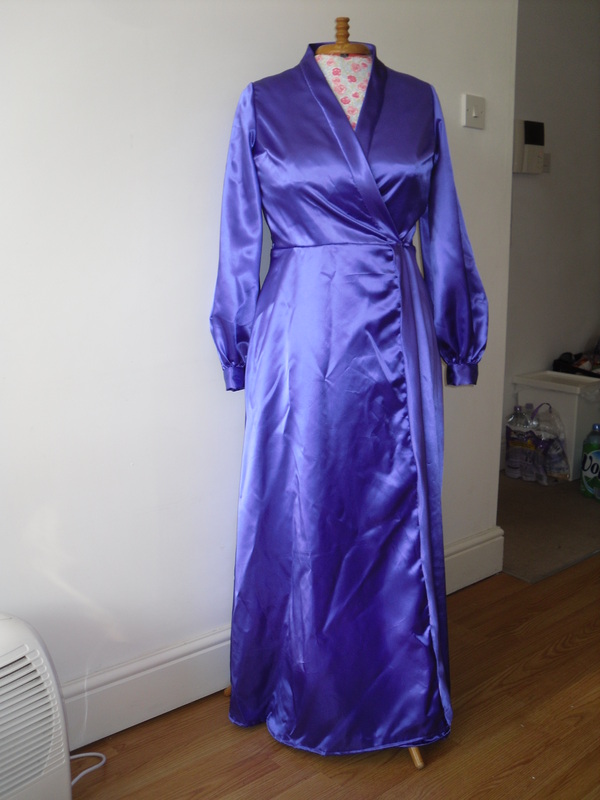
Next stage is to cut and sew the toile. I always put a zip in my toiles as my hubby is not the best with pins - I think he's so scared of sticking me that they end up barely in at all. All good untill I decided to try it on with my corset, at which point I realised my corset is MUCH to small for me now. It just about does up but does very unattractive things to my bust! So I'll be coming back to the bodice fitting as soon as I can get a new corset made. Since this was my day off, I decided to just push on and figure out the skirt and trimming in toile form.
The skirt turned out to be very simple - I checked the total circumference of the ball gown in patterns of fashion, which converniently also tells you what size hoop it was worn over. My hoop is a bit bigger, so I added a bit of extra for that and ended up with 3 lengths of 60" wide fabric in my skirt. I quartered the fabric and the waist, and attached at those points, then added 4" pleats at each side of those points. Because I wanted to hide the seams, I started with the back seam hidden inside one of the pleats.
I then took the fabric that was left, matched middle to middle on each of the 4 quarters and pleated to fit. This almost worked out but not quite - I ended up with one visible seam. Fortunately when I went to the fabric shop, there was a 45" wide fabric option I liked - 4 lengths of 45" wide will give me the same circumference as the 3 lengths of 60", but will allow me to hide all my seams perfect.
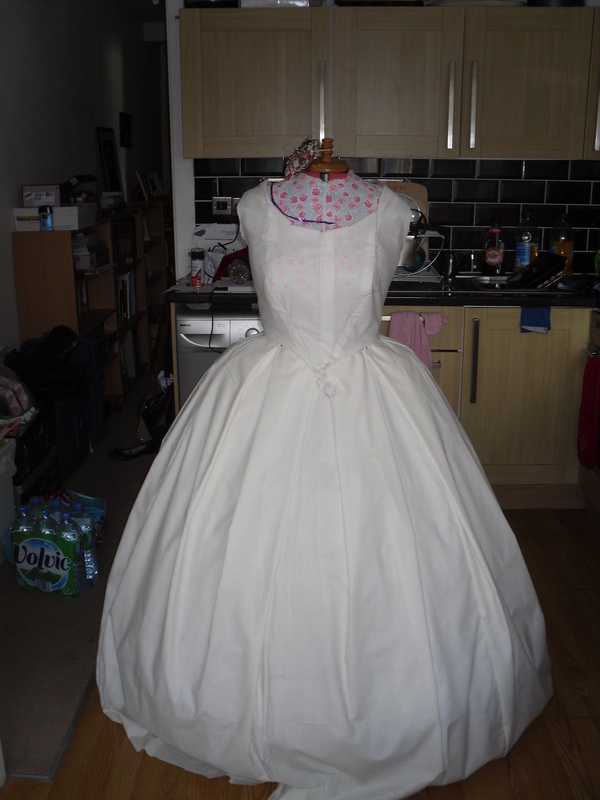
Yes, thats my messy kitchen - I took the day off to sew and I was determined that it would be a day of sewing, and cleaning could wait till the evening!
I think thats enough for one post, so I'll show you my trimming experiments next time.
I think thats enough for one post, so I'll show you my trimming experiments next time.


 RSS Feed