FarAboveRubies
  • Blogs
    • Blog
    • My Wedding Dress
  • Gallery
    • Formal Wear Gallery
    • Historical Costume Gallery
    • Theatre Gallery
  • Shop

A simple dress

8/20/2012

0 Comments

 
Picture
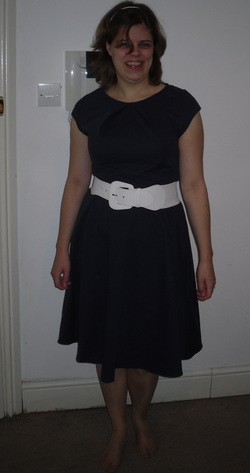
I spotted a really cute dress online and thought 'I can do that!'
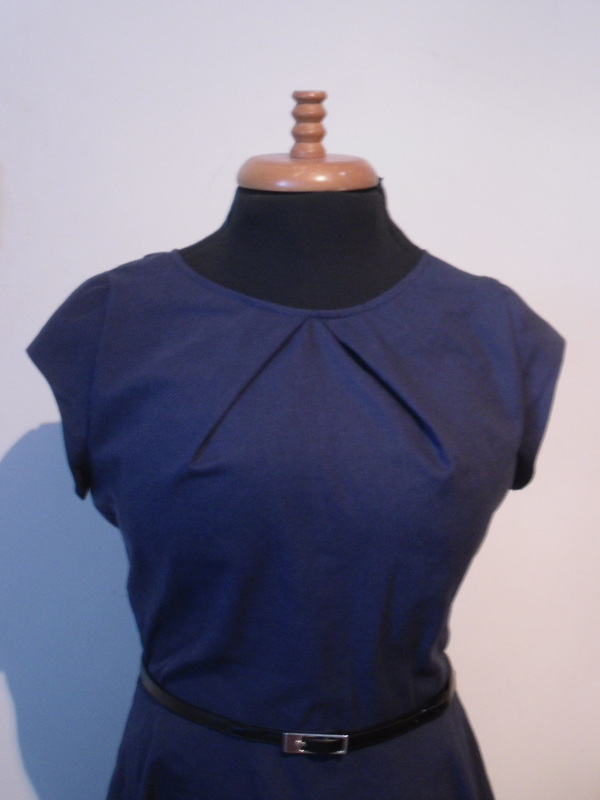
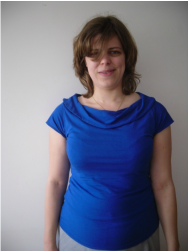
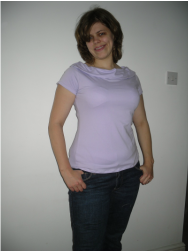
I used the skirt of Butterick 5322 (fast becoming my Go-To pattern when I want simple pattern blocks to alter or add to something else), and drafted the top myself. This is really the simplest possible bodice pattern - a single pleat on each side, meeting at the center of the neckline. As the pleats are not stitched down, you don't even have to worry about getting the distance from the bust point right to avoid a dimple at the end of the dart - just fold things so they meet and it all work out!
The sleeves I figure out by trial and error - I think the next version I will move the arm scye just a touch further out on my shoulder, I bought it in quite a lot as the pattern block was much too wide on the shoulders and I think I may have over done it just a little!
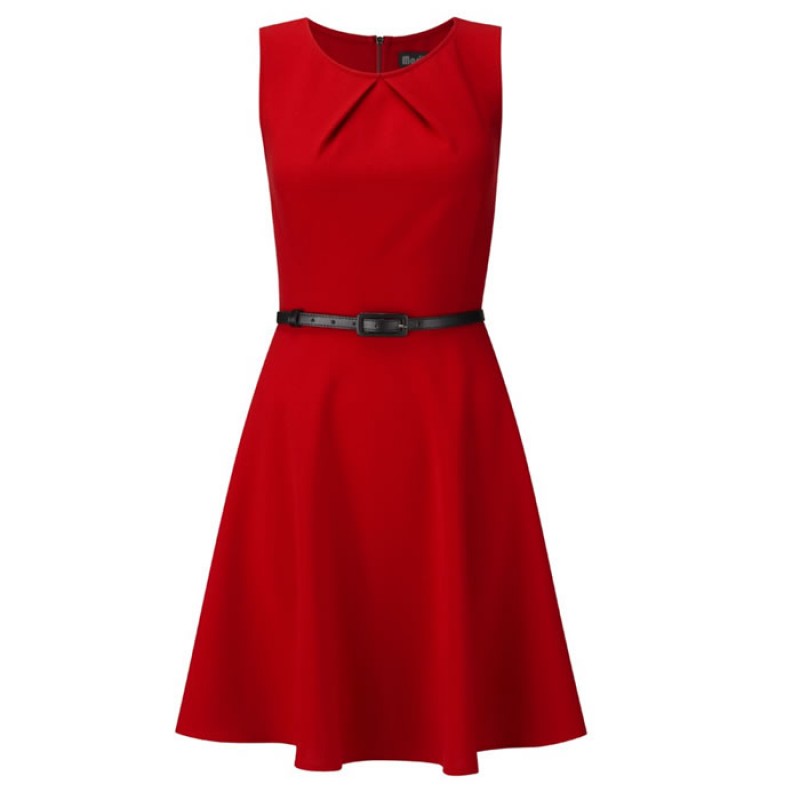
All that hole-picking aside (I always want to get better!) I'm really pleased with this dress! I think I will be making another soon - probably in a lghter colour, to wear with a skinny black belt like the inspiration dress, and I may also try it with a pencil skirt instead of A-line.There's a couple more pictures for you below - the red is the original inspiration dress, and the second pic is a close up of the dress on my dummy.


0 Comments

Birthday presents :)

8/15/2012

2 Comments

 
I made this cushion for my sister-in-laws birthday earlier this month - it came as a kit, and this kind on cream-on-cream embroidery is called candlewicking. I did most of this on the way too and from Canada - an 8 hour flight with no movies gives you lots of sewing time!
Picture
And these little guys I made for my nephews first birthday, using a truly awesome pattern I bought from etsy seller patternplay. Such a well made pattern, they came out exactly like the picture! I bought a couple other patterns at the same time, can't wait to try them!
Picture
2 Comments

Cowl Collar Top

8/15/2012

0 Comments

 
Picture
I decided I needed some new T-shirts, and I always have trouble buying them in the shops - either the neckline is too high or too low or too wide, and they are often to short to make it safe to wear low rise jeans (which of course nearly all jeans you can buy are) - I seem to spend my whole day pulling the T-shirt down and the jeans up. This was also a stash busting exercise - I have way too much fabric crammed into my tiny sewing room (which is also meant to be my hubby's painting/study room), plus more in my parents attic waiting for me to clear space for it!

I decided to base the T on a T-shirt from my wardrobe - I love this one because it clings to my figure without being tight, and its plenty long enough, plus I just like the style.

So, the top got made, taken apart and remade, and then I made another one - and I think I've got the pattern and techniques perfect! These are the things I learnt…

Picture
1) When drafting collar patterns, cut a separate under and over piece, with the under piece being maybe 1/4" narrower. This makes the collar lie flat, and pulls the seam on the edge to the underneath rather than leaving it visible. The seam on the collar also needs to be understitched to keep it nice and flat.
2) All the seams are stitched and then overlocked, with the exception of the seams between the front and back collar pieces - these edges are completely sealed away from sight, and by not overlocking them I avoided the slight bulge that I had at the intersection of seams on the blue shirt (I'm a perfectionist!)


Picture
3) How to do perfect hems on knit fabrics! On the blue shirt, I overlocked the edge and then stitched with a twin needle. This gives a very professional looking finish, which also has stretch. Unfortunately, I found that as I stitched the fabric was stretched slightly out of shape, like lettuce edging. For the second top I experimented, and found that stitching with a piece of tearaway stabiliser under the hem. I also tried using my walking foot, but this was a complete disaster with half the stitches being skipped.


0 Comments

    Author

    My crazy costuming, sewing and maybe other stuff too blog! Hopefully others can learn from my mistakes and I can learn from your comments :)

    Hey you! ;)

    According to the stats people are actually visiting this site - I'd love to know who you are so please leave comments!

    Archives

    June 2017
    April 2017
    February 2017
    August 2016
    February 2016
    January 2016
    June 2015
    October 2014
    September 2014
    October 2013
    May 2013
    April 2013
    March 2013
    February 2013
    January 2013
    November 2012
    October 2012
    September 2012
    August 2012
    July 2012
    June 2012
    April 2012
    March 2012
    January 2012
    October 2011
    August 2011
    February 2011
    January 2011
    December 2010
    November 2010
    October 2010

    Categories

    All
    1830s
    1860s
    1870s
    1880s
    Bridal
    Coat
    Custom Order
    Florence Maud Dowding
    Historical Accuracy
    Historical Sew Fortnightly
    Holy Grail 2011
    Inspiration
    Kids Clothes
    Modern Clothing
    Pattern Drafting
    Project Destash
    Random Stuff
    Underwear
    Victorian Menswear

    RSS Feed

    Picture
Powered by Create your own unique website with customizable templates.