FarAboveRubies
  • Blogs
    • Blog
    • My Wedding Dress
  • Gallery
    • Formal Wear Gallery
    • Historical Costume Gallery
    • Theatre Gallery
  • Shop

Pattern Draftng - A pleated skirt with yoke

1/22/2012

0 Comments

 
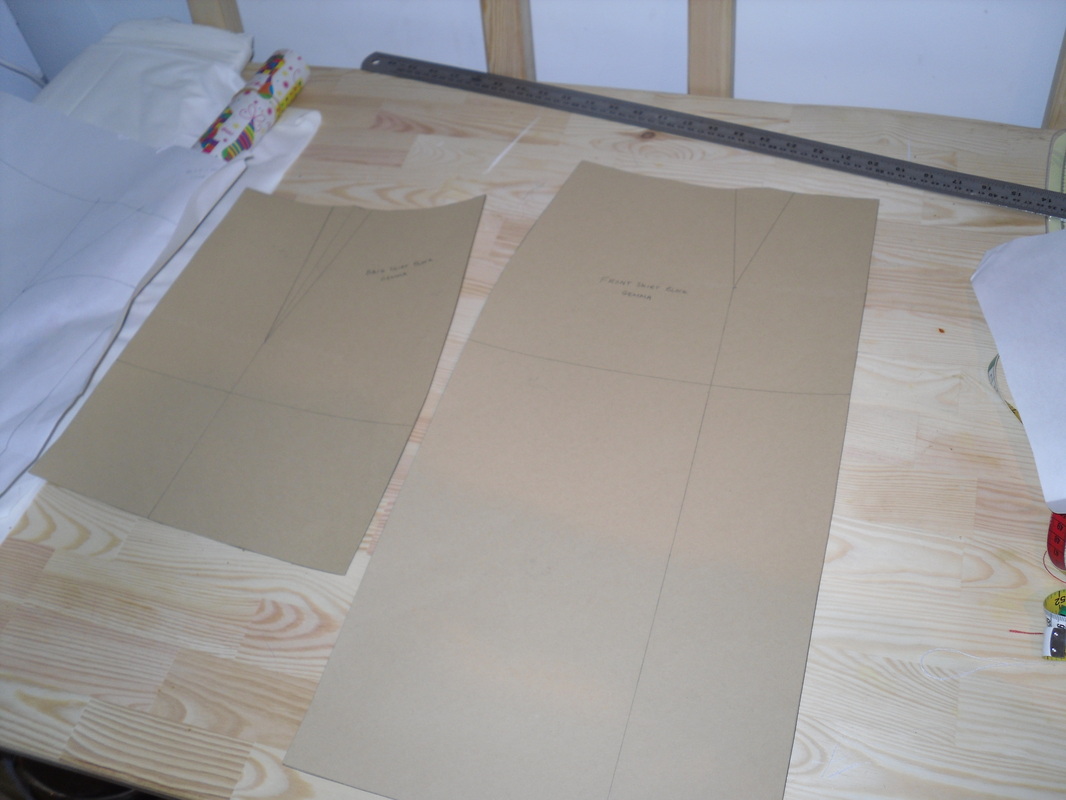
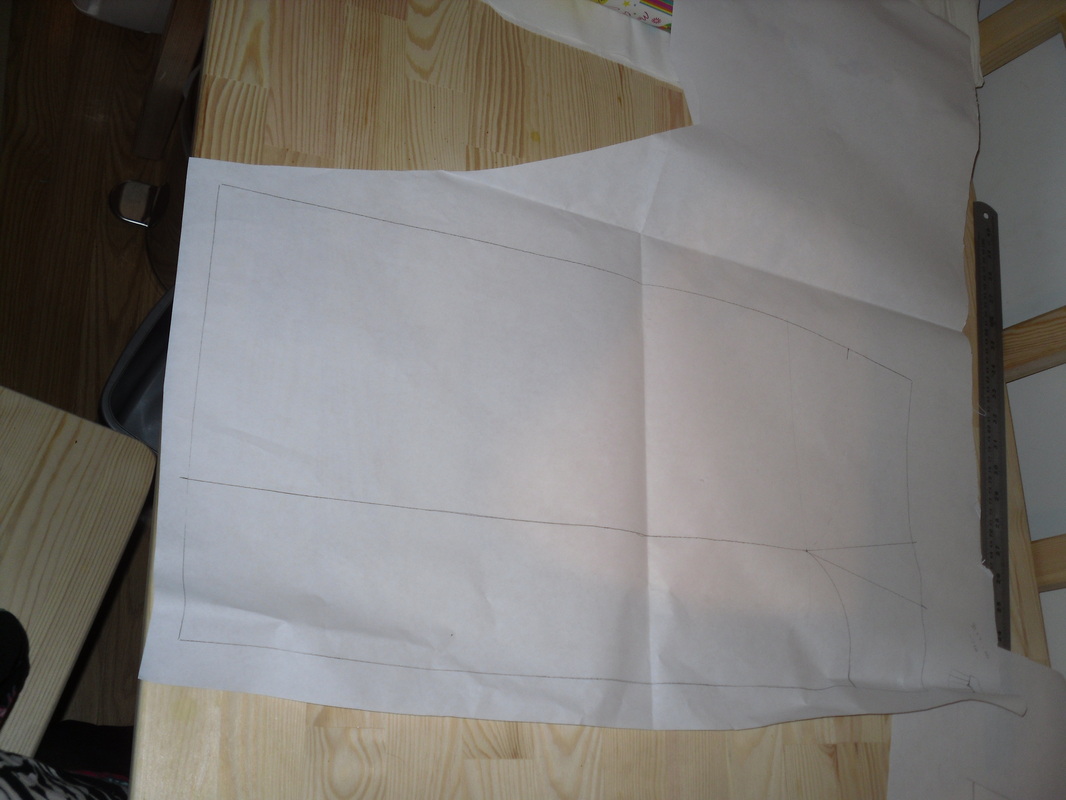
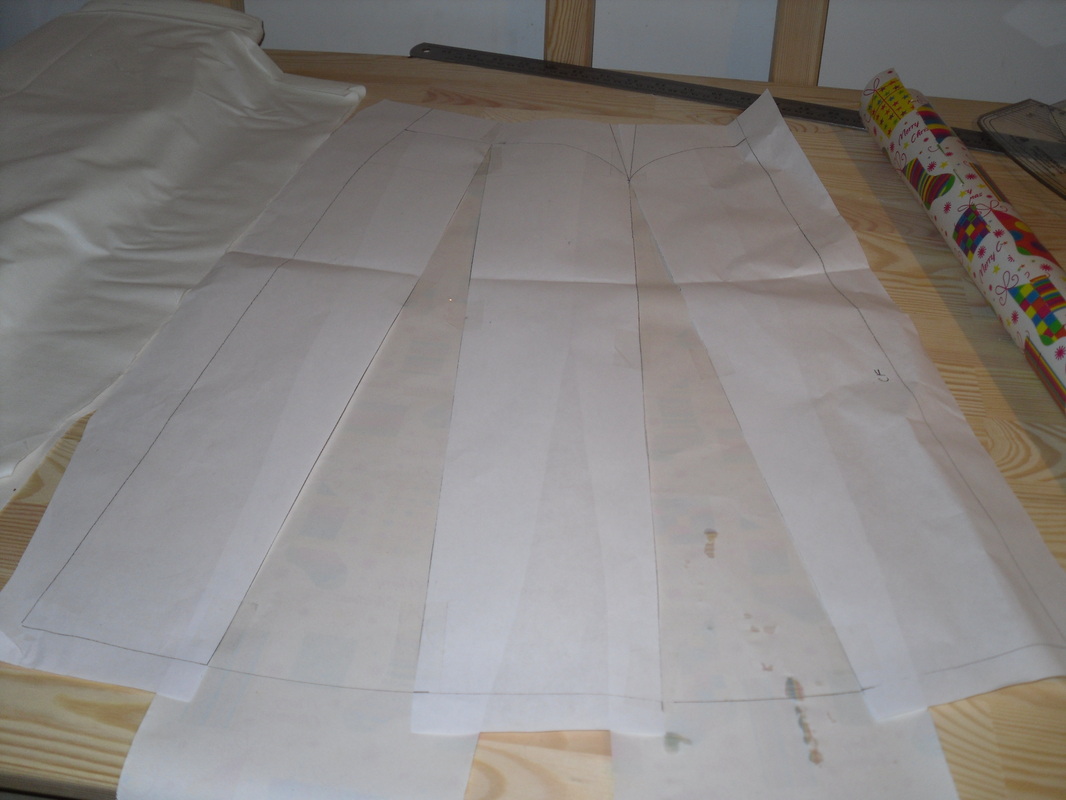
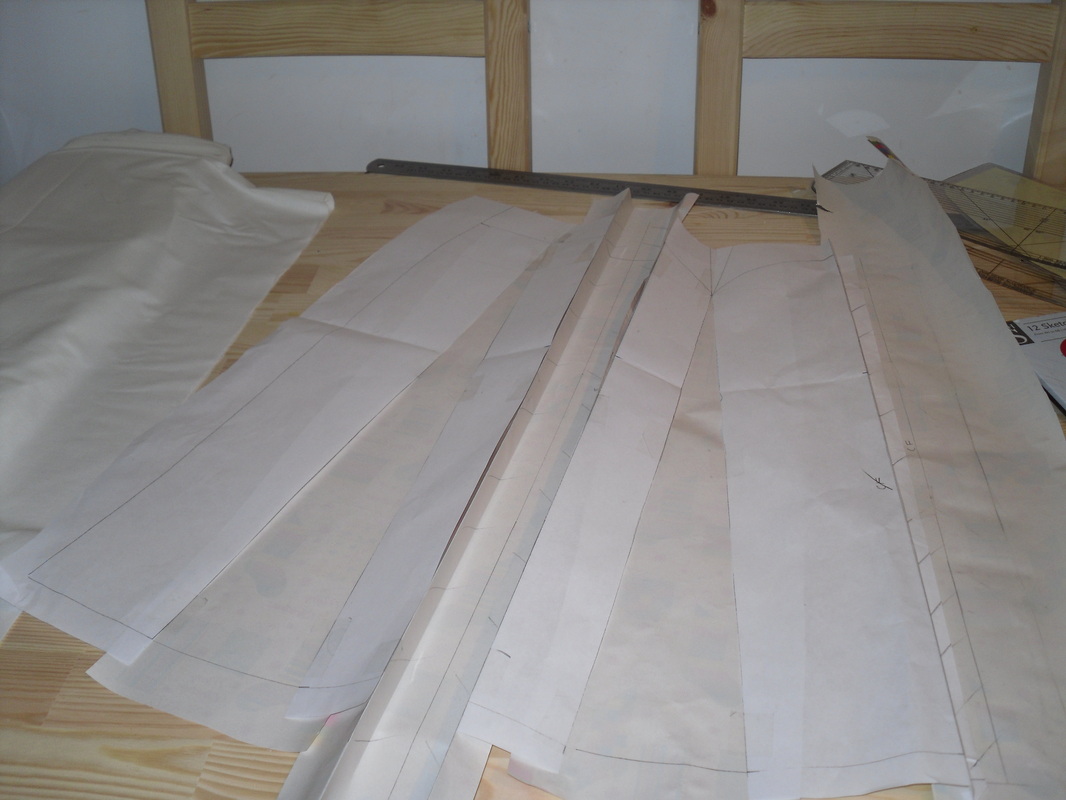
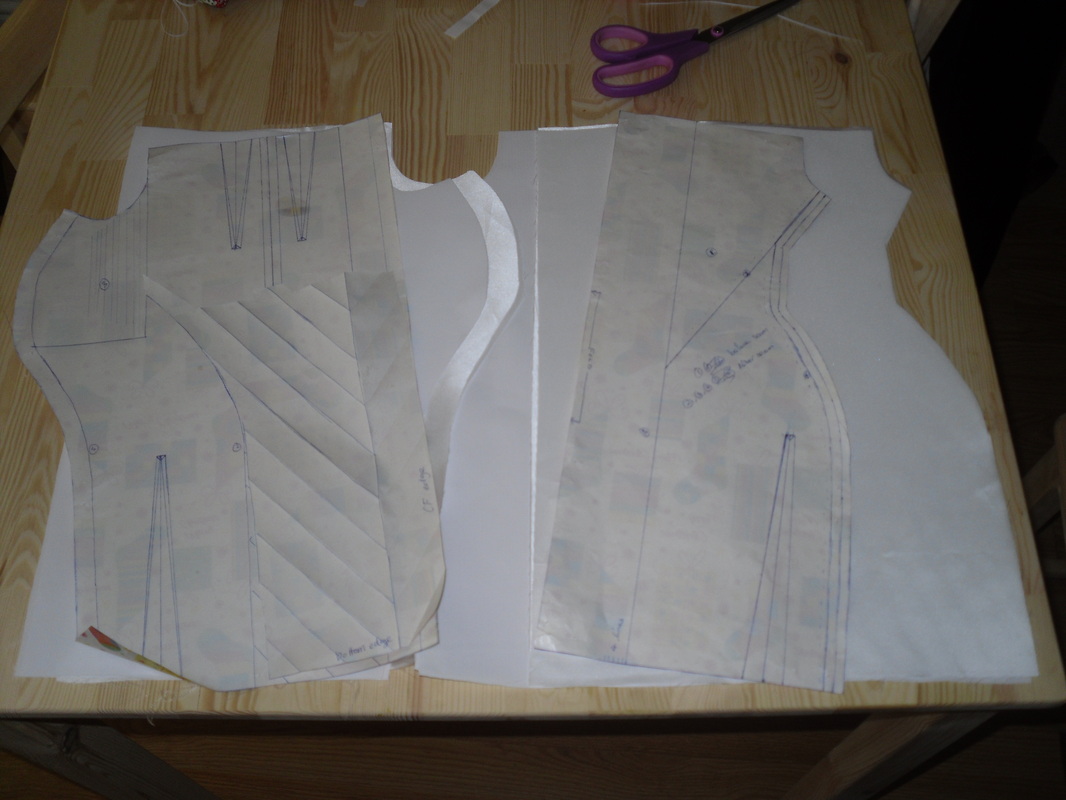
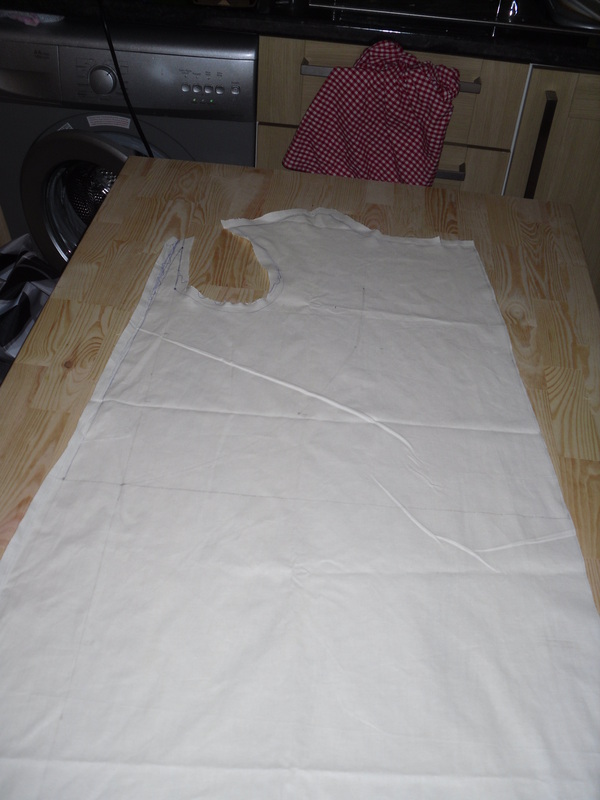
This week I attended the second lesson of a course on pattern drafting which I'm taking at the local adult education center. The pace is a little slow for me so far, so i decided to have a go on my own. In the first lesson, we measured outselves and traced bodice and skirt blocks in the appropriate sizes. In the second leson, we traced the skirt blocks onto card, and praticed two methods of moving darts - slashing and pivoting =- to create an A-line skirt. We also had a quick demonstration of how to replace darts with a yoke.
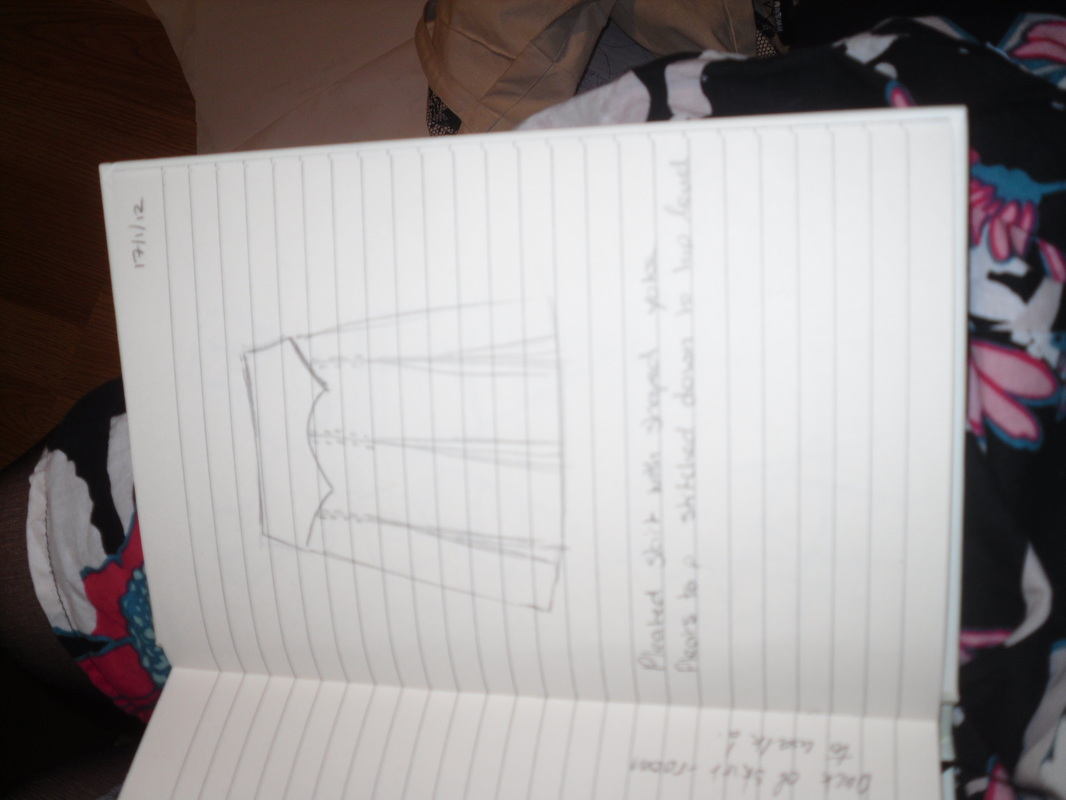
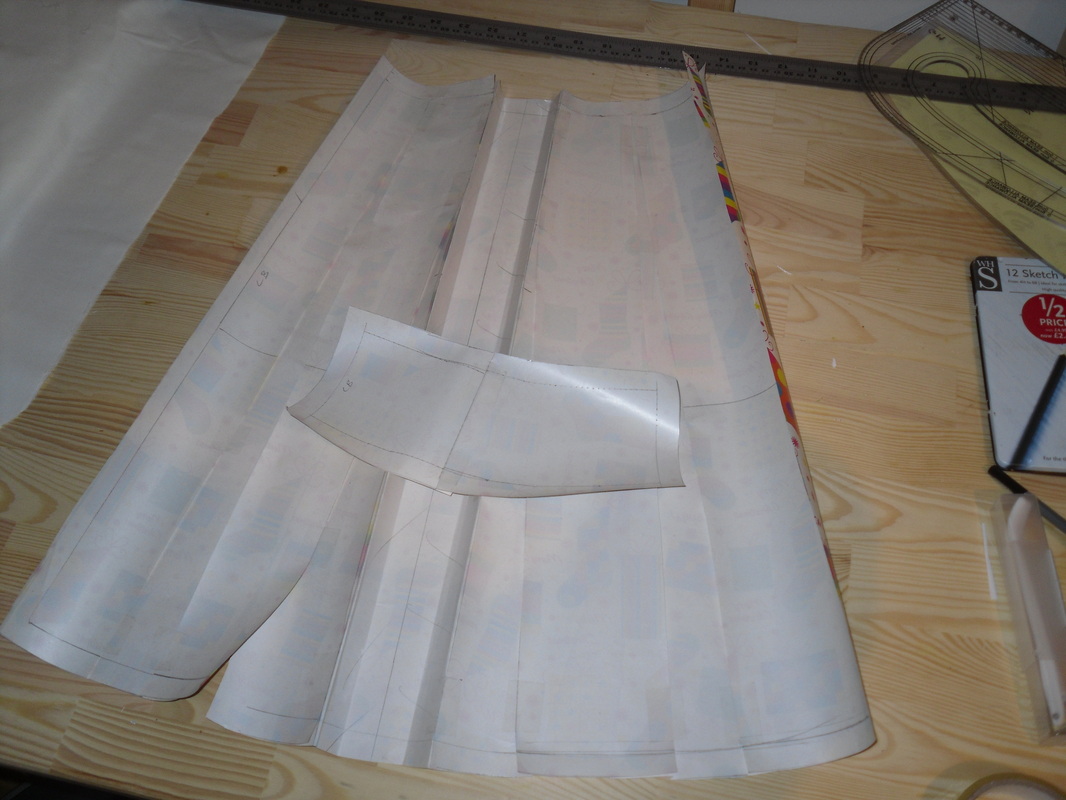
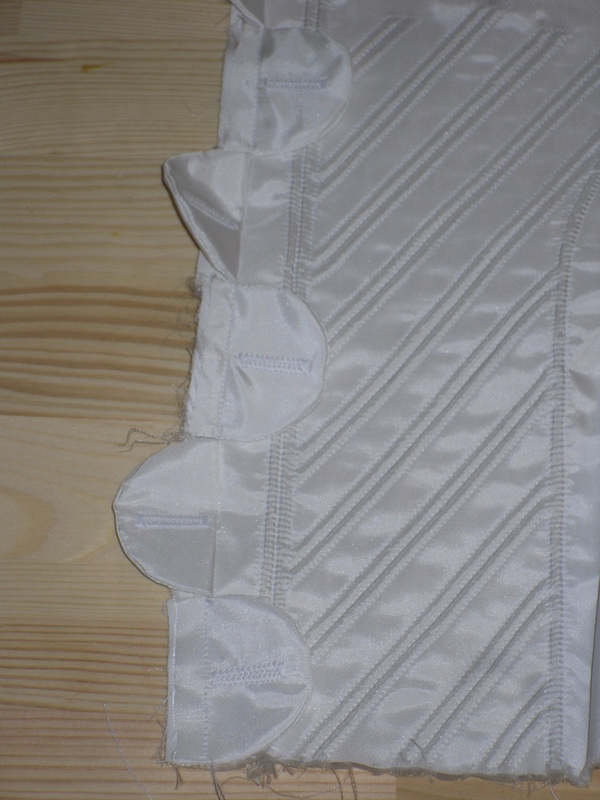
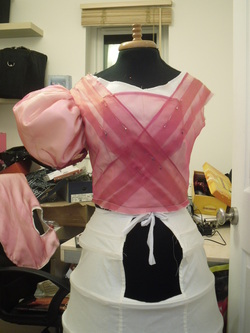
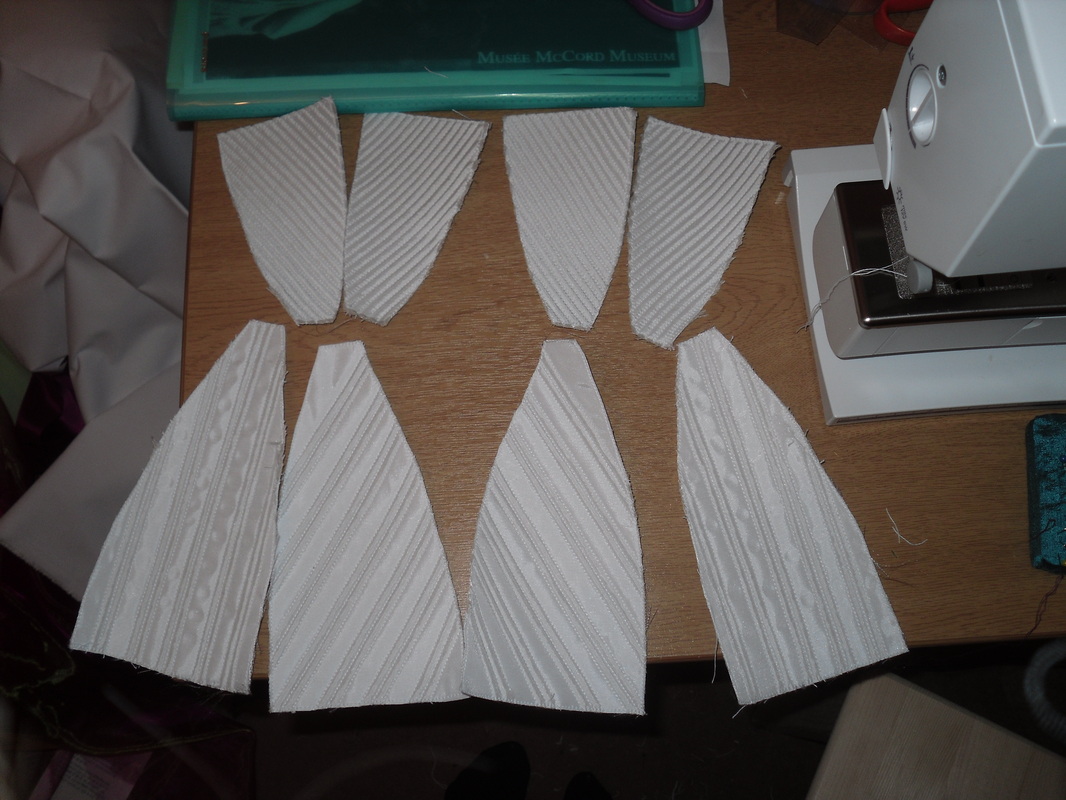
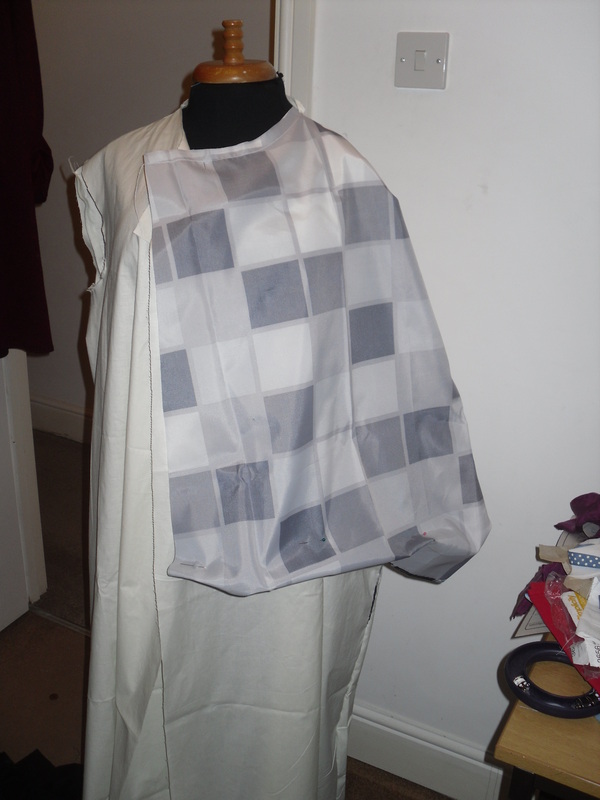
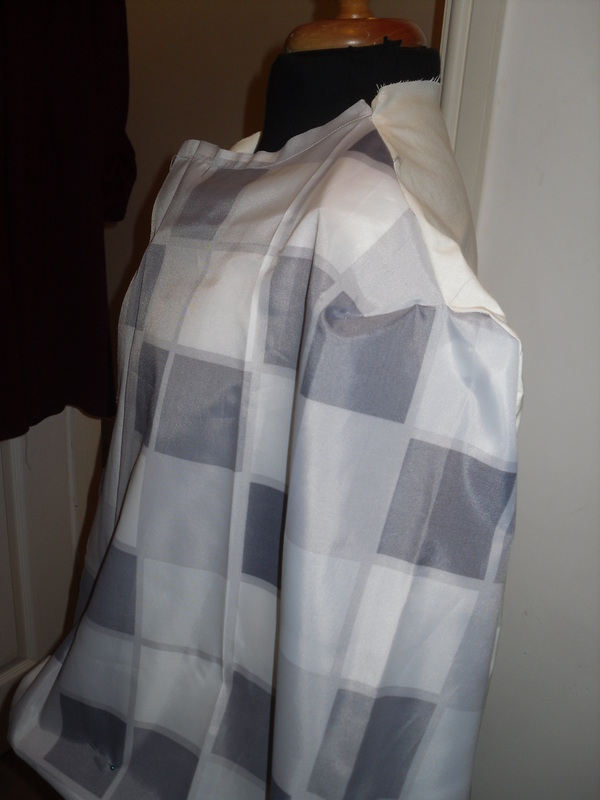
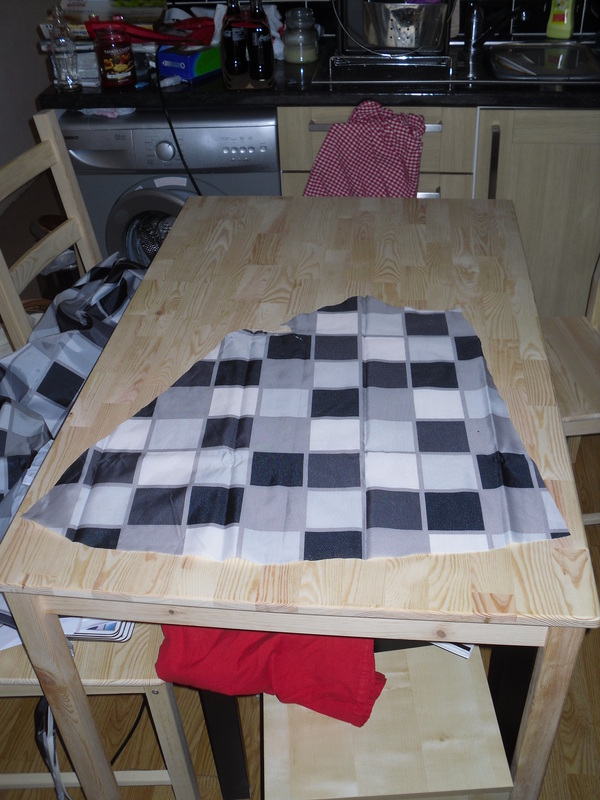
The design I decided to attempt is based on a vintage pattern I saw online while browsing for ideas, and has a shaped yoke and box pleats stitched part way down the skirt.
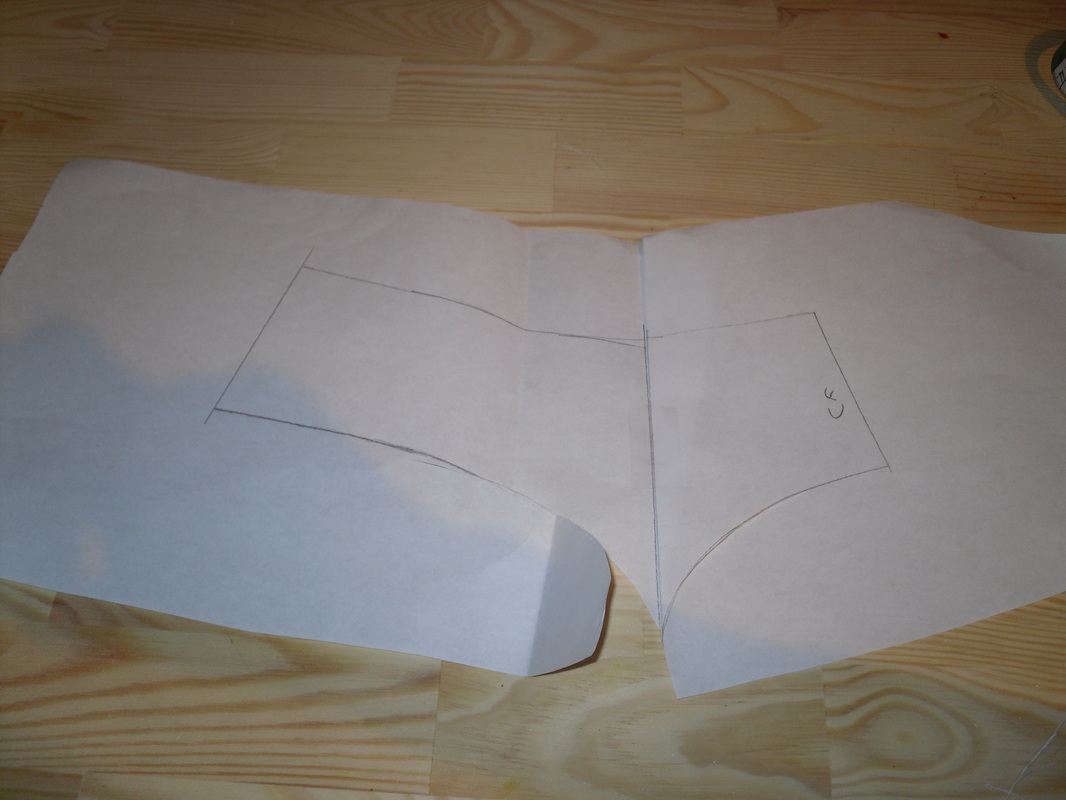
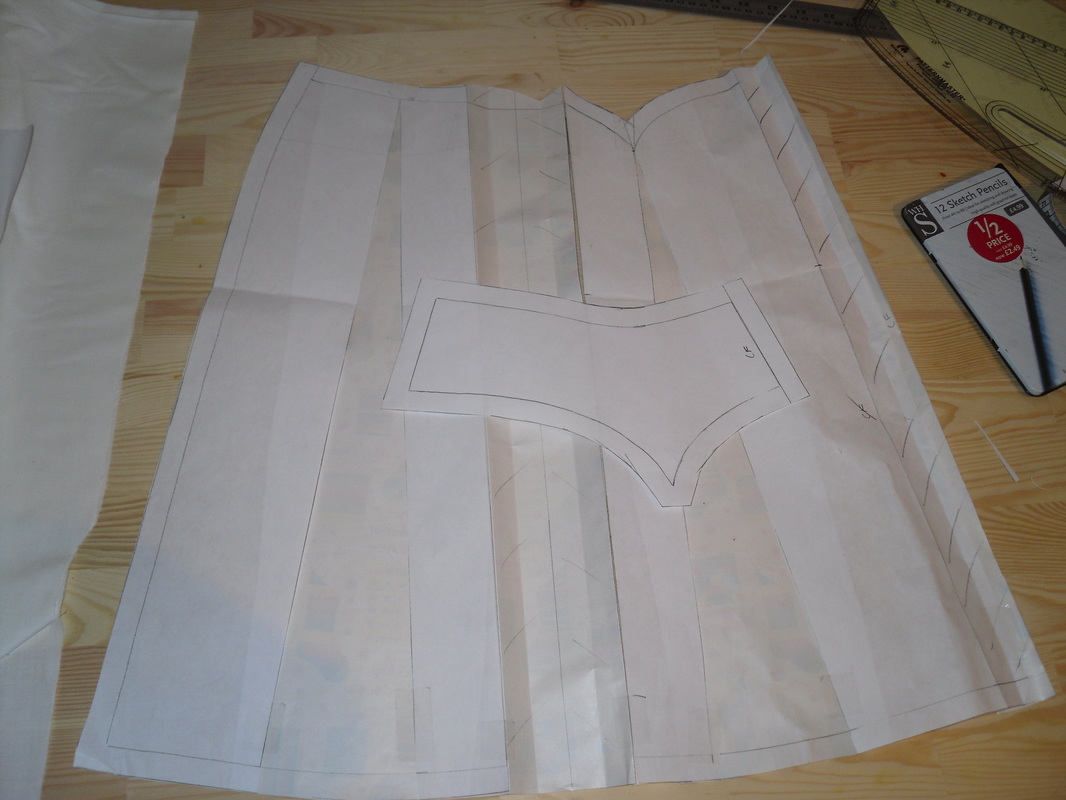
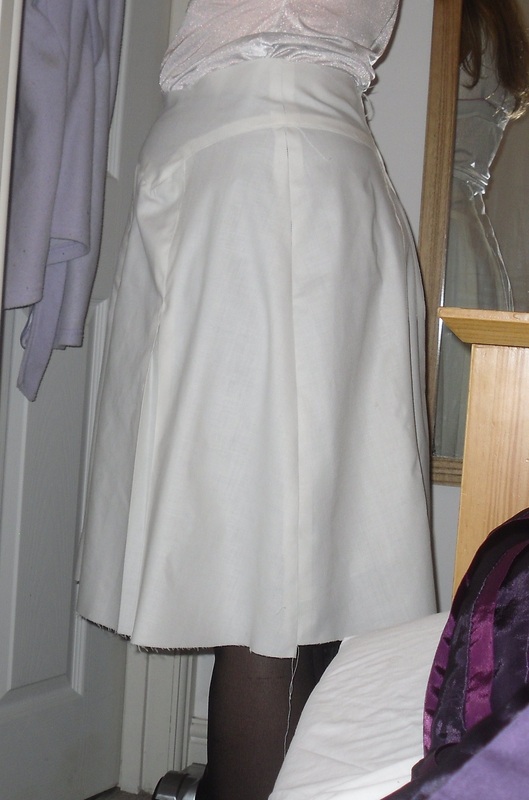
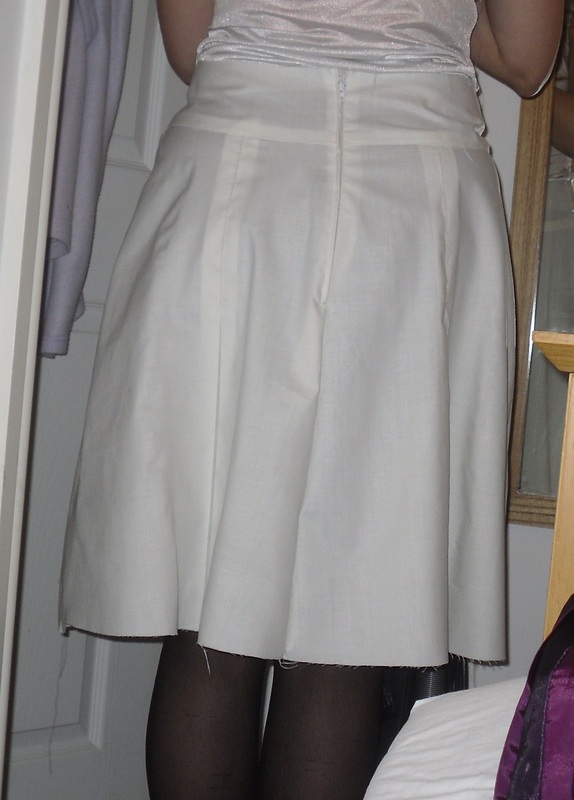
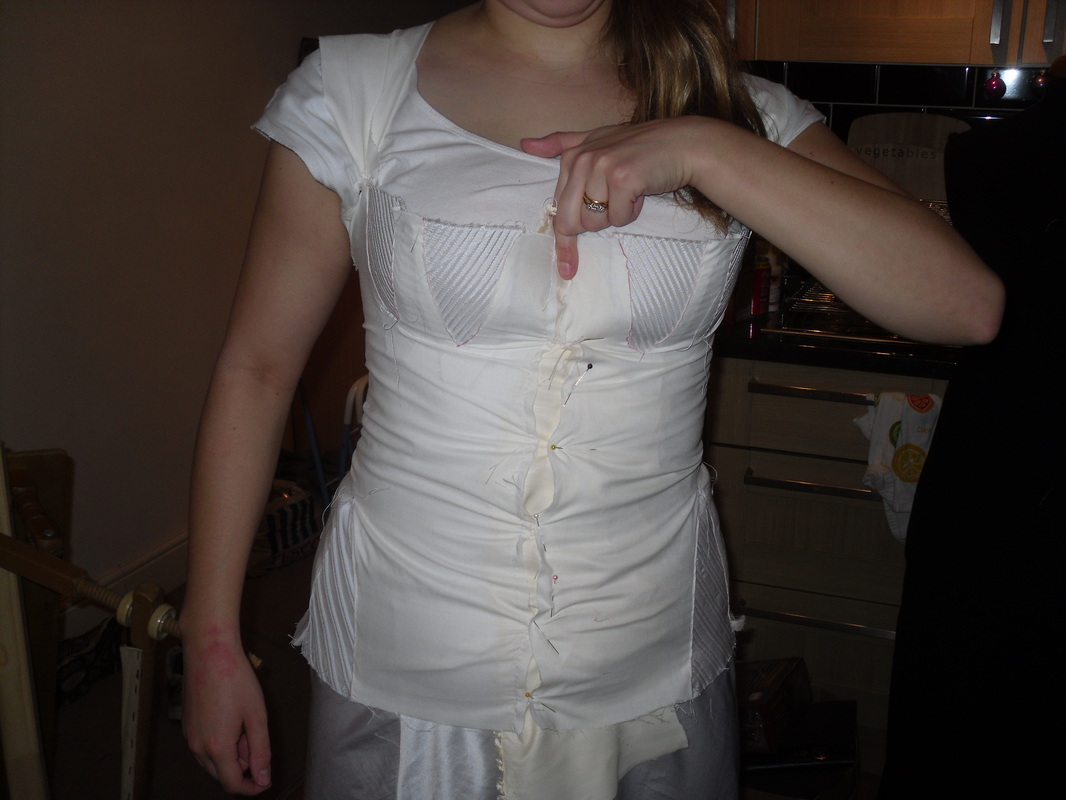
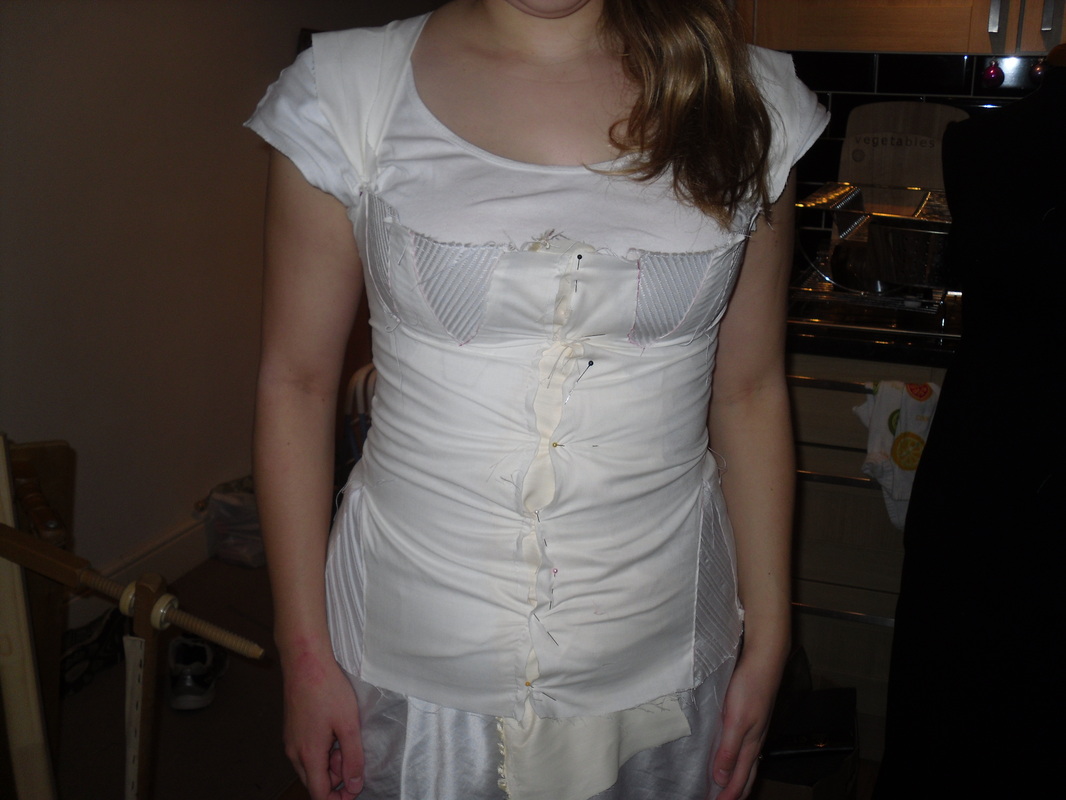
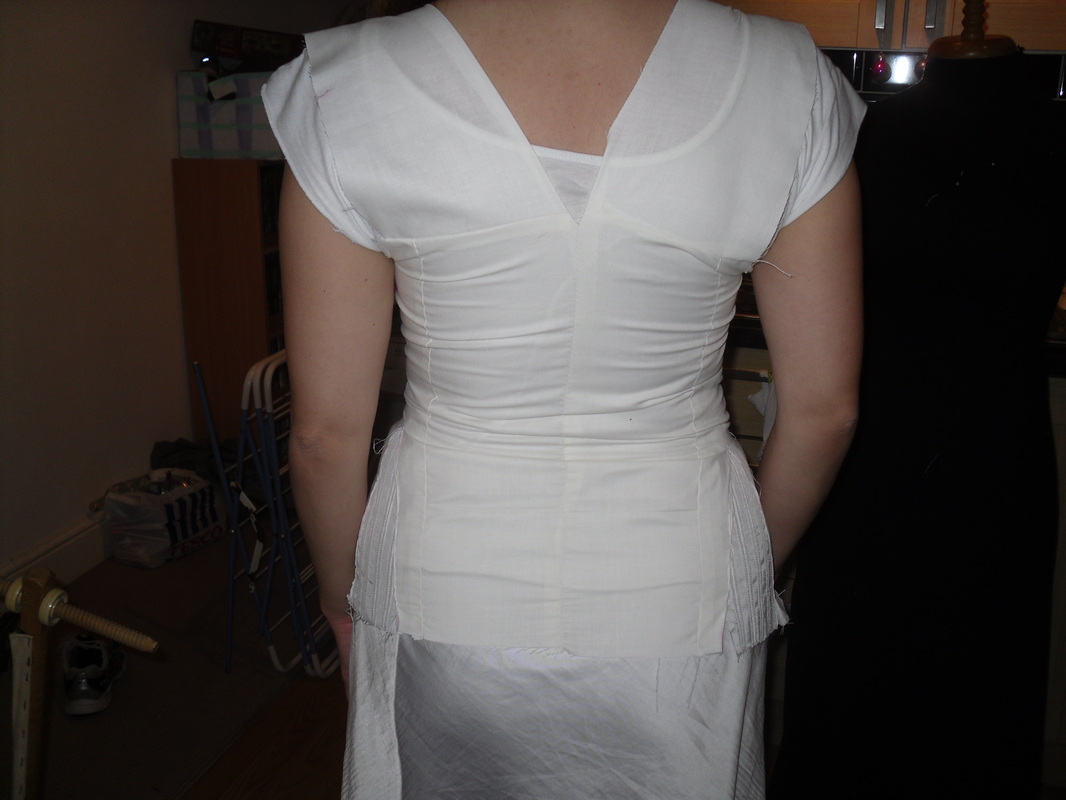
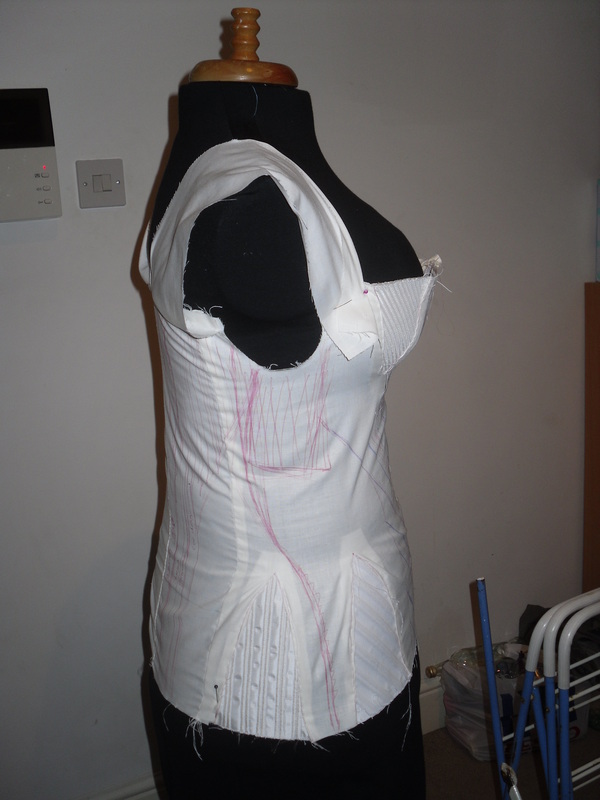
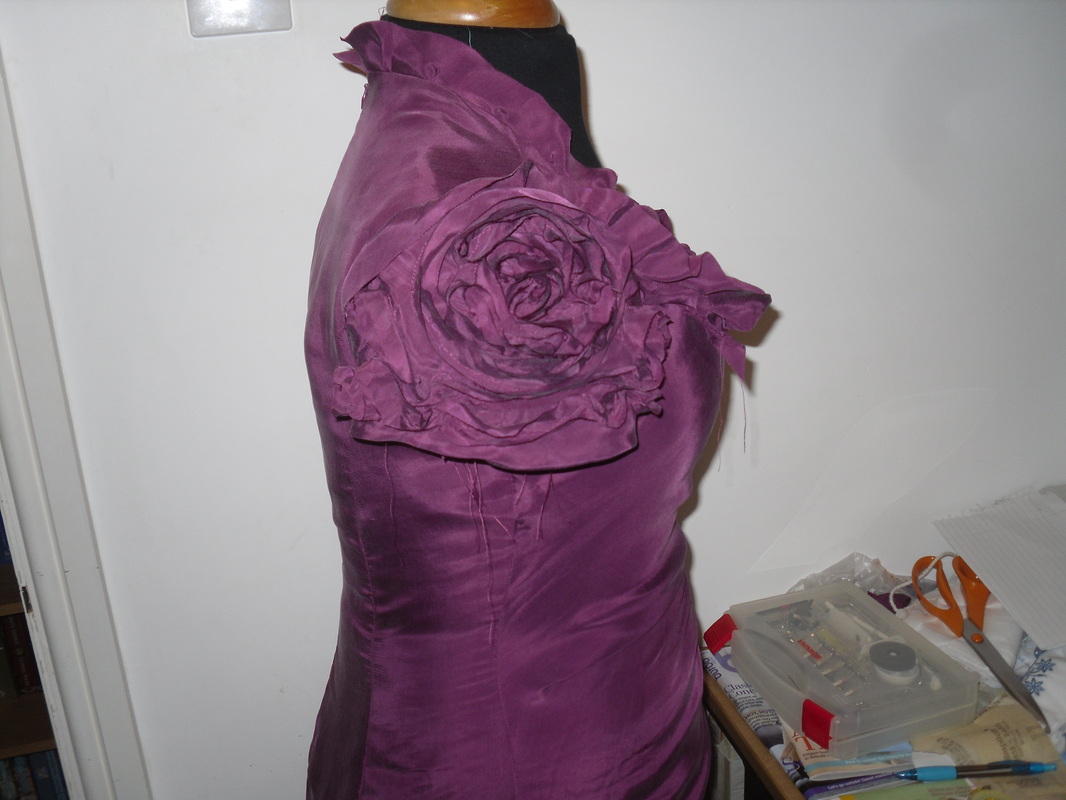
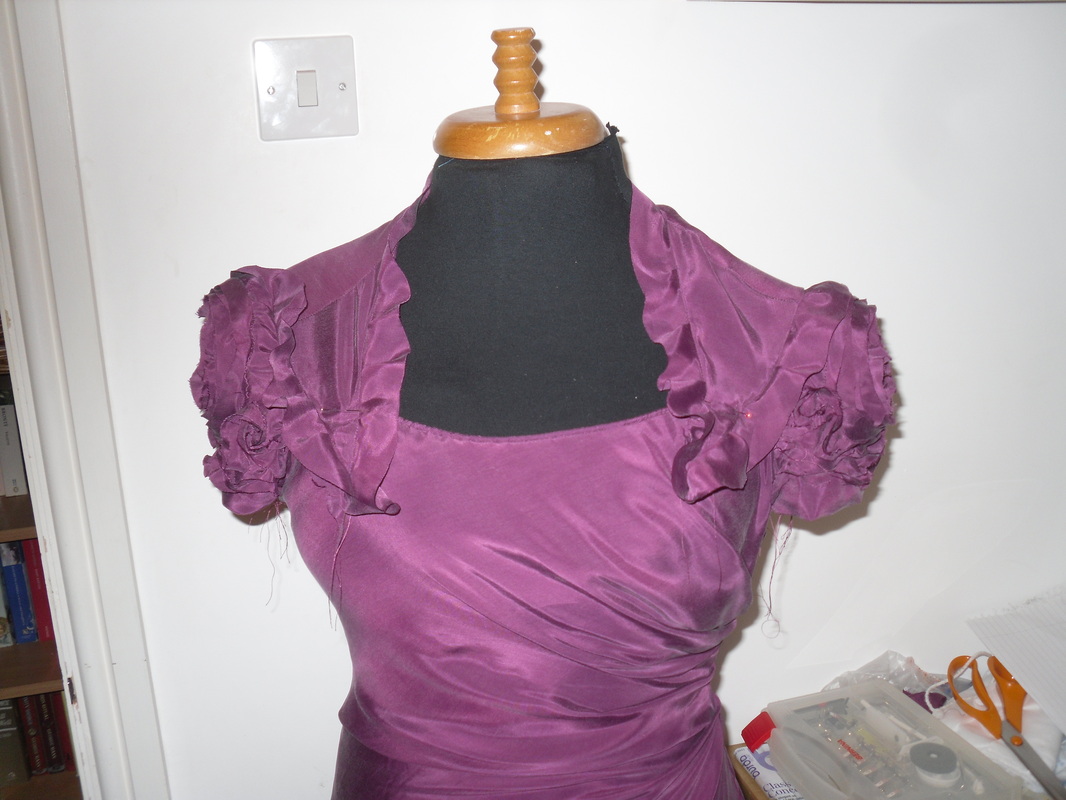
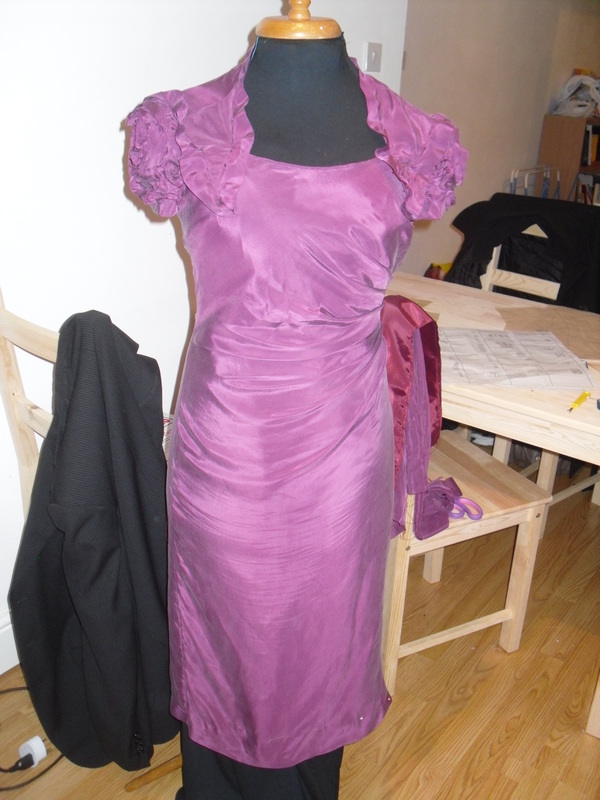
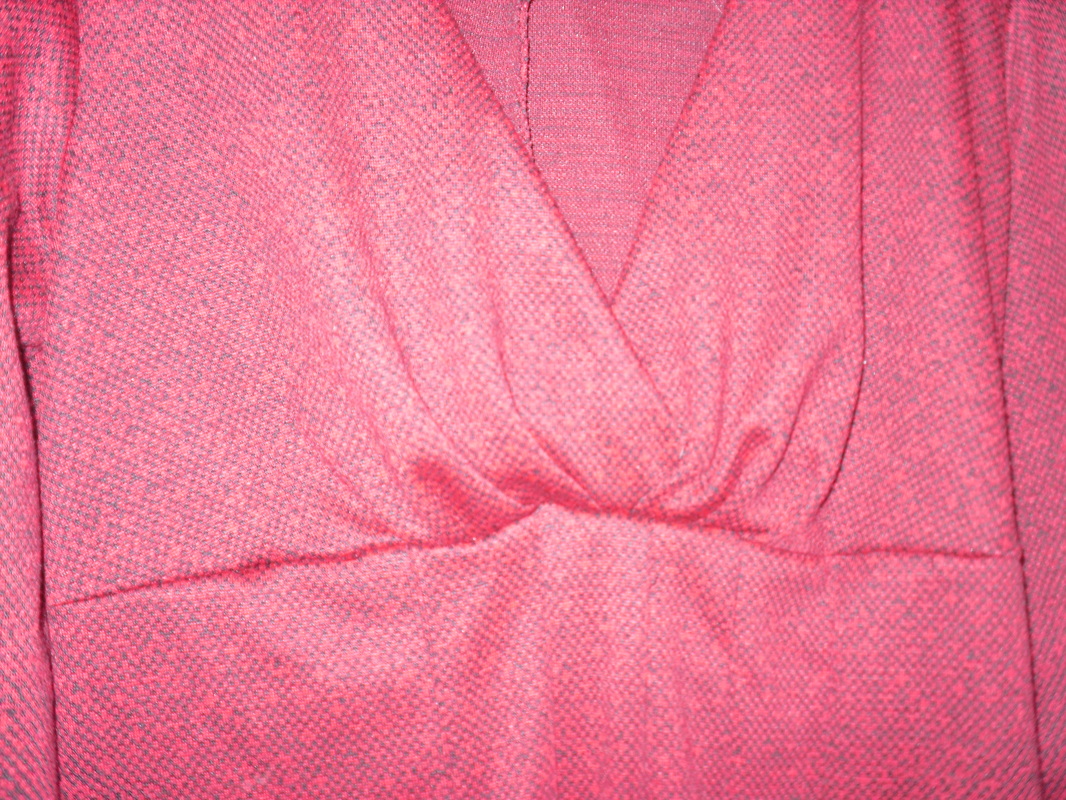
The finished item is not bad for a first attempt but not perfect either! My main issue is with the points of the yoke at the front - The fabric seems to form a bubble here - Is this just inaccuracy in my sewing or drafting, or did I do something I shouldn't have? As it currently sewn they're also a little uneven after unpicking one and resewing it to see if I could resolve the problem.
The other question which arose from this exercise is to do with keeping the balance between the front and the back. Clearly,  you don't make a skirt with an a-line front and a straight back (or vice versa), but how precise do you need to be in making sure you add the same amount of flare to each? And how do you go about being precise? Questions for the teacher on  wednesday.
0 Comments

An 1830s corset - more cording

1/21/2012

0 Comments

 
I posted about the puckering problem on a couple of forums, and I think the problem is mainly due to my choice of fabrics. For authnticity, I would have needed to use linen, which has a lot more stretch than coutil, and this stretch allow room for the cording. Alternatively, I could have sandwhiched the cord between two layers of coutil, and then had the 'fashion fabric' over the top - apparently for corded corsets a heavy mateial combined with a light material is a biig no-no.
So, I decided to press on with the cording and see what happened. Inserting the gores seems to have eased the problem of the puckering at the bottom of the underarm cording. When I stretch the corset it dissapears completely  - I think I'm going to get away with it! :) The big question now is whether it will fit well enough to put the fabric under enough tension to pull it straight.
I also made the button tabs for the center front. They are a single layer of coutil sandwhiched between two layers of saitn, and I love them already! I've stitched buttonholes but don't plan on cutting them, instead iI will stitch the buttons on through both the tab and the corset, but I wanted to have the buttonholes there to peak out under the buttons. I don't have suitable buttons yet, the ones on the original are fabric covered and very flat, possibly just a metal ring with fabric stretched over? I will have to experiment to find the right technique.
The cording, by the way, is starting to drive me nuts. mostly because my threading tool is shorter than the longest channels, I will have to do something about this before I tackle the other side! But on the plus side, I'm clearly still in love with this design, because I keep coming back to it when I planned to start work on something else!
0 Comments

An 1830s corset - cording started

1/17/2012

0 Comments

 
Updating as promised! This week, I turned the biro marked muslin into a pattern, tracing the lines onto wrapping paper and measuring to ensure that the spacing was regular where it should be. I also mad a guide piece for the front section, so that i could pin it in place and stitch along the folded/cut edges where needed.
I got one front piece corded, the longer peices were a bit of a struggle! Where all else failed, I poked holes in the coutil and pulled the cord to the outside, then started again through the same hole. This worked reasonably well, but you have to be careful not to get and kinks or twists in the cord or it won't go back through.
There seems to be a bit of uneven-ness between the cording and the seams, where the cording has shrunk some sections (I hope - otherwise its because I stitched uneven seams). I'm hoping that once I add the bust and hip gores the tension will be released.
Picture
I figure I also better update you on dress progress, actually done last week but it got missed in that huge batch of updates! I started by pinning the fabric to the front of the bodice to figure out the placing of the pleats. I then took the bodice seams apart and sewed it together again with the overlay in place, including  flat pieces at the back.
I added a sleeve, unfortunately I cut the armband way too small so I couldn't actually get it on! I will fix this, and may need to make the armholes a little wider too since it had all that extra fabric gathered in!
Anyway, with the sleeve inI can drape the pattern for the petal like sections which go over the sleeves in the original.

0 Comments

An1830s Corset

1/8/2012

3 Comments

 
As a foundation for my 2011 Holy grail project (whats that you say? Its 2012 already? well, um.... actually, once I realised I would be getting married in 2011 this became a pretty low priority, so its now a 2011-2012 project) I need an 1830's style corset. This is somewhere between regency and victorian, the corset is full length but is still more about lift and separate and general smoothing rather than cinching in the waist.
The pattern I have is by past patterns http://www.pastpatterns.com/001.html. However, I'm also in love with the 1830s corset shown in Jill Salens book on corsets, http://www.amazon.co.uk/Corsets-Historic-Techniques-Jill-Salen/dp/1906388016 which has a really cool front fastening with buttons and tabs on alternating sides. The plan is to use the pattern as a base, but following the cording pattern from the book. I may also reposition the side seam, although the hip gores seem to be in different positions in the book and the pattern so I'm not sure how that will work.
Picture
I was concerned about how long it was going to take to do the cording if I sewed channels then threaded the cord through, so I attempted to sew channels with the cord in place. My front layer is satin (dull side out) and the back layer is coutil. I used my zipper foot to sew s close to the cord as possible with the cord pressed up agaist the previous line of stitching. Unfortunately this method caused diagonal wrinkles across the cords. I actually quite like this wrinkled effect, but its not uniform enough to be able to use. I also like that I can cut the coutil to shape, attach a larger piece of satin and  then trim the satin to match. The coutil piece doesn't seem to shrink in the process. If anyone has a tip for cording in this way I'd be interested to hear for future projects.
For my second attempt at cording, I sewed the channels and then threaded the cording through -MUCH better :) To stitch the channels, I set the needle position to 4.5 on my bernina and kept the edge of the standard foot level with the previous line of stitchin. My cording is a doubled length of tesco value string, and as a threading tool I'm using a piece of millinary wire with a loop twited in.
I traced the pattern pieces for the gores and marked angles and positions for the cording, following the pattern from the book. Stitching and cording these pieces took much less time than I expected, so I'm feeling pretty good about using this me

At this stage I decided I actually better make a fitting muslin - If I'd carried on and corded the two main pieces and the corset hedn't fit, I'd have been pretty fed up! Fortunately, it fit really well! I forgot to leave a seam allowance at the front so that looks funny, as does the lack of a busk down the front, which I assume will pull the front in between my breats. Anyway, its certainly close enough that I can continue and make any small fitting adjustments with the cording in place.
By the way, I put one of the front hip gores on the wrong side, so then put the other in back to front so that the cording would slope down towards the front as it should.
The final step was to mark on the muslim where the cording should go. I also had several attenpts at drawing a new side seam, still not sure about this one! I will transfer the markings to paper, and then think very carefully about which order to sew the sections in - I'd like to be cording open channels as far as possible, rather than having to poke through the fabric to get to something which is sewn shut across one end.
And thats all for today!
3 Comments

Some Christmas (and other) Sewing

1/8/2012

0 Comments

 
I decided to make my newest nephew some dungarees for Christmas. The pattern I used was Kwik Sew 3145. I've made this pattern before and absolutely love it (and got really good reviews from the mother concerned). Its time consuming with all the top stitching but not particularly difficult.
The red accent colour was inspired by the really cute buttos I found in my local shop - I'm not sure if you can see in the picture but one is a tiny train and one a tiny truck. The embroidery is the first 'real' embroidery I've done on my machine, by which I mean it involves more than one colour, and I actually made something with it! I love the design, and the words 'I think I can' are just perfect for a one year old with all the things he'll be learning!
So here's a few projects without a lot to say about them, but they're all things I'm proud of so I wanted to share anyway!
Picture 1 is the embroidery I've done for what will eventually be a babies pinafore dress. I started this as a way to explore the things my new machine can do and will probably be coming back to at random intervals.
Picture 2 is the garter I made for my sisters wedding. This was an experiemnt to see how shirring elastic worked on my machine, and the fabric has been in my stash for years - it was the trim on a pillowcase which was so old the main fabric was disintegrating.
Picture 3 is a pair of handbags I made for my two sisters-in-law for christmas, using this free download pattern http://www.made-by-rae.com/2009/02/free-buttercup-bag-sewing-pattern/. This is a great pattern, easy to assemble and the result looks really proffessional. And it nly needs a fat quarter for the outside and another for the lining.
Picture 4 is the waitscoat I made for my hubby for christmas, using a gorgeous embroidered silk. I used simplicity 2895 again.
0 Comments

Rochester Dickensian Christmas 2012

1/8/2012

0 Comments

 
I love dressing up! At the start of December we went to Rochester for the Christmas festival. And here's what we wore! This was the first time I got to wear my 'Katy Brown' dress, and I loved it (and was pretty relieved to find it still fit). John is wearing the frock coat and waistcoat I made for him last time, and the frock coat I made this year.
Picture
And here's a picture with a couple of random people we passed on the street and ran after to ask for a picture. Why these people? Because John really wants an American Civil War confederate officers uniform, and this guy is wearing one! Apparently he belongs to a motorcycle gang who drive round dressed like this - how cool is that!
As usual, I'm saying 'next time we go we'll make it to the ball - the post wedding finances wouldn't stretch to tickets and hotel this year, but I'm hoping next yer will be the one!

0 Comments

Inverness Coat

1/8/2012

0 Comments

 
Remember this post about making an inverness clock for John? http://www.faraboverubies.co.uk/1/post/2010/11/mens-waistcoat.html
Well, last years Rochester festival was off the menu for us due to the snow, so it never really got made... till this year!
I did indeed use pattern 1 from the above post as my main resource, sizing up the front and back pieces according to John's chest measurement. I resized the sleeve pieces with the same scale, but ended up removing quite a lot of the back of the sleeve at the muslin stage.
Another change I made and later regretted was changing the dart at the top of the sleeve to be more of a gradual curve, once I'd got the whole thing assembled and on John (rather than on my female dummy), I realised that a slight squaring of the shoulders as indicated by the pattern would probably have looked better.
I used a shower curtain to line the sleeves and the top section of the back. I was determined that this time John wouldn't be getting cold and wet while I was wrapped up warm!
Here is the muslin:
Here are my pattern pieces after assembling the muslin, making changes and taking it all apart again:
Finished garment in the next post!
0 Comments

Vogue 1162

1/8/2012

2 Comments

 
I made this dress for my work Chirstmas party - I was looking for something I'd feel comfortable in, in other words it had to be not too low cut, have sleeves and be knee length. I was really pleased when I saw this dress, as it seemed to be a good style - cocktail dress rather than evening dress which is what I wanted.
The fabric I used was a pink/purple peach skin fabric, very thin and drapey, which I had in my stash. It wa actually a nightmare to sew, especially trying to get those structured pleats across the waist. but it does feel divine! I wanted to work with that light drapey feel, so I decidde to use unfinished bias strips for the neck and sleeve ruffles, rather than folding in half , stitching and turning right way out as suggested by the pattern. The bias but meant that the edges didn't fray, just softened a little from the cut edge. I was really pleased with the result of this.
In order to decorate the sleeves, I first traced the pattern for the swirls onto tearable stabiliser (the type you use with an embroidery machine). I then pinned this to the wrong side of the sleeve piece around the edges and stitched over the design in coordinating thread, using the embroidery foot for my machine and with the feed dogs dropped. I was absolutely amazed by how much control I had doing this on my new machine, so much better than the unsuccessful attempt I had with my old machine and a generic foot which I'm still not convinced really fit.
Once I'd stitched the whole pattern, I tore off the stabiliser to leave the stitched pattern, and sewed the strips over these lines. I didn't pin first but stitched slowly down the center of the strip pulling it to the side where required. For some of the tighter u-bends I stopped with the needle in the fabric to position the fabric correctly, but most of the time I just went slowly but continuously.When I was reading reviews of this pattern a lot of people said they spent 12 hours hand sewing this part, so I wanted to let you know it is possible to do by machine! I didn;t get it spot on all the time, but the ruffles are so close together and guide stitching was covered up.
Overall pretty pleased with this dress! I think if I made it again, I would alter the pattern a little first, to extend the neckline higher up. It was a little low for me, and its critical for fit that thewaist pleats fall in the right place, or you end up with weird creases falling right on the point of your boob! I also found the front neckline was too wide, possibly because I still had it too high up? I dealt with this by pulling up the piping along this edge.
2 Comments

Simplicity 2145

1/7/2012

0 Comments

 
Pattern Description:
 Misses' dress with bodice and sleeve variations sewing pattern. I sewed the pleated bodice and the (almost) full length sleeves.
Pattern Sizing:
12 - 20
Did it look like the photo/drawing on the pattern envelope once you were done sewing with it?
 
Mostly, apart from the optional waist drape which looked awful in my thick fabric so I disgarded it
Were the instructions easy to follow?
Yes
What did you particularly like or dislike about the pattern?
 
I loved the way the pleats at the front interlock rather than just overlapping, and the cuff pleat detail on the long sleeves.
Fabric Used:
A thicker than average knit fabric.
Pattern alterations or any design changes you made:
As mentioned, I had trouble with the front draping section and decided to disgard it rather than struggle to make it work. As usual when I ,ake my size according to the chart, it came out too big but this was easily resolved by taking in the side seams before setting in th sleeves.
Would you sew it again? Would you recommend it to others?
I already have blue T-shirt weight jersey put aside for a short sleeved vesion. It took me around 5 hours to complete so not a difficult pattern.
Conclusion:
Great pattern with nice variations, I'll definately be using this one again.

0 Comments

    Author

    My crazy costuming, sewing and maybe other stuff too blog! Hopefully others can learn from my mistakes and I can learn from your comments :)

    Hey you! ;)

    According to the stats people are actually visiting this site - I'd love to know who you are so please leave comments!

    Archives

    June 2017
    April 2017
    February 2017
    August 2016
    February 2016
    January 2016
    June 2015
    October 2014
    September 2014
    October 2013
    May 2013
    April 2013
    March 2013
    February 2013
    January 2013
    November 2012
    October 2012
    September 2012
    August 2012
    July 2012
    June 2012
    April 2012
    March 2012
    January 2012
    October 2011
    August 2011
    February 2011
    January 2011
    December 2010
    November 2010
    October 2010

    Categories

    All
    1830s
    1860s
    1870s
    1880s
    Bridal
    Coat
    Custom Order
    Florence Maud Dowding
    Historical Accuracy
    Historical Sew Fortnightly
    Holy Grail 2011
    Inspiration
    Kids Clothes
    Modern Clothing
    Pattern Drafting
    Project Destash
    Random Stuff
    Underwear
    Victorian Menswear

    RSS Feed

    Picture
Powered by Create your own unique website with customizable templates.