As a foundation for my 2011 Holy grail project (whats that you say? Its 2012 already? well, um.... actually, once I realised I would be getting married in 2011 this became a pretty low priority, so its now a 2011-2012 project) I need an 1830's style corset. This is somewhere between regency and victorian, the corset is full length but is still more about lift and separate and general smoothing rather than cinching in the waist.
The pattern I have is by past patterns http://www.pastpatterns.com/001.html. However, I'm also in love with the 1830s corset shown in Jill Salens book on corsets, http://www.amazon.co.uk/Corsets-Historic-Techniques-Jill-Salen/dp/1906388016 which has a really cool front fastening with buttons and tabs on alternating sides. The plan is to use the pattern as a base, but following the cording pattern from the book. I may also reposition the side seam, although the hip gores seem to be in different positions in the book and the pattern so I'm not sure how that will work.
The pattern I have is by past patterns http://www.pastpatterns.com/001.html. However, I'm also in love with the 1830s corset shown in Jill Salens book on corsets, http://www.amazon.co.uk/Corsets-Historic-Techniques-Jill-Salen/dp/1906388016 which has a really cool front fastening with buttons and tabs on alternating sides. The plan is to use the pattern as a base, but following the cording pattern from the book. I may also reposition the side seam, although the hip gores seem to be in different positions in the book and the pattern so I'm not sure how that will work.
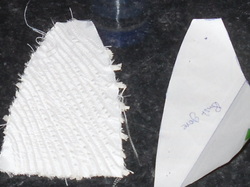
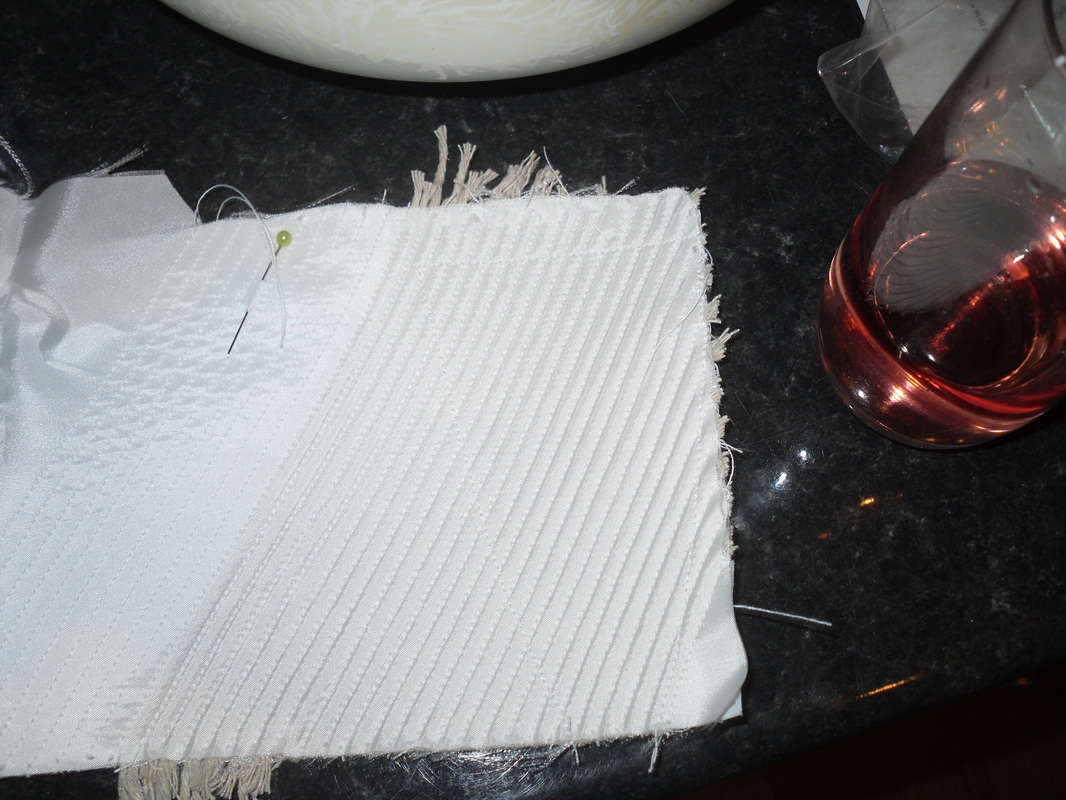
I was concerned about how long it was going to take to do the cording if I sewed channels then threaded the cord through, so I attempted to sew channels with the cord in place. My front layer is satin (dull side out) and the back layer is coutil. I used my zipper foot to sew s close to the cord as possible with the cord pressed up agaist the previous line of stitching. Unfortunately this method caused diagonal wrinkles across the cords. I actually quite like this wrinkled effect, but its not uniform enough to be able to use. I also like that I can cut the coutil to shape, attach a larger piece of satin and then trim the satin to match. The coutil piece doesn't seem to shrink in the process. If anyone has a tip for cording in this way I'd be interested to hear for future projects.
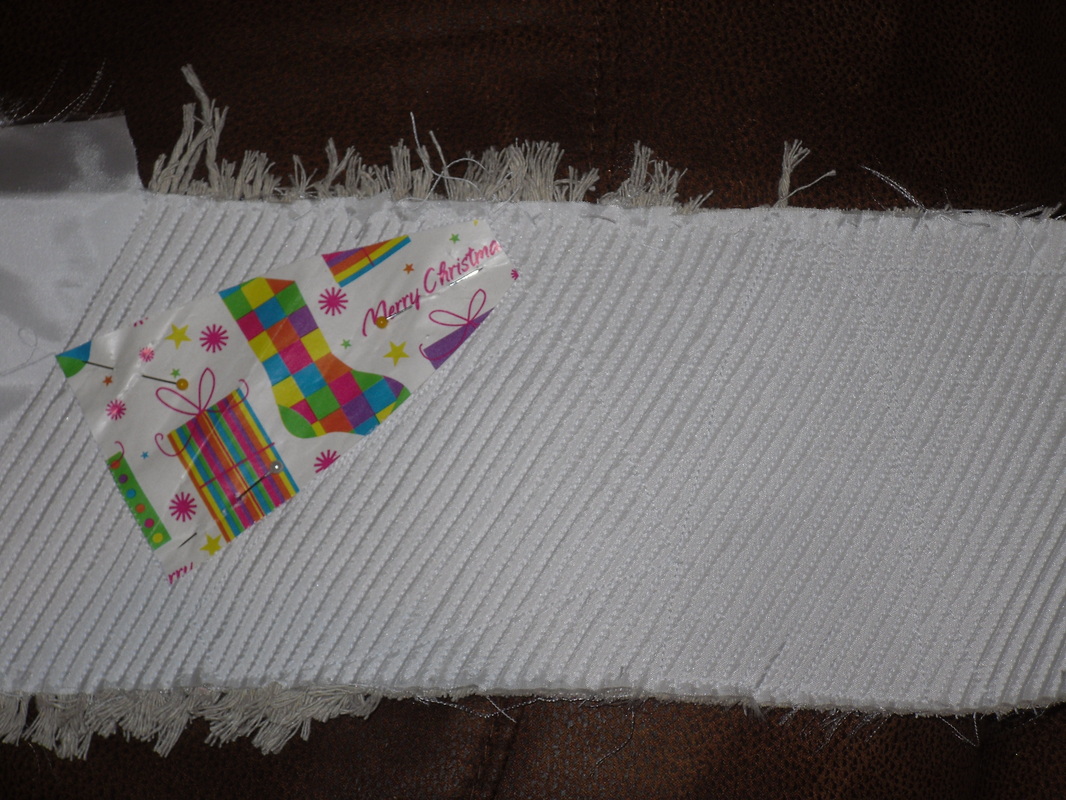
For my second attempt at cording, I sewed the channels and then threaded the cording through -MUCH better :) To stitch the channels, I set the needle position to 4.5 on my bernina and kept the edge of the standard foot level with the previous line of stitchin. My cording is a doubled length of tesco value string, and as a threading tool I'm using a piece of millinary wire with a loop twited in.
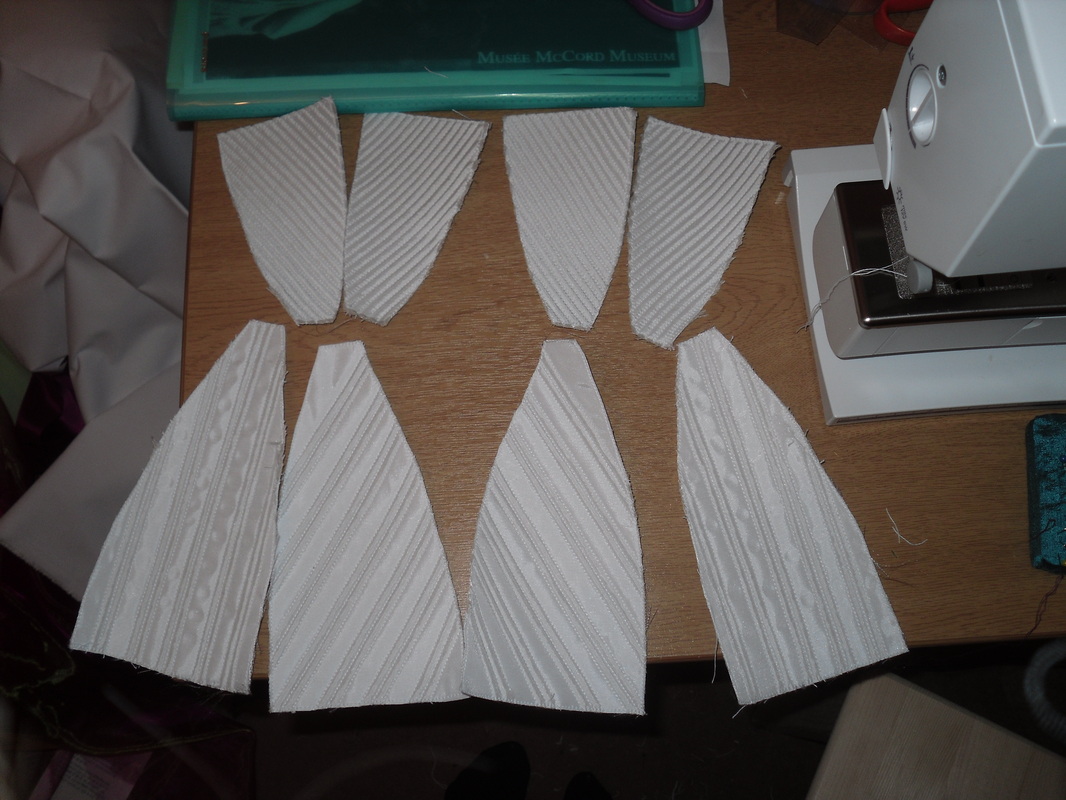
I traced the pattern pieces for the gores and marked angles and positions for the cording, following the pattern from the book. Stitching and cording these pieces took much less time than I expected, so I'm feeling pretty good about using this me
For my second attempt at cording, I sewed the channels and then threaded the cording through -MUCH better :) To stitch the channels, I set the needle position to 4.5 on my bernina and kept the edge of the standard foot level with the previous line of stitchin. My cording is a doubled length of tesco value string, and as a threading tool I'm using a piece of millinary wire with a loop twited in.
I traced the pattern pieces for the gores and marked angles and positions for the cording, following the pattern from the book. Stitching and cording these pieces took much less time than I expected, so I'm feeling pretty good about using this me
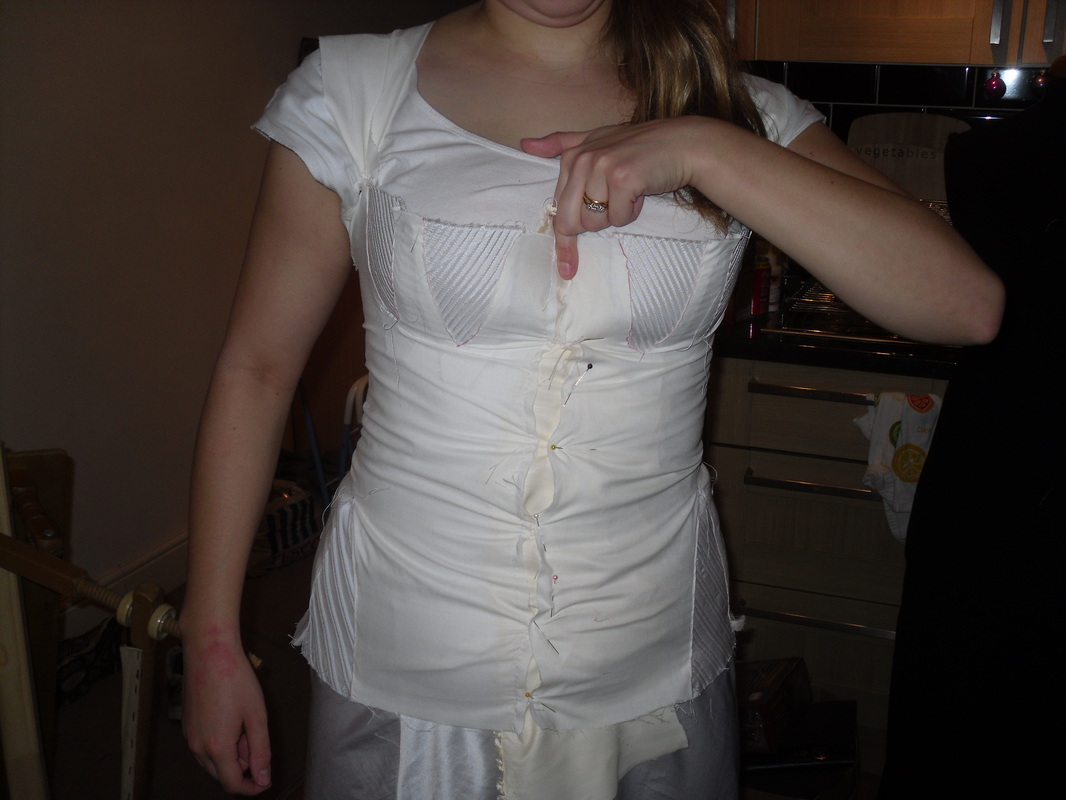
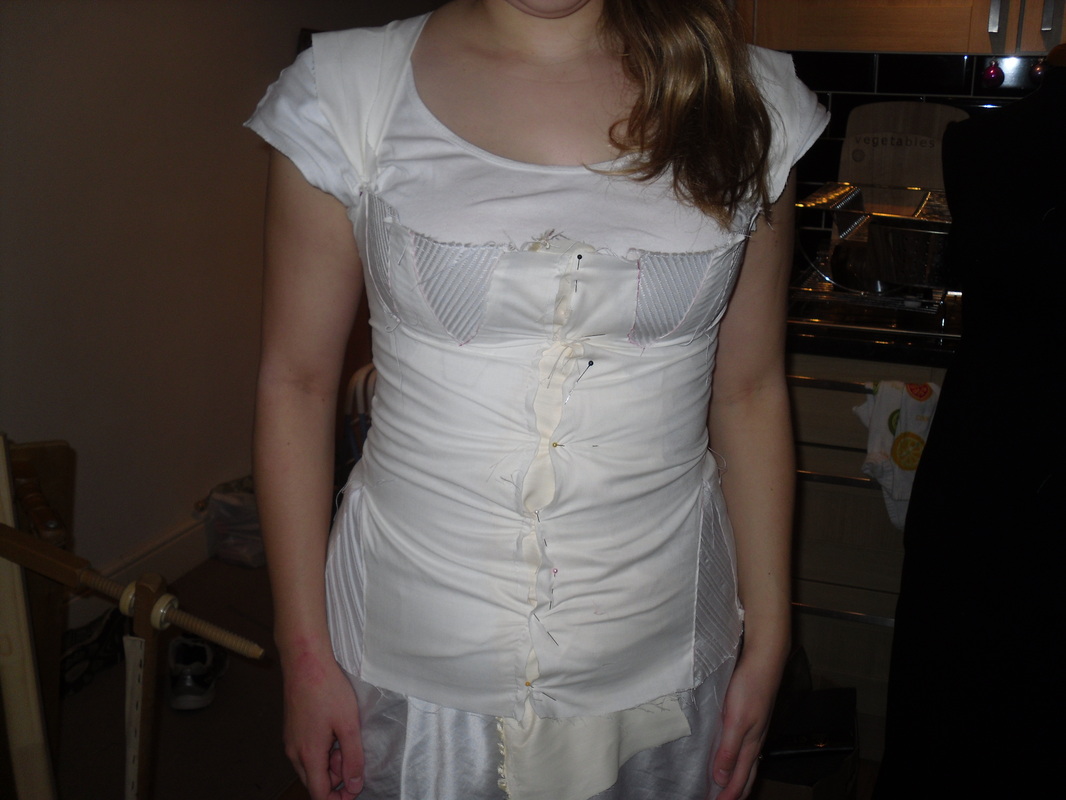
At this stage I decided I actually better make a fitting muslin - If I'd carried on and corded the two main pieces and the corset hedn't fit, I'd have been pretty fed up! Fortunately, it fit really well! I forgot to leave a seam allowance at the front so that looks funny, as does the lack of a busk down the front, which I assume will pull the front in between my breats. Anyway, its certainly close enough that I can continue and make any small fitting adjustments with the cording in place.
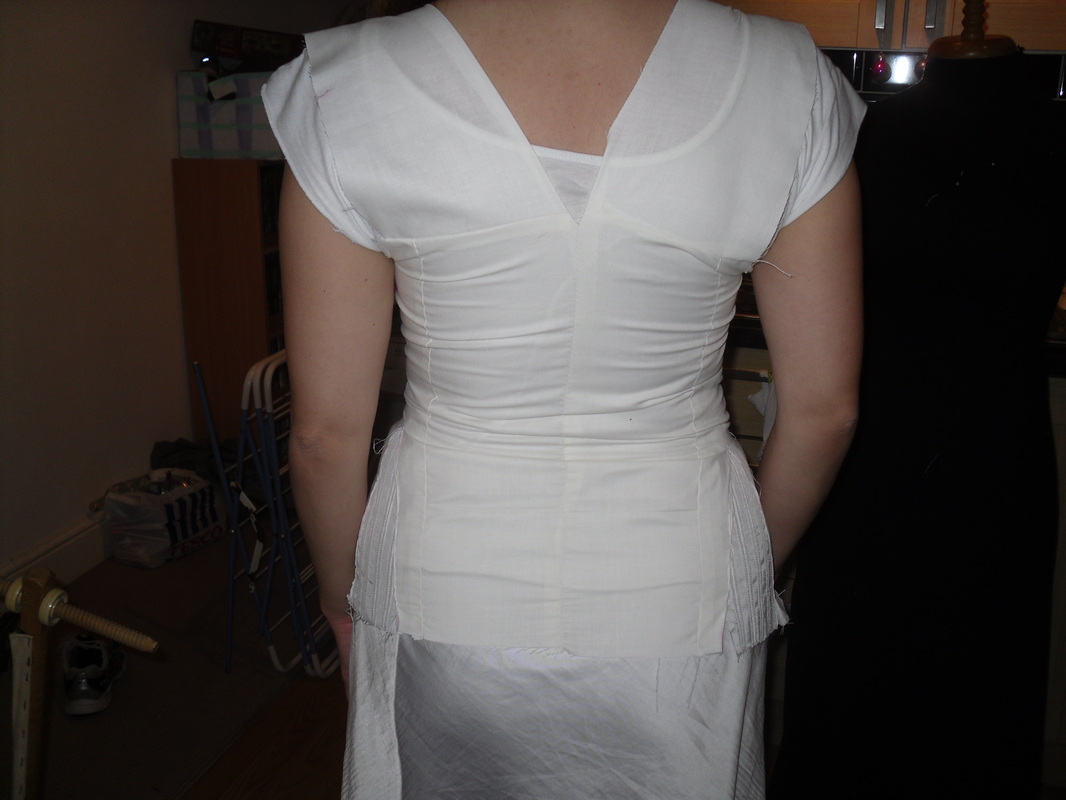
By the way, I put one of the front hip gores on the wrong side, so then put the other in back to front so that the cording would slope down towards the front as it should.
By the way, I put one of the front hip gores on the wrong side, so then put the other in back to front so that the cording would slope down towards the front as it should.

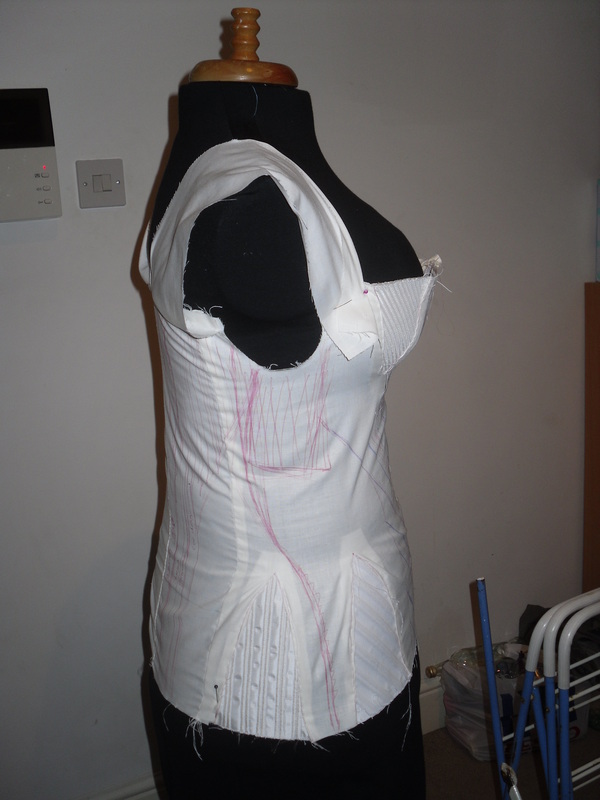
The final step was to mark on the muslim where the cording should go. I also had several attenpts at drawing a new side seam, still not sure about this one! I will transfer the markings to paper, and then think very carefully about which order to sew the sections in - I'd like to be cording open channels as far as possible, rather than having to poke through the fabric to get to something which is sewn shut across one end.
And thats all for today!
And thats all for today!


 RSS Feed