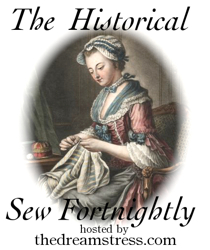
Lining partly assembled - I'm liking the shape that the quilted satin gives!
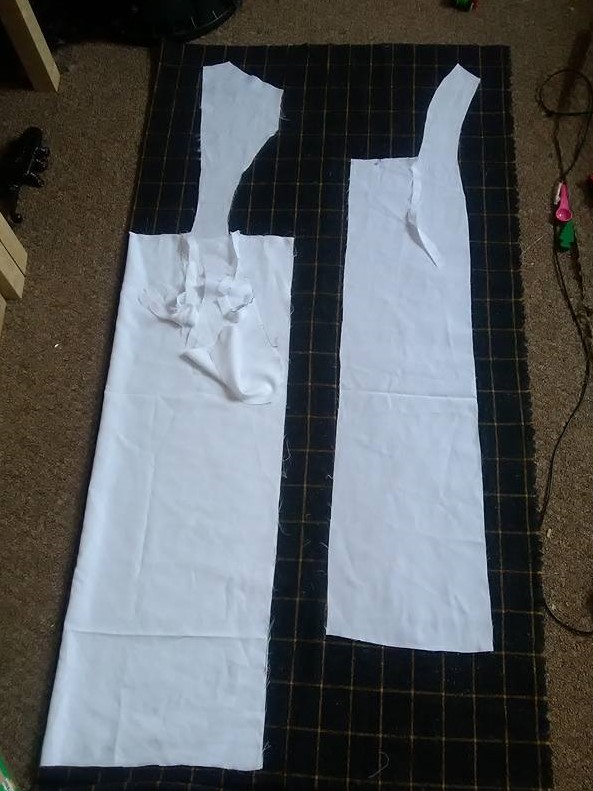
And on to the real fabric! Because I need to match the patterns across seam lines I've cut my muslin apart right along the stitching lines. First I lay everything out and figure out the best placement of the checks to get things as lined up as possible - when a curved edge is meeting a straight edge it's not going to be possible to match things perfectly but it's still gotta look good!
And on to the real fabric! Because I need to match the patterns across seam lines I've cut my muslin apart right along the stitching lines. First I lay everything out and figure out the best placement of the checks to get things as lined up as possible - when a curved edge is meeting a straight edge it's not going to be possible to match things perfectly but it's still gotta look good!
I drew around the pattern with chalk, then flipped it over and drew the other side. Then because I'd cut all the seam allowances off I had to draw them back on again before cutting out. Because this layer is going over a padded lining I cut a larger than usual allowance so I can adjust if required.
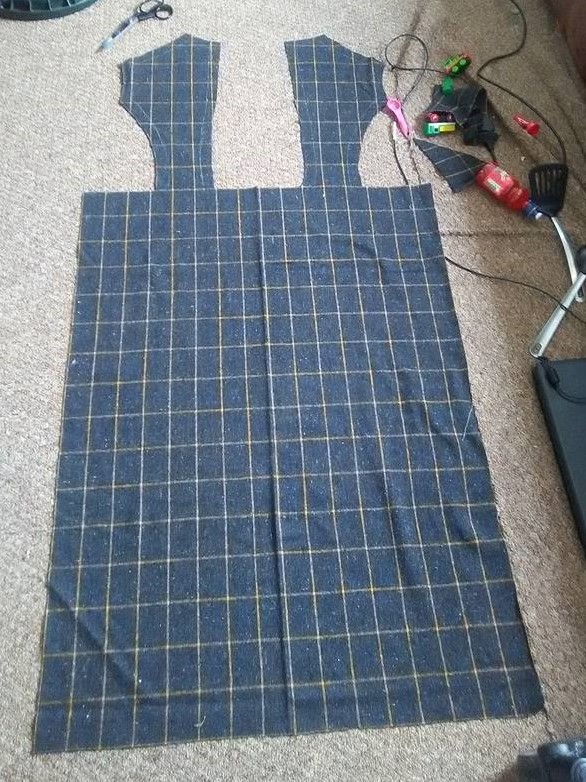
And then I thread traced the chalk outline with basting thread - this is an important step because the chalk will rub off with handling, and it also allows us to see the stitching lines from both sides.

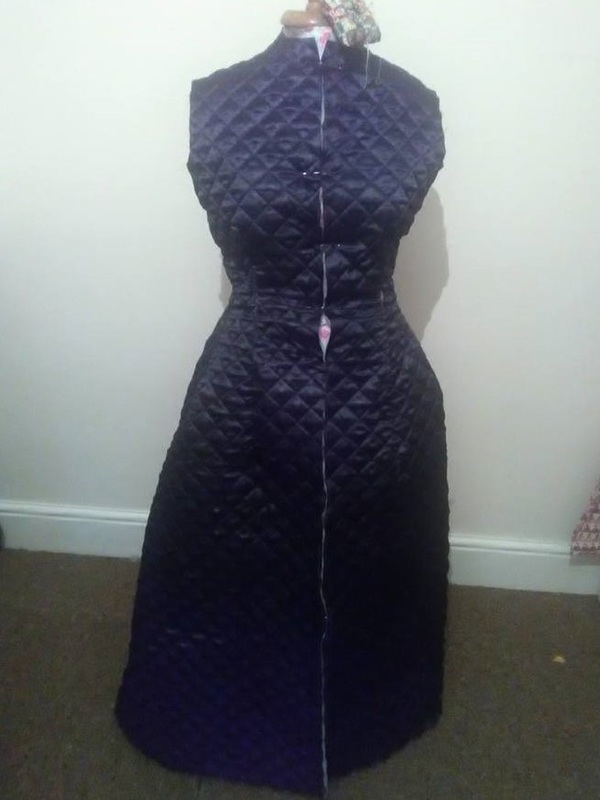
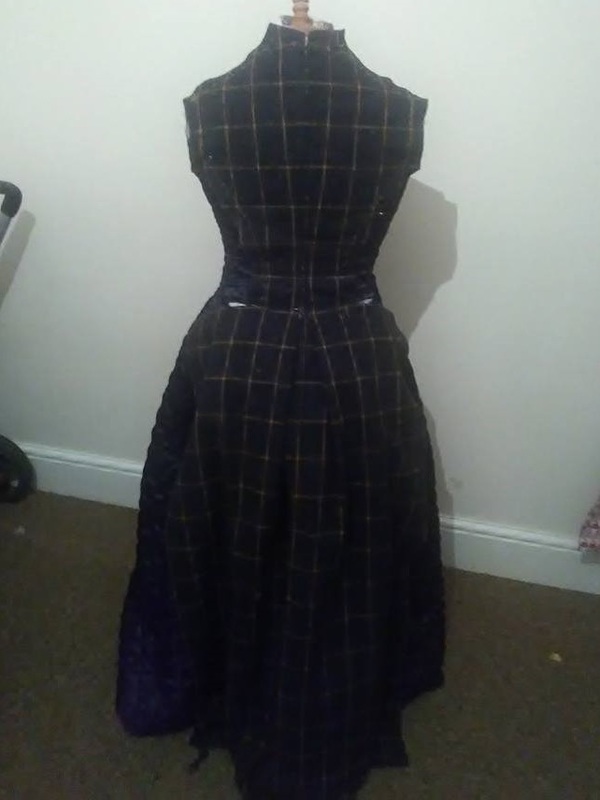
And I tacked the back seam - it looks yummy!
 RSS Feed