
Wow, so much learning on this one = and I'm so pleased with the result!
The first thing the teacher suggested was that I make up the basic skirt block and alter it to fit me (if needed). In order to be able to manipulate the block properly, I needed to stick to straight lines where there were straight lines - no adding in curves or corners where there weren't any before.
Once I made up the block and put it on, it became very obvious that the front darts ended too far down for me, nd that it was too big on the hips. I resolved this by taking a vertical half inch tuck down the front form the dart to the hem. I then transfered this to the bock by cutting vertically from the point of the dart to the hem, overlapping the pieces by half an inch and tracing round to create a new block. If you make an lateration like this, don't forget that the front block should be slightly wider than the back block - this is so the side seams fall slightly to the back and can't beseen from the front. I just got away without having to correct for this on my alterationj.
Correction number 2 was in the way I drafted the pattern - I realised later that I should have manipulated the pattern to remve the dart THEN drawn the yoke. Otherwise, I risked removing a larger angle from the yoke than from the skirt, which would of course form a bubble or pont like the one I was seeing.
I redrafted the pattern from scratch and it looked much better than before, but still not perfect - in orde to get to perfect, I needed to improve my sewing technique. When I sewed the yoke to the skirt, I had stay stiched the dip in the main skirt section, snipped into the point and sewed each section seperately. This was a mistake! I sewed a test version all in one, stopping at the points with the needle in the fabric to flip the excess fabric to the other side of the needle, pivot and carry on.
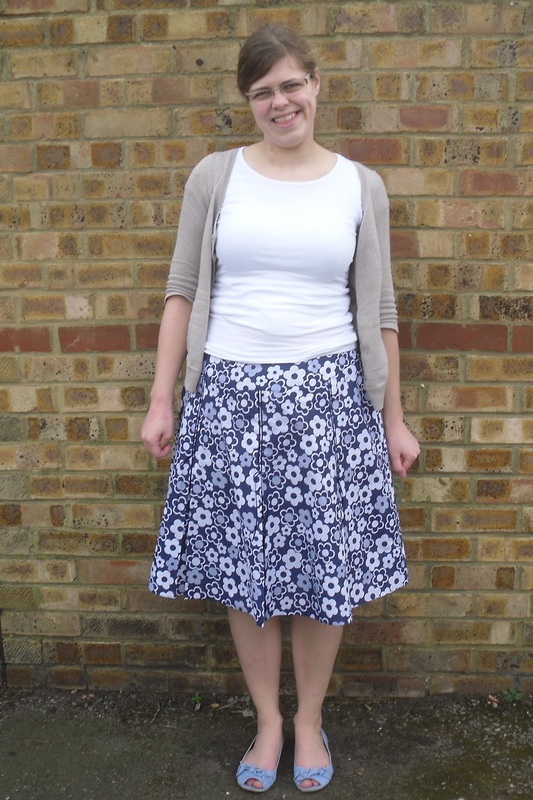
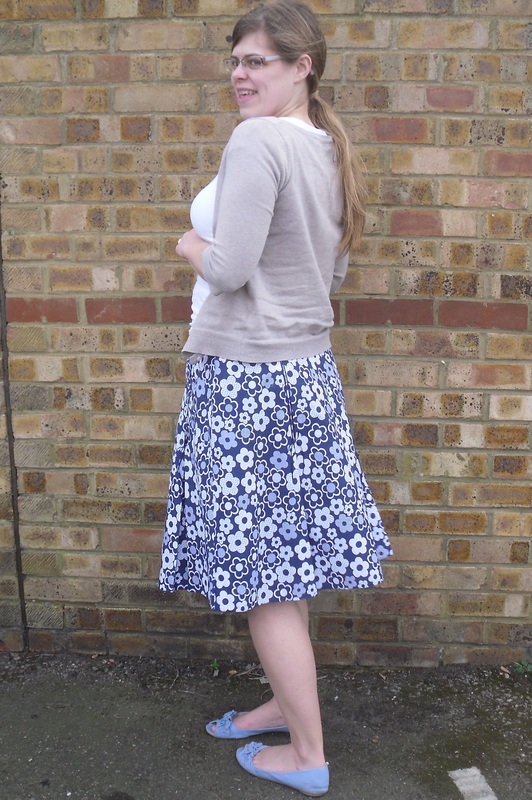
I added baby ribbon down the edges of the pleats to emphasize the pleats, and top stitched the yoke for the same reason!
The first thing the teacher suggested was that I make up the basic skirt block and alter it to fit me (if needed). In order to be able to manipulate the block properly, I needed to stick to straight lines where there were straight lines - no adding in curves or corners where there weren't any before.
Once I made up the block and put it on, it became very obvious that the front darts ended too far down for me, nd that it was too big on the hips. I resolved this by taking a vertical half inch tuck down the front form the dart to the hem. I then transfered this to the bock by cutting vertically from the point of the dart to the hem, overlapping the pieces by half an inch and tracing round to create a new block. If you make an lateration like this, don't forget that the front block should be slightly wider than the back block - this is so the side seams fall slightly to the back and can't beseen from the front. I just got away without having to correct for this on my alterationj.
Correction number 2 was in the way I drafted the pattern - I realised later that I should have manipulated the pattern to remve the dart THEN drawn the yoke. Otherwise, I risked removing a larger angle from the yoke than from the skirt, which would of course form a bubble or pont like the one I was seeing.
I redrafted the pattern from scratch and it looked much better than before, but still not perfect - in orde to get to perfect, I needed to improve my sewing technique. When I sewed the yoke to the skirt, I had stay stiched the dip in the main skirt section, snipped into the point and sewed each section seperately. This was a mistake! I sewed a test version all in one, stopping at the points with the needle in the fabric to flip the excess fabric to the other side of the needle, pivot and carry on.
I added baby ribbon down the edges of the pleats to emphasize the pleats, and top stitched the yoke for the same reason!
 RSS Feed