Ok, think back... waaaay back to when I announce my plans to make a replica of my great grandmothers dress. Well, I never got to the actual making stage, but when I was checking my blogs this morning I was very excited to see this post. Doesn't that arrangement of pleats look just like the ones on Florence's dress? The fit is a lot looser, and there are buttons down the front, but the year is exactly right. If/when I eventually do this project, I'll be spending a lot of time studying the merry dressmaker's post as it's so much easier to figure out the construction with multiple pictures of a light blue dress than with one black and white photo of a dark colored dress!
|
So I've not been updating here but I've actually done a HUGE amount of sewing - in fact, I've made more than 50 items, and I know that because I've made them for my new business, Angel Child Clothing. I'm making vintage inspired childrens clothes, and hoping to build a business which will give me the opportunity to do some real designing. I've started a blog for the business, www.angelchildclothing.co.uk, and will keep my childrens sewing on that blog. I've also been setting up an etsy shop for my historical clothing, and actually managed to sell a couple of things :D You can see my shop at www.etsy.com/shop/faraboverubiesuk I'm planning to sew some items specifically for the shop, so you can expect some blog entries about that :) 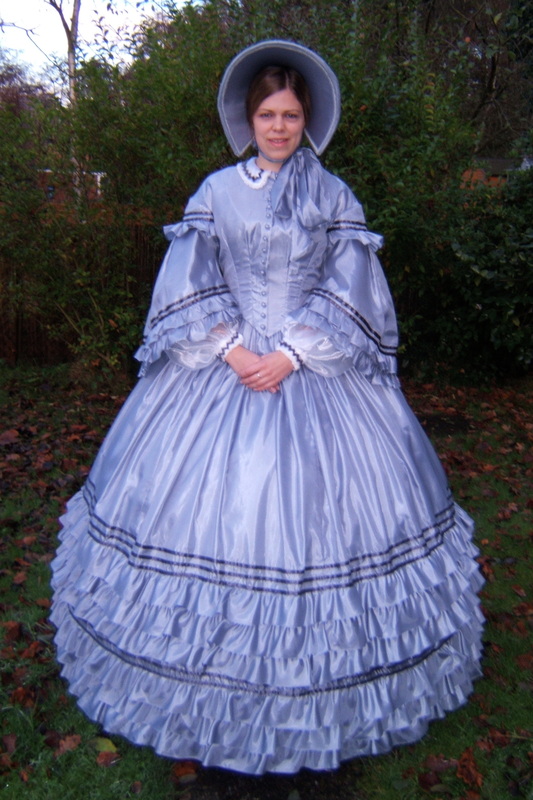 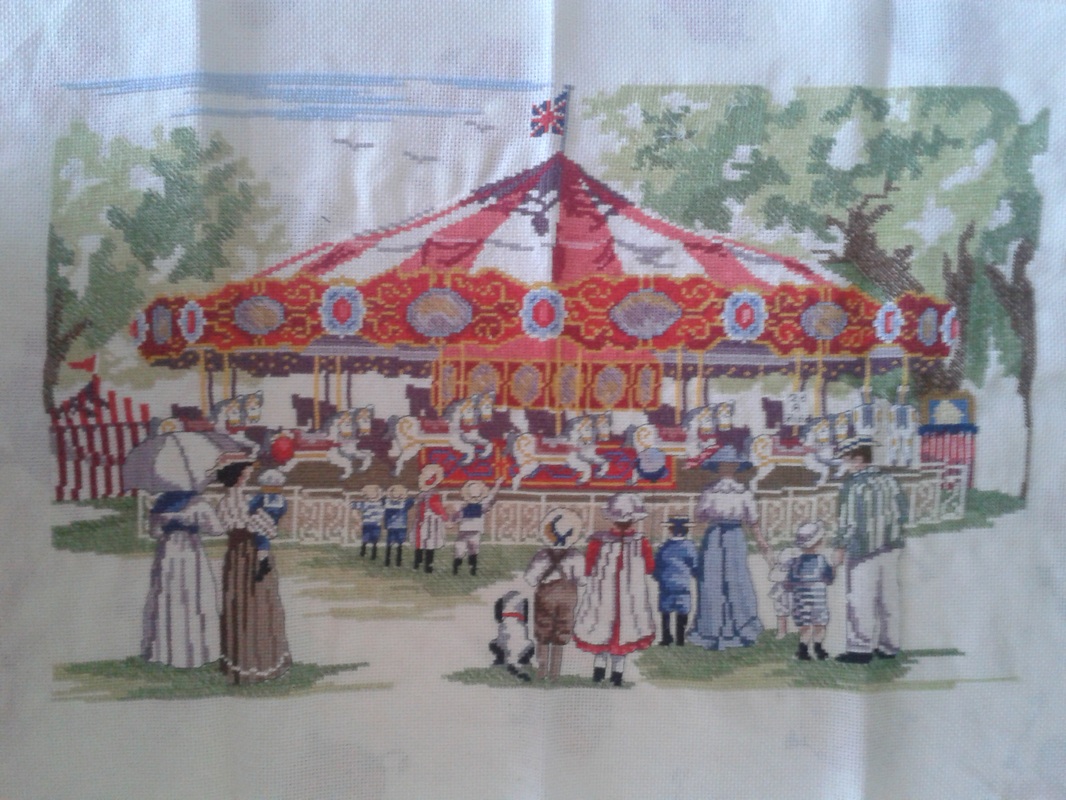 So I may have had less time to do 'proper' sewing, but I have done more cross stitch than I have for years, and this is the result! I had started this but done very little until my pregnancy, but spent many hours doing it while I was too miserable to do much else, and then found that it was a good thing to squeeze into brief moments of relaxation as it didn't require scisssors, sewin machine or pins (all baby hazards!) I love the result and need to put it in a frame so I can put it on the wall, along with another picture from the same series I completed while I was in uni. And I promised I'd blog what I'd done even if it was tiny, last night I added binding to the armhole of the sahri bustle dress, and prepared the binding for the other side. I got the sewing clips as a free gift with a magazine and I think they're going to be useful - I don't normally have a problem with pins, but at least these can't damage curious baby fingers, althouh I'll have to keep track of them or he might eat one!  I LOVE being a mum. But I'm also frustrated that I have no time to sew anymore! So I need to make the best of the time I have, and recognise the sewing that I have done (I am a very short sighted person when it comes to emotions - when I feel sad, I feel like I've always been sad and will always be sad. Same thing with happiness.)
So my goals are... 1) Work on my UFO's so that I get the buzz of completing things/get rid of the UFO guilt 2) Blog the small victories, even if I'm the only one reading it. 3) Try to remember things I had learnt from experience so i don't have to learn them by making mistakes again (see post script) 4) Once my UFOs are done, choose projects that are either quick and easy or which I will really enjoy both the process and the result. So if I stick to that there should be some more posts coming very soon! P.S. The Jenna dress in the last post? It went in the bin. The fabric was awful - it had really bad recovery, so several parts got stretched out of shape while I was sewing them and never went back in spite of pressing and washing. Lesson relearnt: don't waste your time on cheap fabric! I'm also not in love with the pattern any more. I still like the details and the finish, but the dress itself was shapeless and the waistline really, really low, which I wasn't expecting. It wasn't till I tried it on (3/4 finished) and hated it that I went back to the pattern picture and realised that the picture is of the dress on a hanger, not a person. D'oh! Lesson relearnt: If it doesn't fit the model on the packet, it's not gonna fit you, and if there isn't a picture of the actual dress on an actual person, there's probably a reason for that. So lets see how long it takes to make something with a baby...
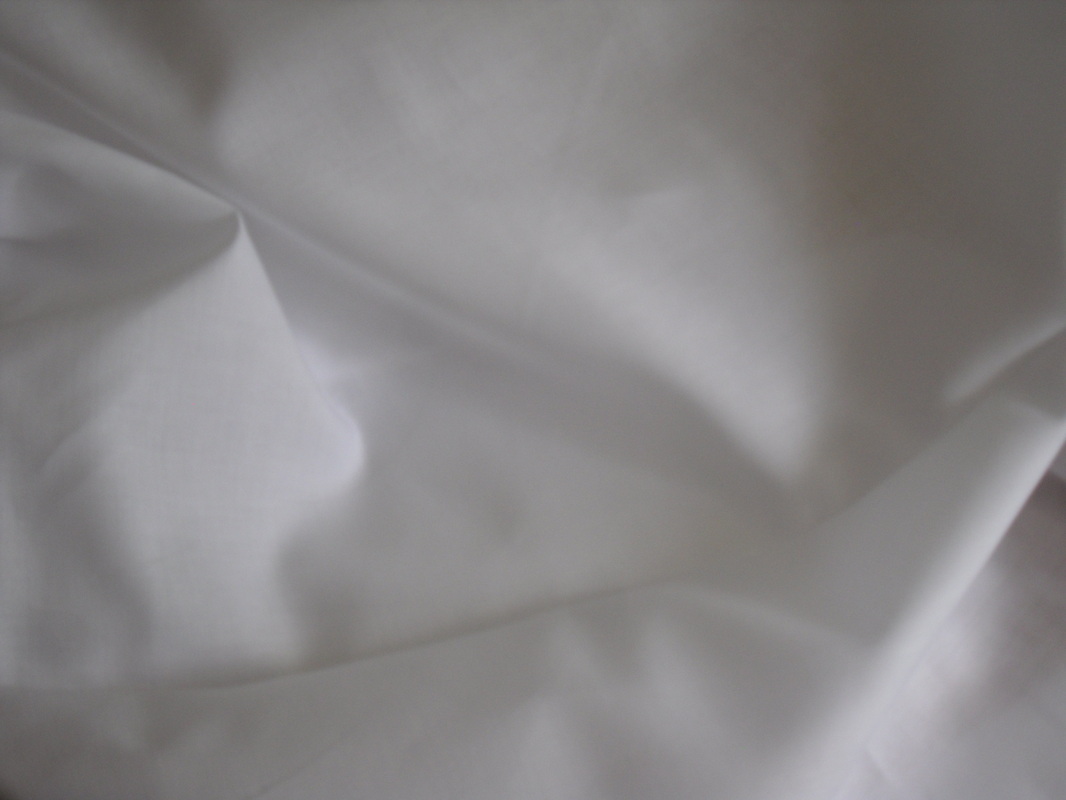
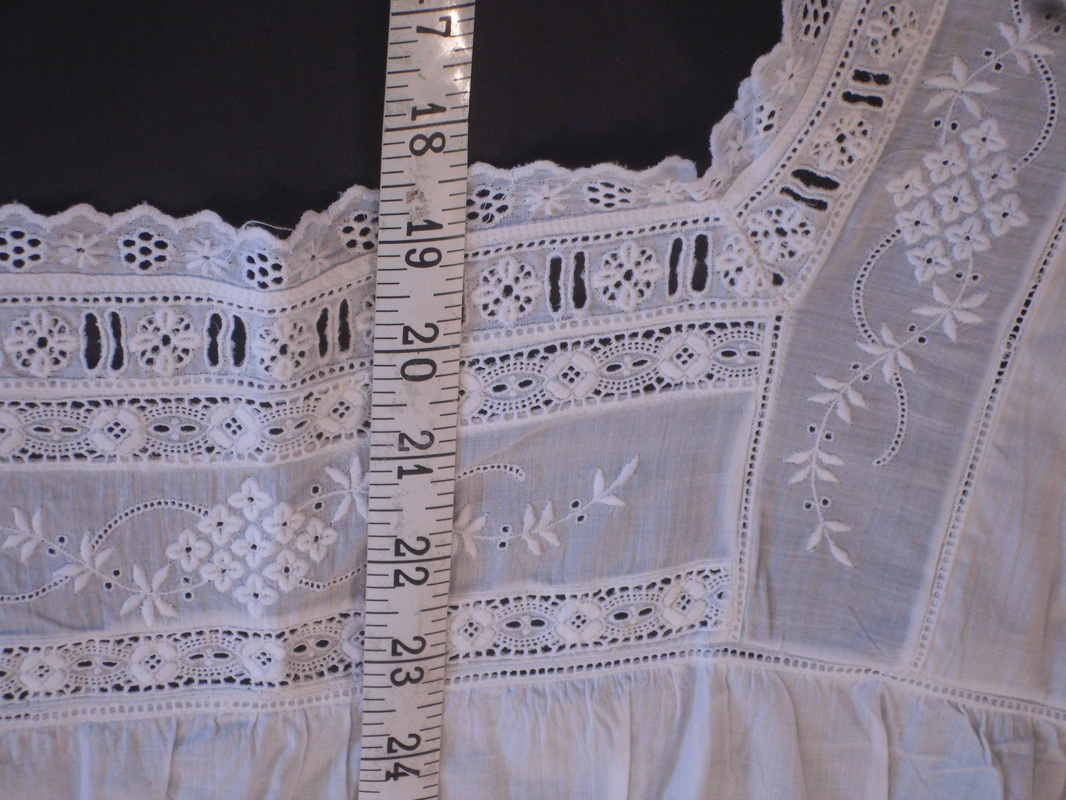
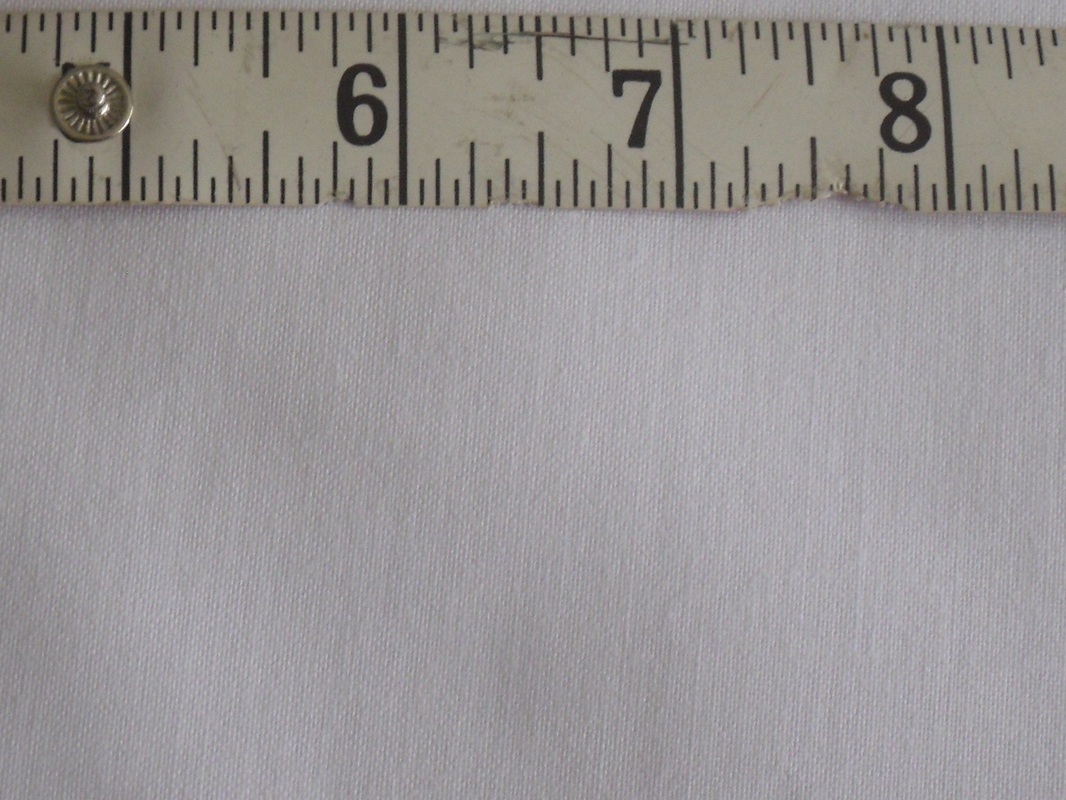
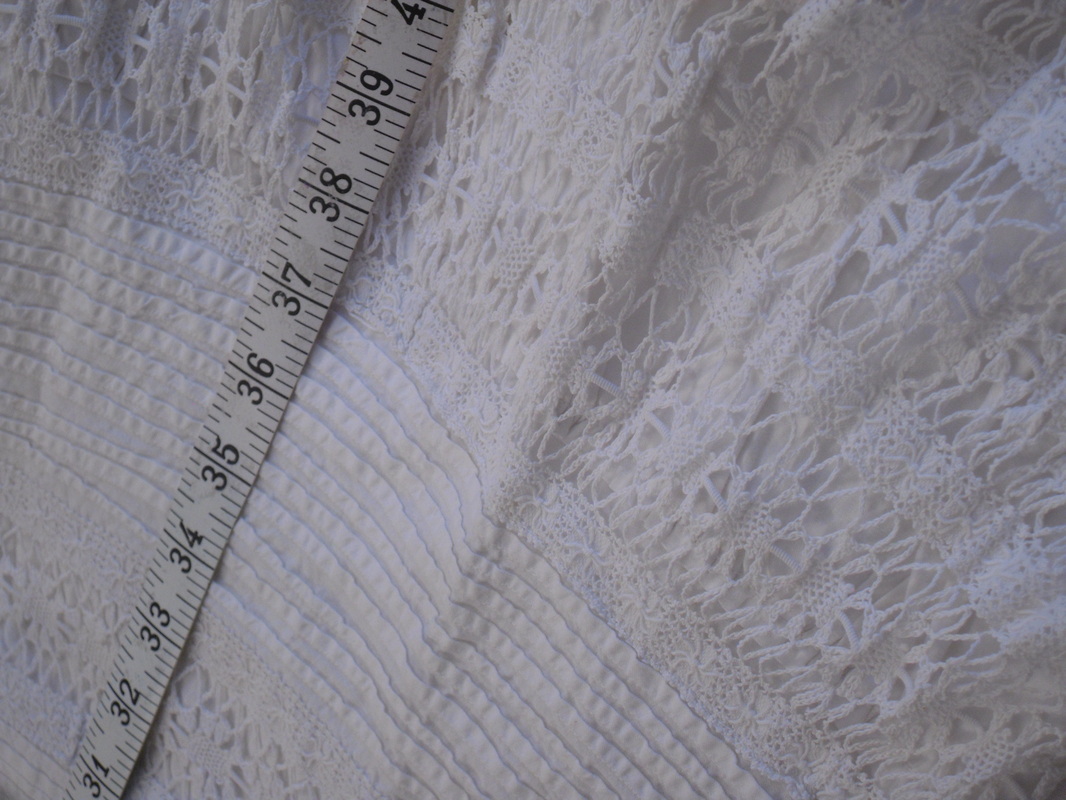
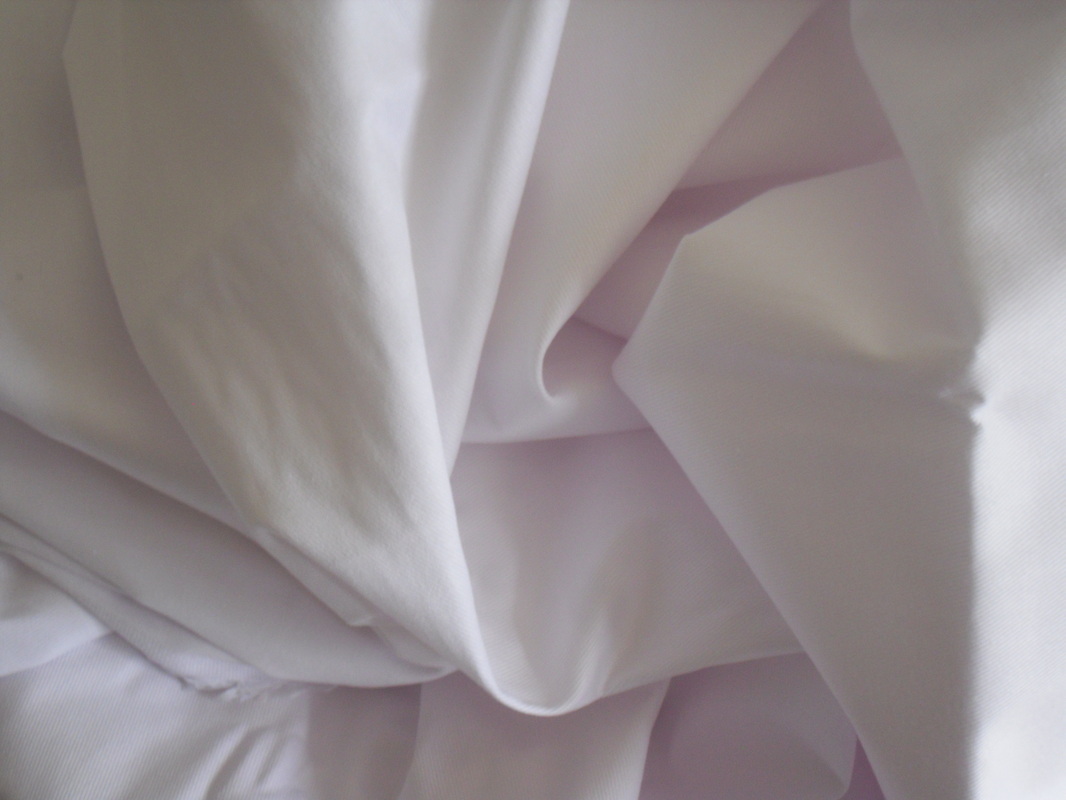
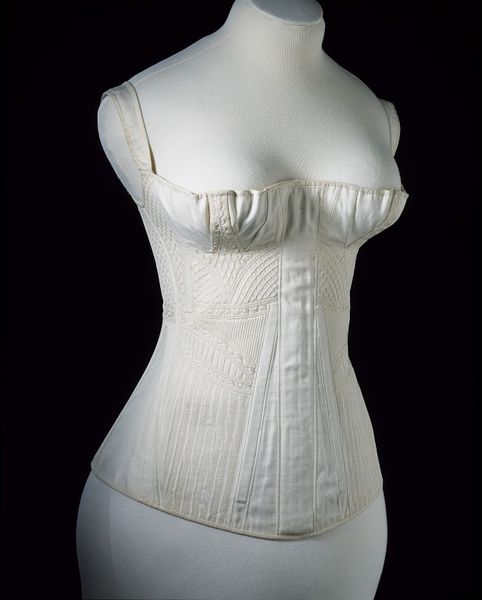
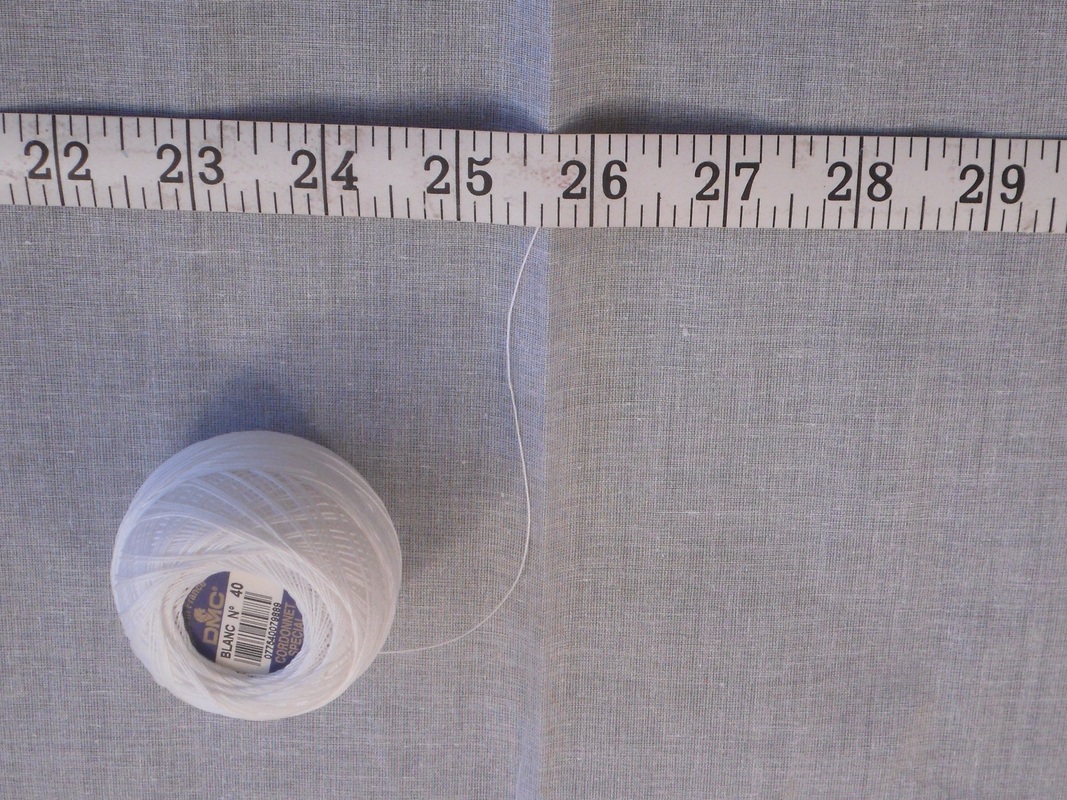
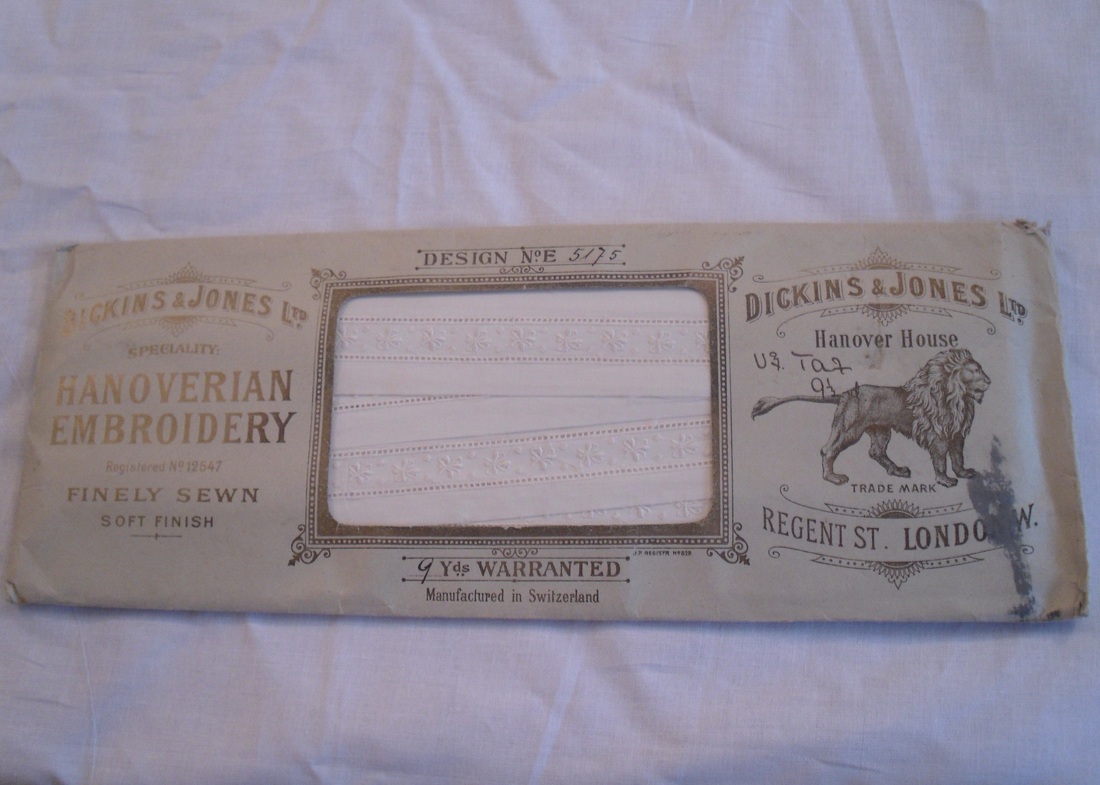
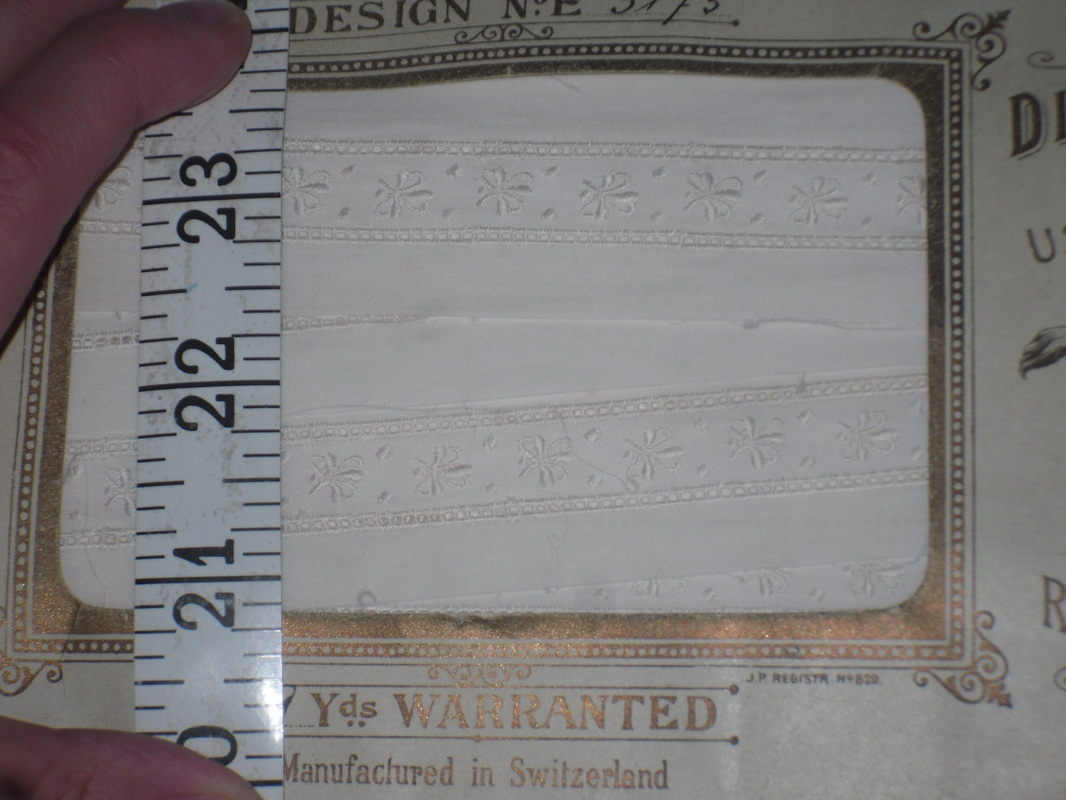
8/10-9/10 I stuck together the pattern sheets and cut out my size 10/10-11/10 Washed and dried the fabric (yep, with a 2 month old baby there is a queue for space on the airer) 13/10-14/10 Cutting out the fabric 15/10-21/10 Got as far as making up the bodice, sleeves and skirt to do.The fabric I bought is horrible - it was really difficult to cut because it woudn't lie flat after folding (the cutting layout calls for foding both sides to the middle which makes it worse), and it also has really poor recovery - after the camisole edges ended up badly stretched from applying the binding, I had to switch to stitching everything with the waking foot, which is a shame cos I just figured out how to use one of the feet that came with my machine to do perfectly spaces top stitching! Oh well, hopefully a wash will sort out the bits that are already stetched as I don't have any extra to cut new pieces. 22/10- ? So in total, it took days! The funny thing is that it didn't actually feel that long, maybe because the general trend of how much I could do each day was upwards (notice I said general trend - he has good days an bad days!) There was a bit of a break through when i realised that he actually sleeps much better in the living room with the sound of the TV and the sewing machine than he does in the quiet bedroom in his bed. I've been on a bit of a fabric buying spree, and nearly all of it in white! Here's what I bought. 1. White cotton lawn - fabricland, 3.59 pm This will be used for Victorian undergarments and baby clothes - the second row of pictures are of antique combinations which I purchased to study/recreate. The weight and hand of the modern lawn are very similar to the antique fabric, but the antique stuff is a comparatively coarse thread with a less dense weave - on the modern lawn you can't even see the individual threads. 2. White cotton - fabricland, £2.69 pm This is an appropriate weight for Victorian petticoats - again, the second row of pictures are of an antique petticoat I purchased. The antique petti is very slightly heavier weight fabric. 3. White cotton drill - fabricland, £4.99 pm This is for a second version of the 1830's corset I made previously - I felt that the lack of correct fabrics in my last attempt really impacted on the end result - the fabric needed a little stretch to work with the straight lines of the design. I'm hoping to make a nursing version, and was thinking of using my embroidery machine to stitch the cording channels - we shall see if that happens! 4. White cotton organdy from this etsy seller and white cotton cordonnet from amazon Cotton organdy is a really interesting fabric! These were bought so that I can have a go at making my own entredeux and insertion, to use when making my underwear. Cotton organdy is a really interesting fabric - incredibly light but stiff, I'm excited to try sewing with it. The second picture is some antique insertion which I bought, thinking i would use it... but now I don't think I should, so I'm going to try to replicate it instead. 5. White silk damask - an ebay remnant purchase for a very good price, It's lovely, very light weight but stiff. I'm thinking I'll use this for the bodice and peplum of the dress below. I have loads of blue velvet left over from the Calamity Jane dress which I'll use for the trim.   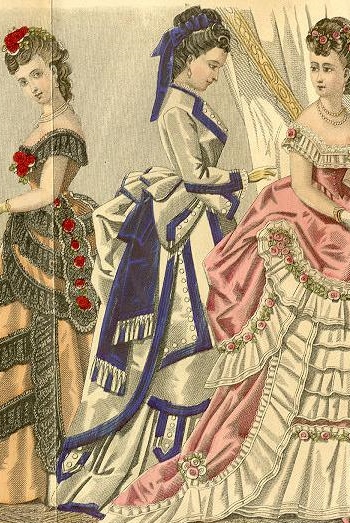 6. Last but not least, PURPLE stretch cotton & elastane (I think) to make a Jenna nursing dress, pattern by LouLou Jmes Creative. This should really be the first thing I make as I'm desperately short on suitable clothing, but free time comes in VERY short slots at the moment (if you're wondering I'm typing this one handed with a baby sleeping on the other arm) so I may end up doing some instant gratification sewing first.
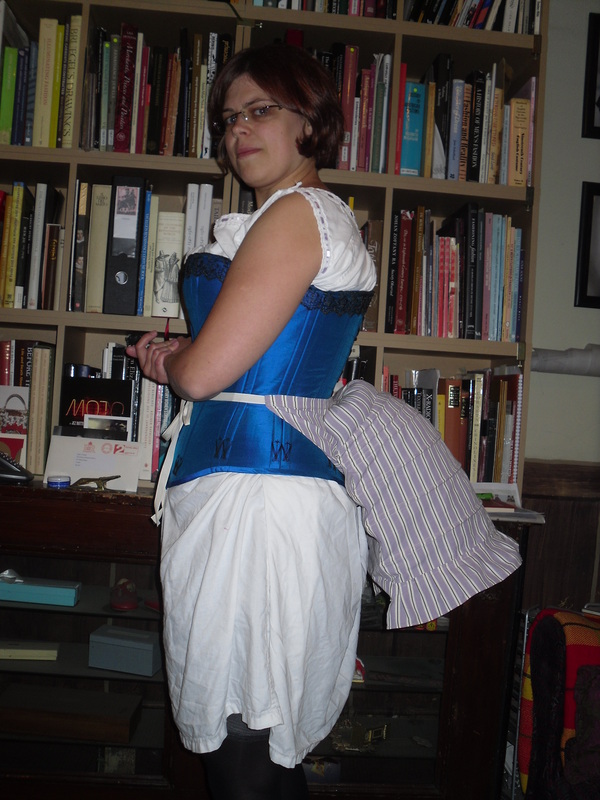
Around 5 years ago I made 6 bridesmaids dresses and a wedding dress for a friend. She really wanted dresses inspired by the curtain dress in Enchanted, and we had fun visiting the local fabric shops to pick out the fabric. This was the first wedding dress I made and I was pretty nervous about doing it but she begged me so I gave it a go, and looking at the pictures now I'm proud of the results, and excited to hopefully make some more soon :) She just shared these pictures on Facebook so I thought I'd share them with you. 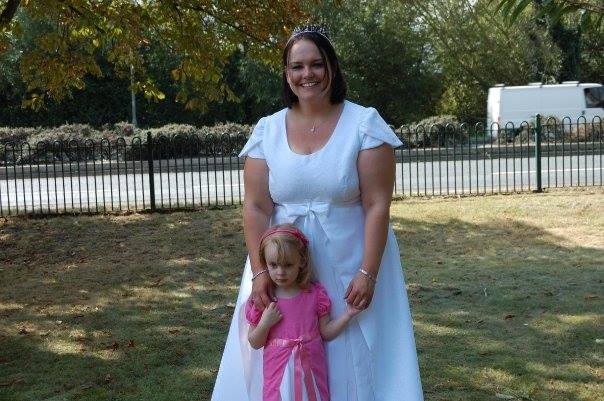  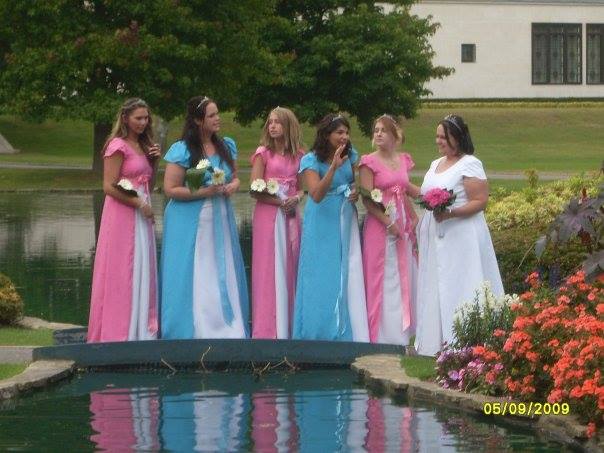 This mid 1880's style bustle was made as part of a course at The School of Historical Dress in November 2013. I learnt so much on this course (although I did promise not to give away any trade secrets, so this post won't be super detailed), and the end result is a 100% accurate duplicate of a extant bustle. The bustle has a horsehair pad at the top and thread covered steels to create the shape - notice how much narrower they are than the plastic covered stuff you can buy on the high street. Check out my stripe matching - I'm super pleased with it, and it was achieved through marking the stitching lines with chalk then with thread, then basting everything before stitching it. There was a LOT of hand sewing in the course, and I actually learnt how to use a thimble properly! Notice in the second picture that the bustle is actually narrower than I am - this is a feature of the second bustle period. Useful because it means that bustles at this time are one-size-fits-all. The first bustle period is a different shape, adding width to the body as well as sticking out at the back. I'd never noticed the difference before, but after Luca (the teacher on this course) took us through Harper's Bazarre pointing out the feature of each period it's super obvious. And a really good lesson in the importance of primary sources - after looking at the fashion plates of the time we looked at pictures of extant garments in books, and with out new knowledge of trends over time it was obvious that some of them had actually been mislabelled. Below you can see me wearing the bustle along with the rest of my victorian underwear (which I now need to remake to be more historically accurate, and of course to fit my post baby body!) It's interesting to see how the weight of the petticoat affects the shape of the bustle - in the pictures without it actually sticks up slightly. Hopefully my remade underwear will be done using some of the principles I learnt on the course - using primary sources to identify the correct shapes and draft the pattern, and studying the construction of antique pieces to find the correct techniques to use. More on that later. 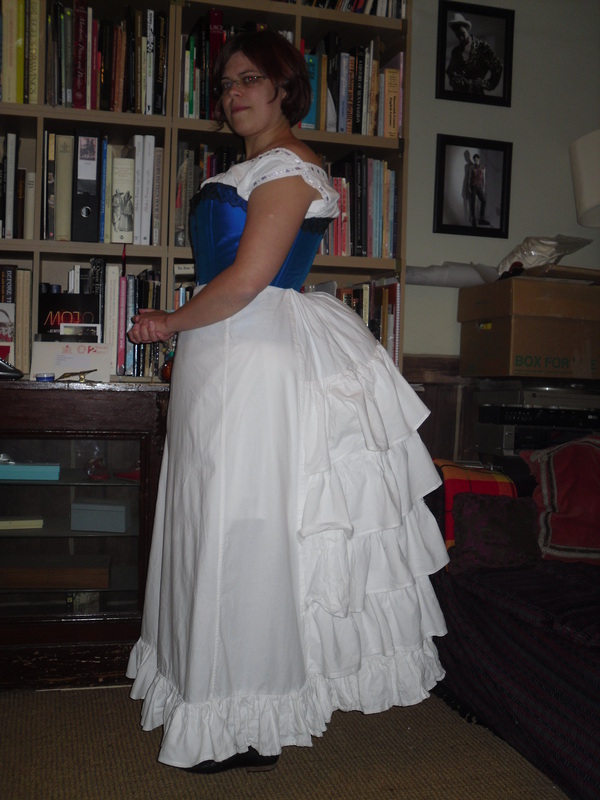
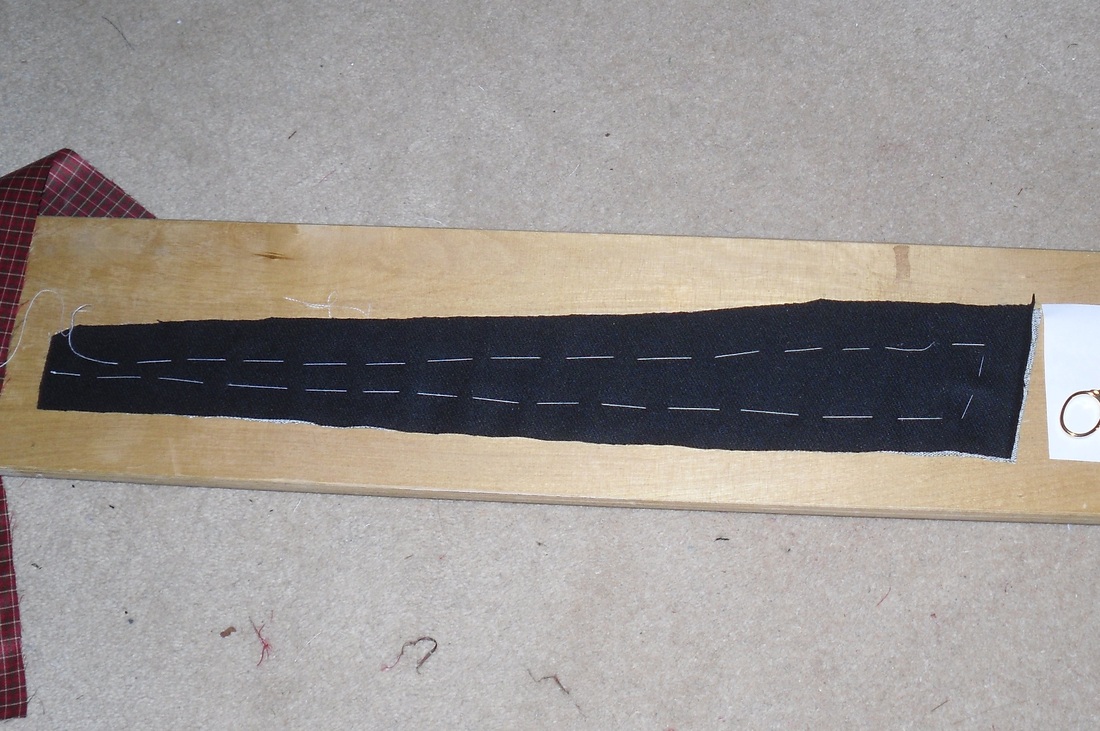
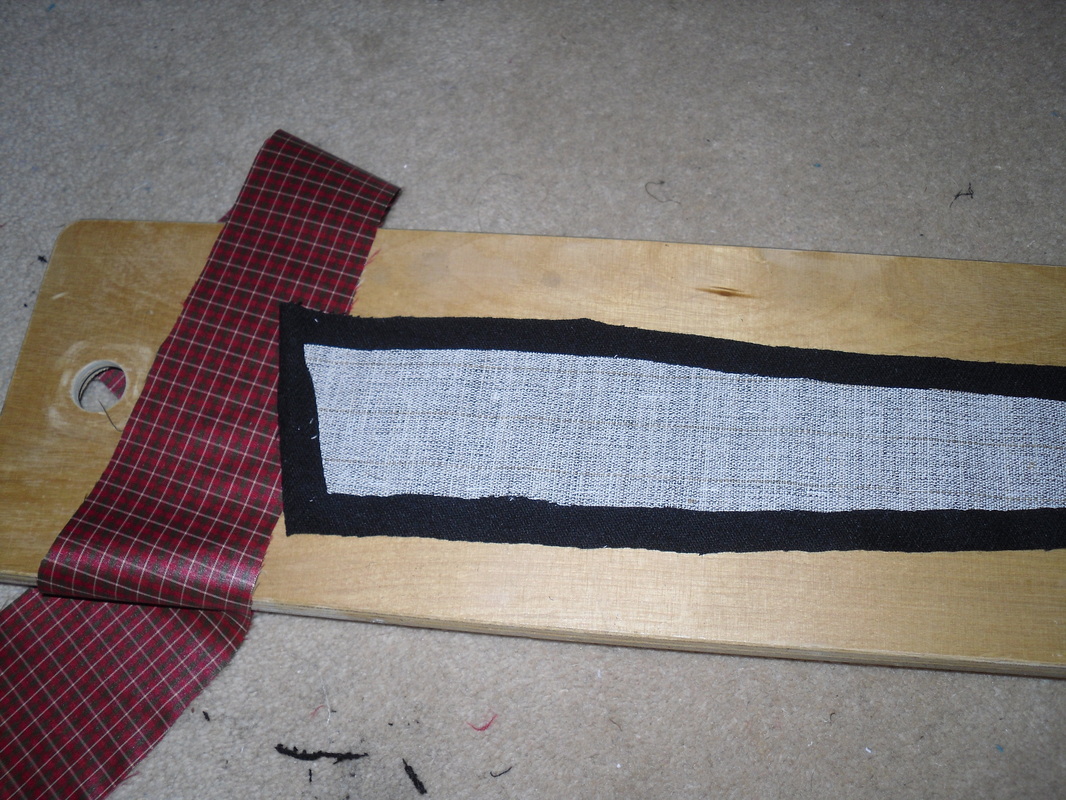
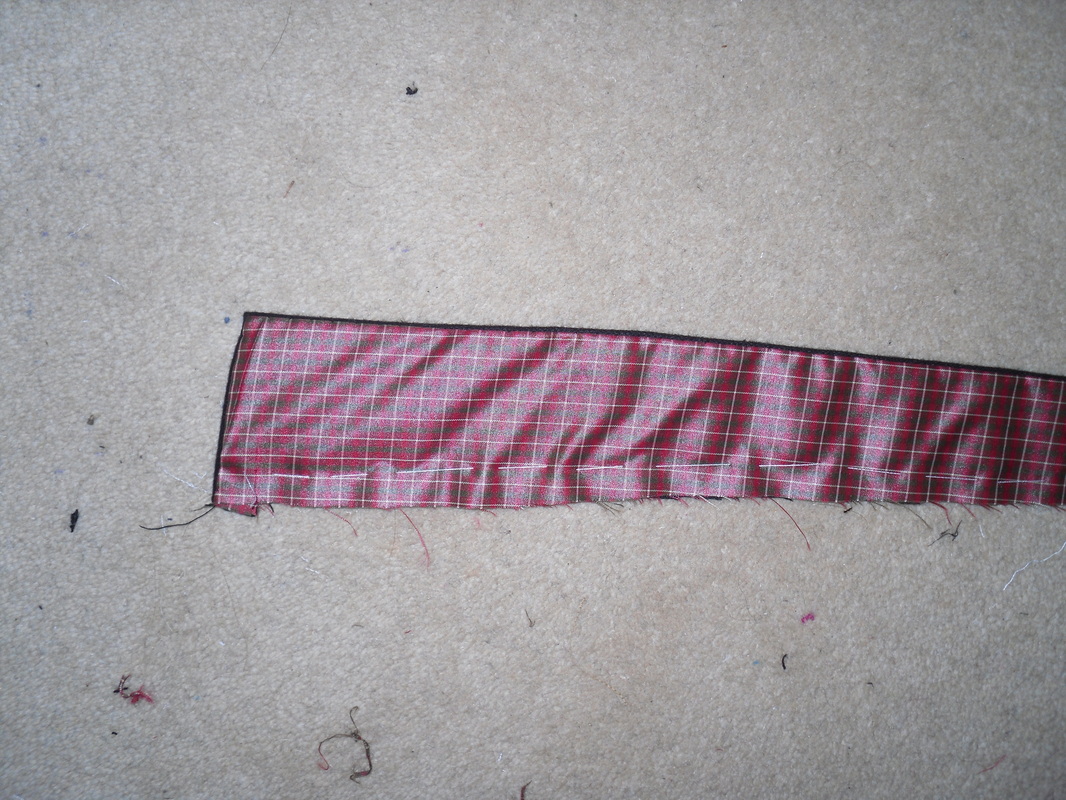
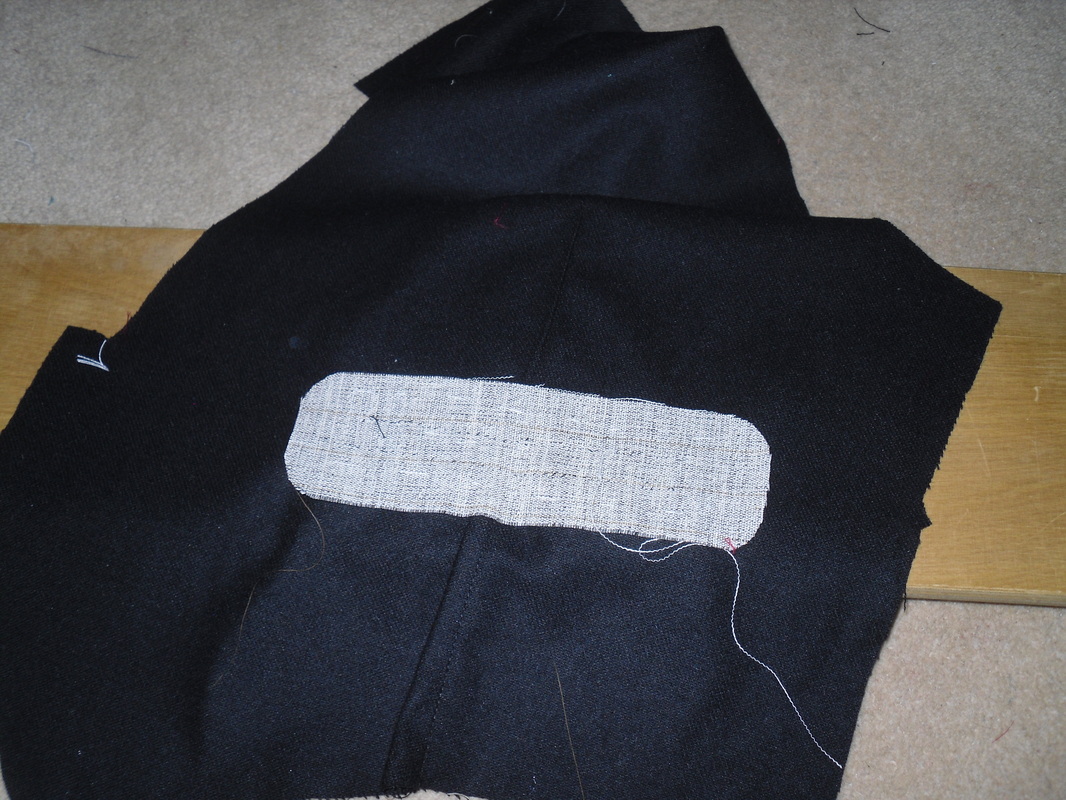
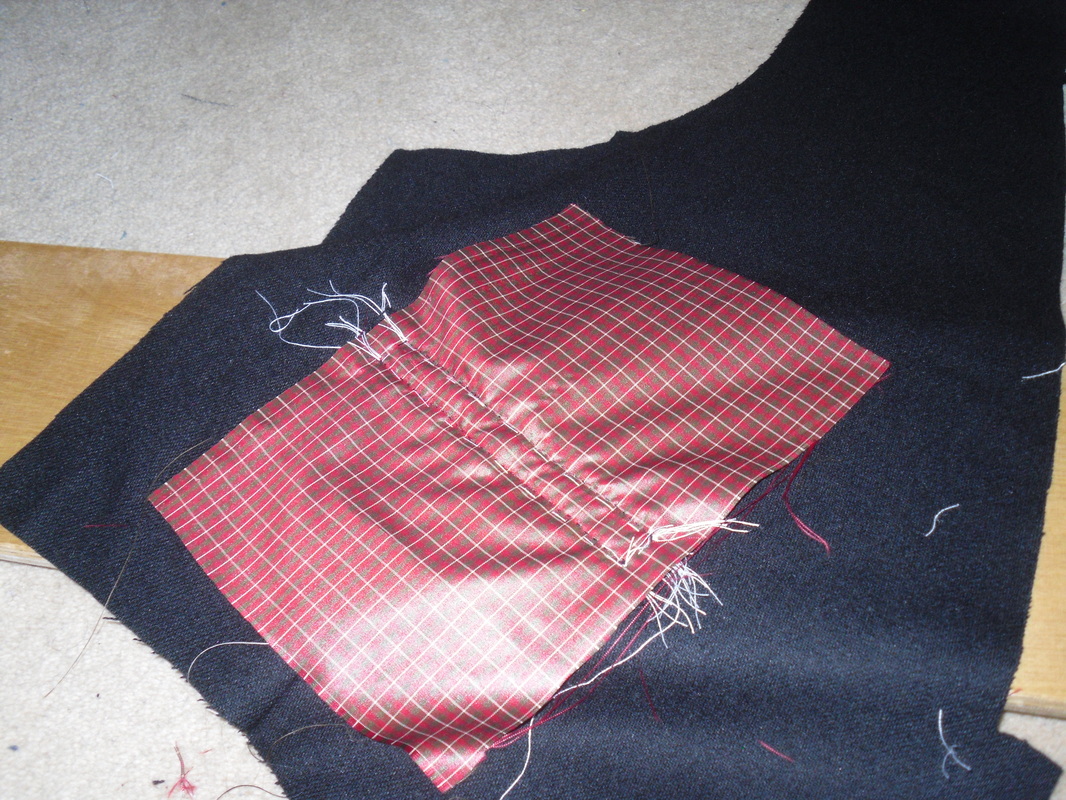
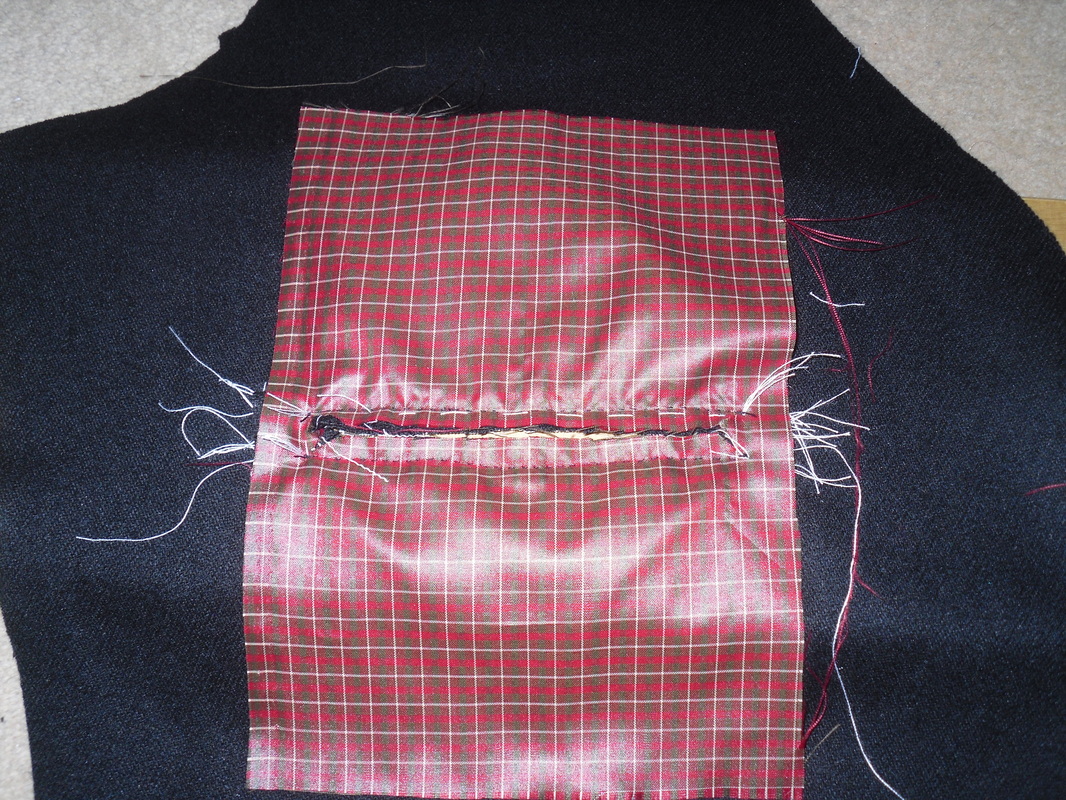
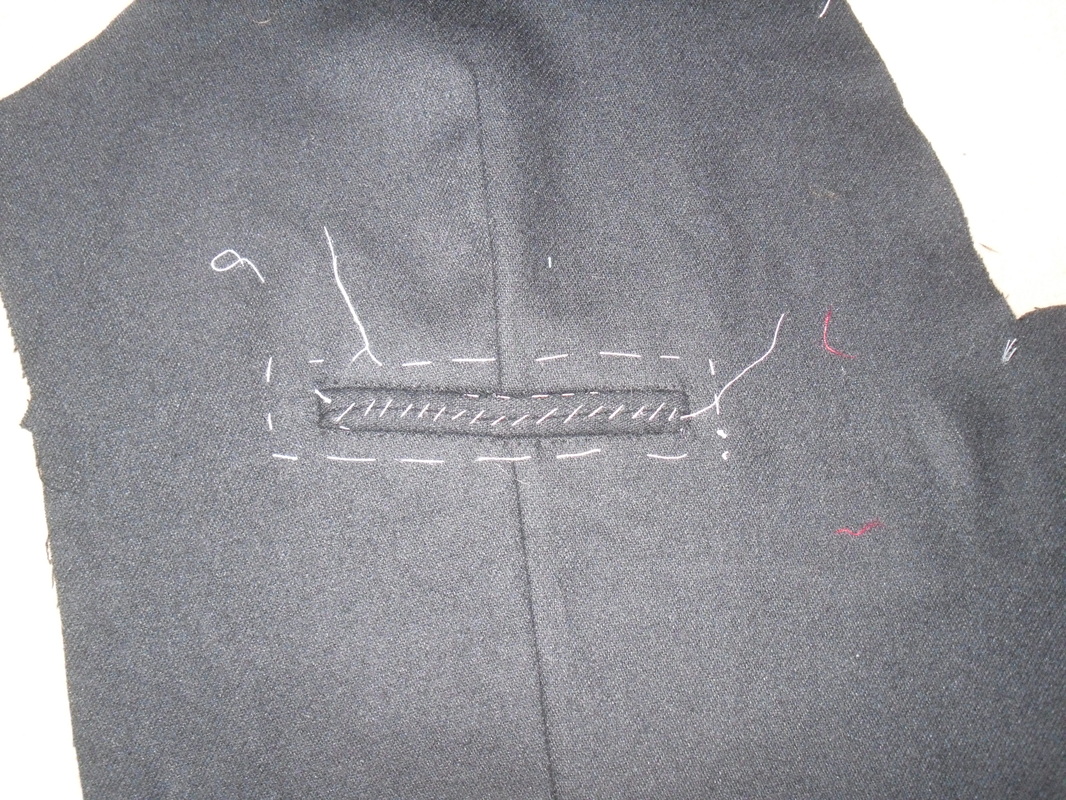
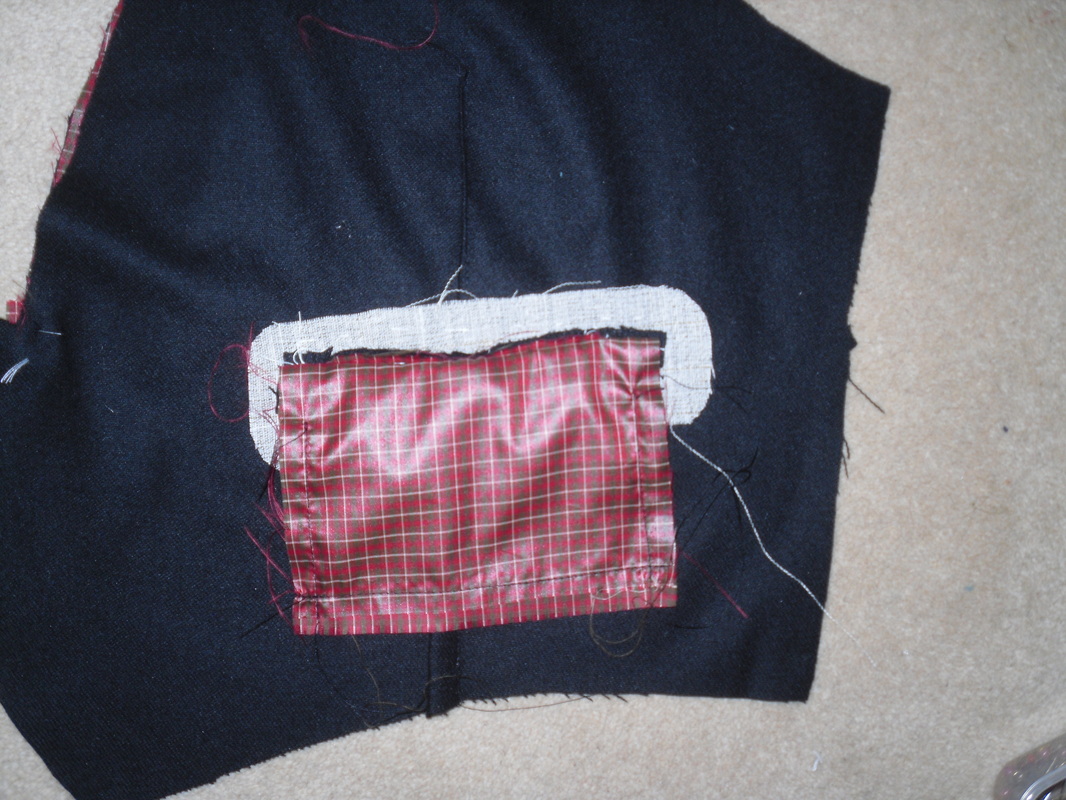
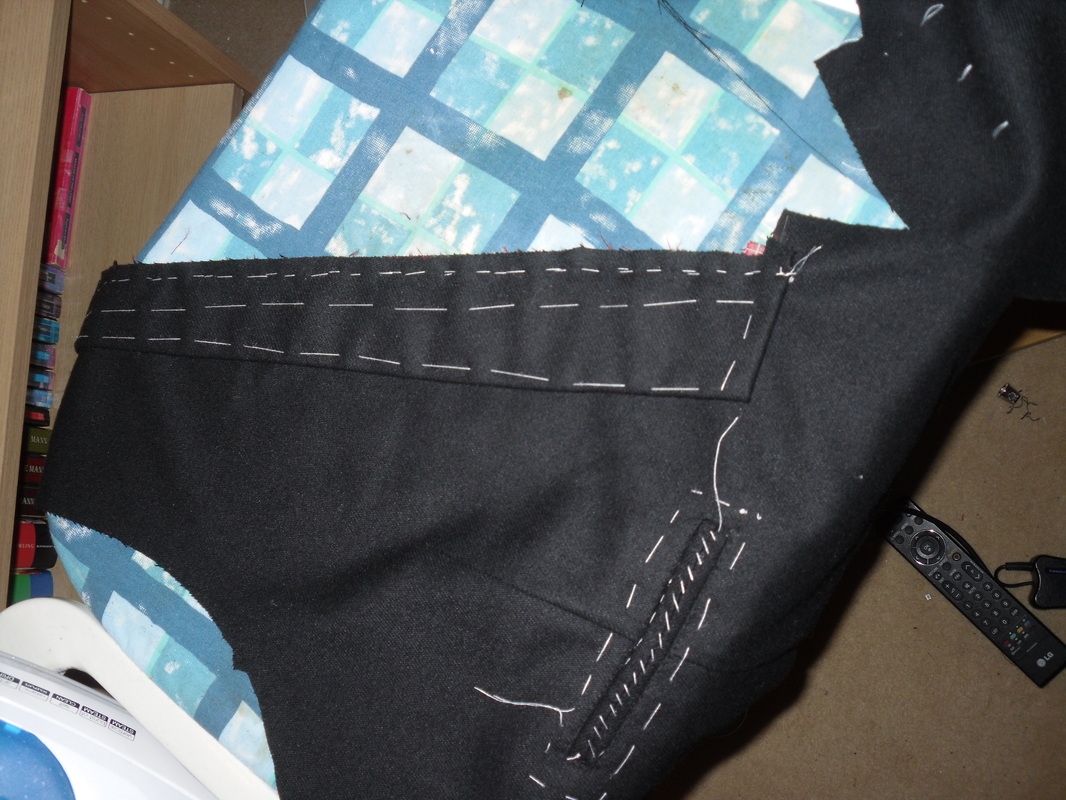
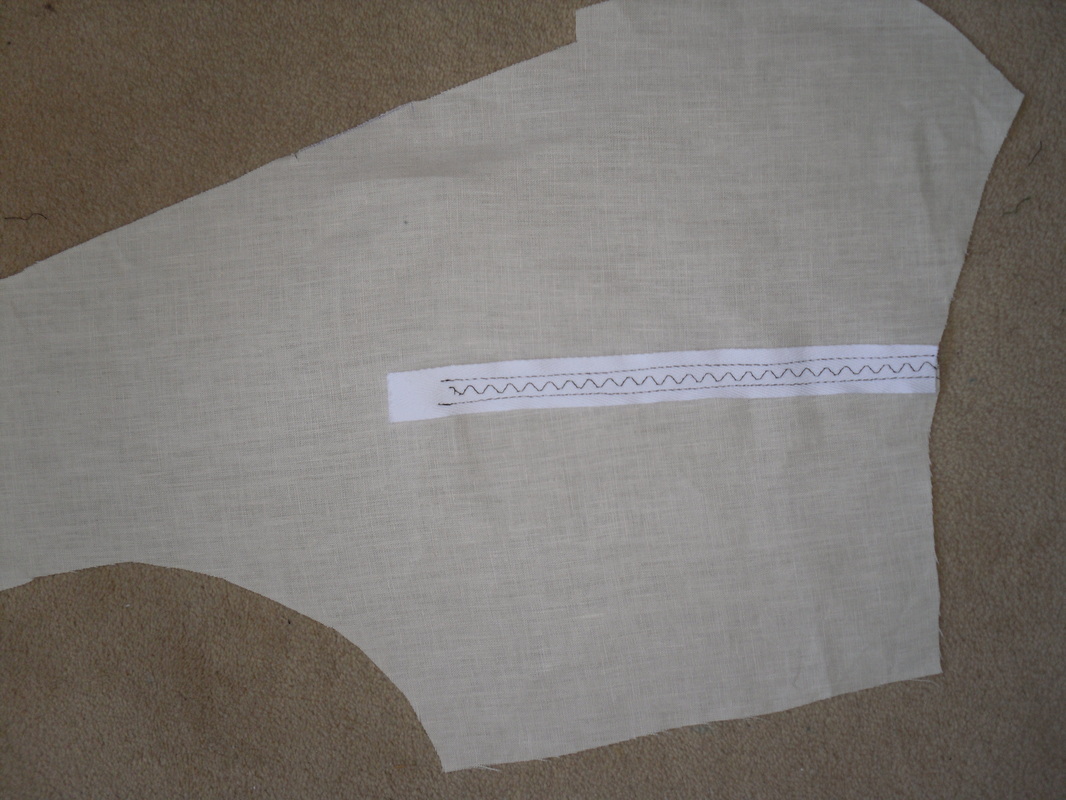
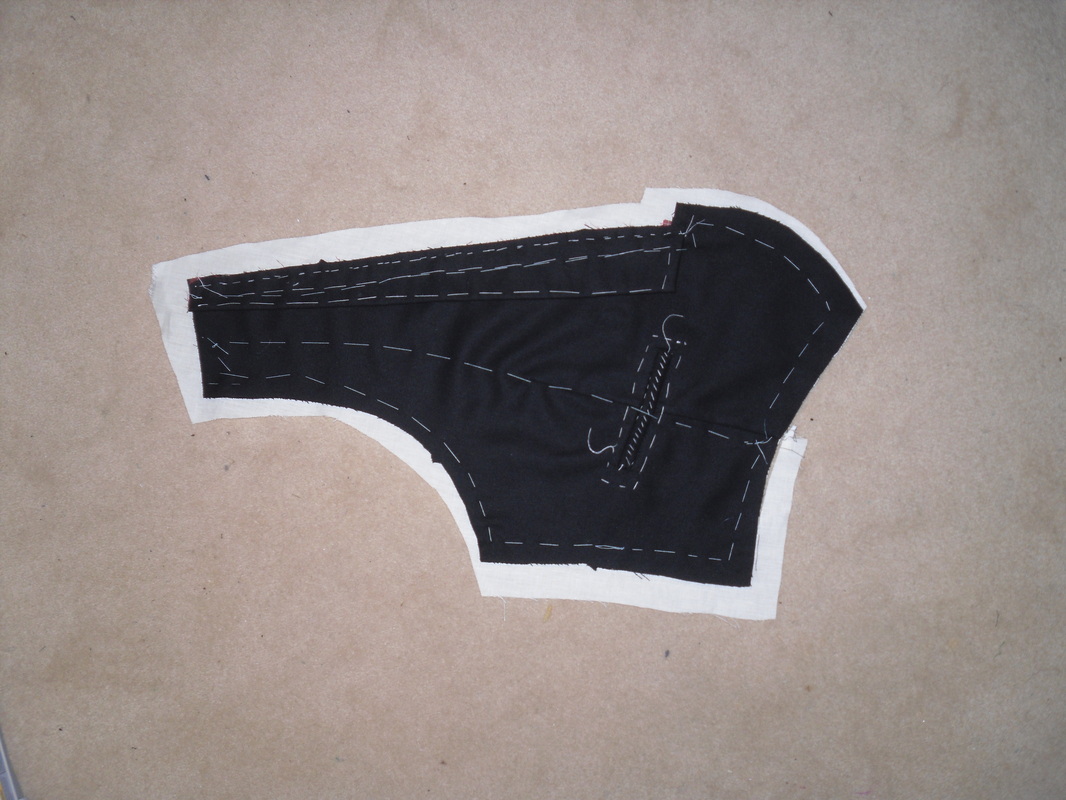
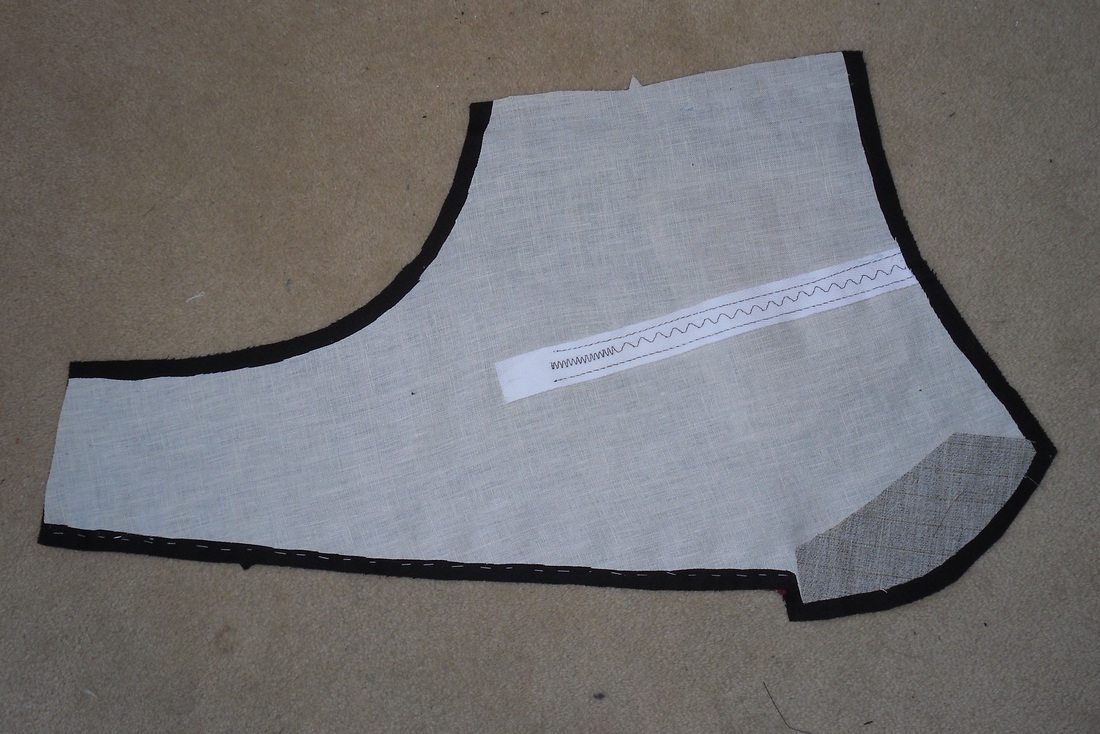
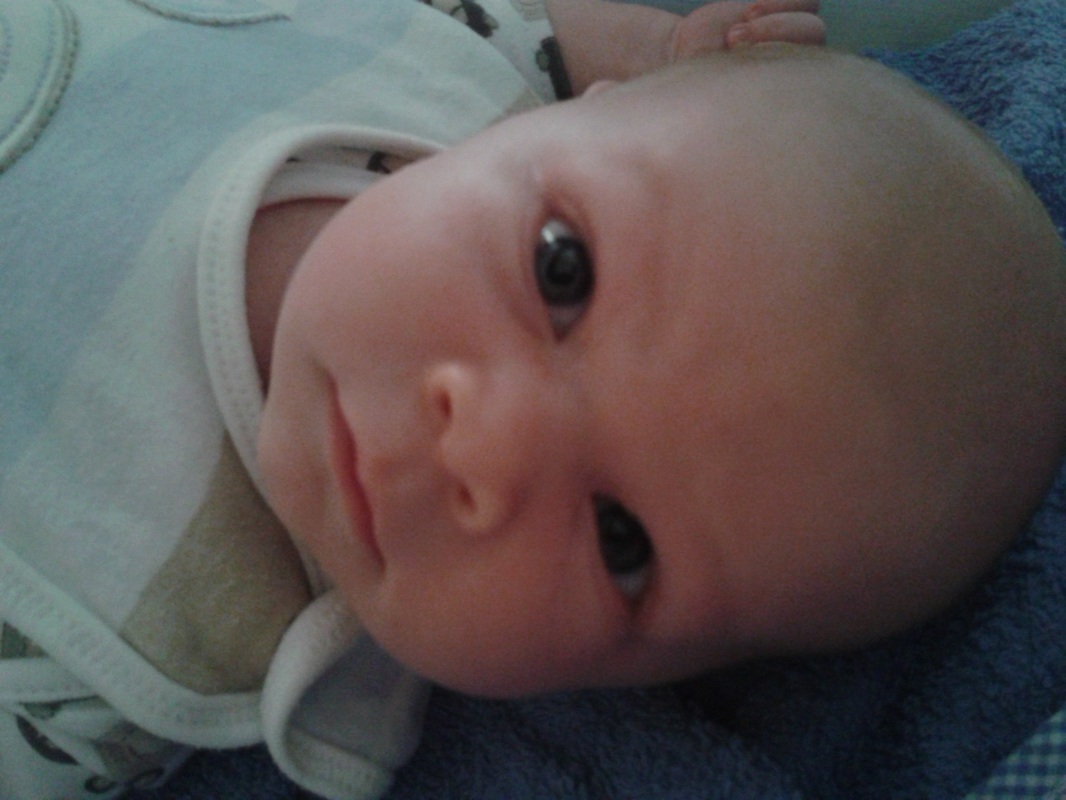 Yep, I had a baby. I also had a thoroughly horrible pregnancy, so not much at all happened on the sewing front over the past year. I do have a couple of things to show you when I get time - which may not be for a while, babies are super time consuming. But the point is, this dead blog is going to be resurrected in the near future. 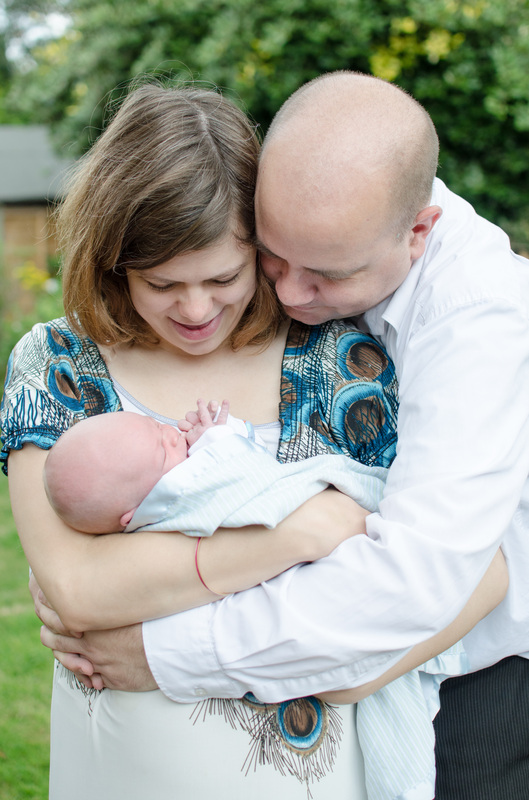 So, now I finished my modern jacket I've started work on John's Prince Charlie Jacket and waistcoat, which he'll be able to wear to both modern and historical formal events. The main fabric for this is a light weight woven 100% wool, and the lining fabric is a scottish check polyester - probably not very historical, but John gets to pick the lining on the things I make him so that he can put his style stamp on them! I'm also using hair canvas, linen and stay tape for the insides. I've started with the waistcoat, and I'm using a hybrid of the methods from the instructions and the period instructions in 'The Victorian Tailor' - basically I want it to be more authentic than normal, and I'm doing a lot of hand sewing, but I don't have the time to be fully authentic so there's some short cuts and some machine sewing too. I've taken a load of photos so I can give you a step by step on what I've done so far - check out the captions for a description of whats happening. |
AuthorMy crazy costuming, sewing and maybe other stuff too blog! Hopefully others can learn from my mistakes and I can learn from your comments :) Hey you! ;)According to the stats people are actually visiting this site - I'd love to know who you are so please leave comments!
Archives
June 2017
Categories
All
|


 RSS Feed
