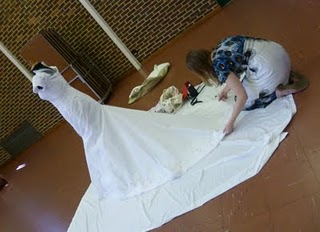
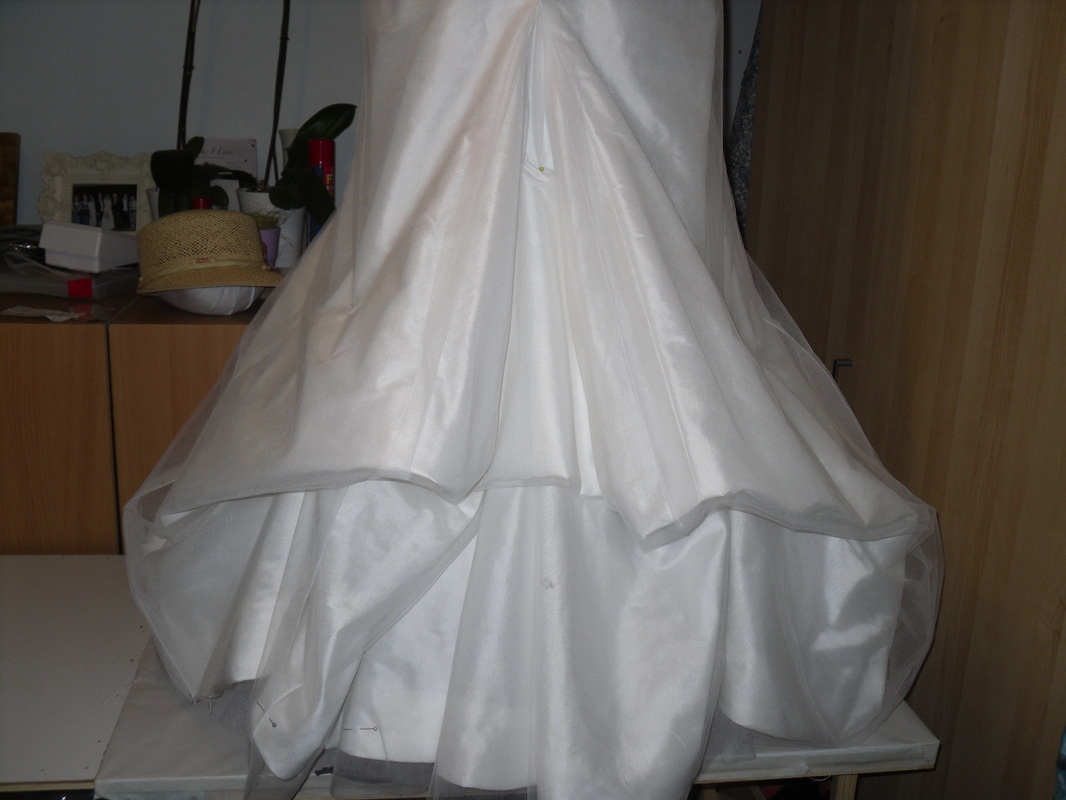
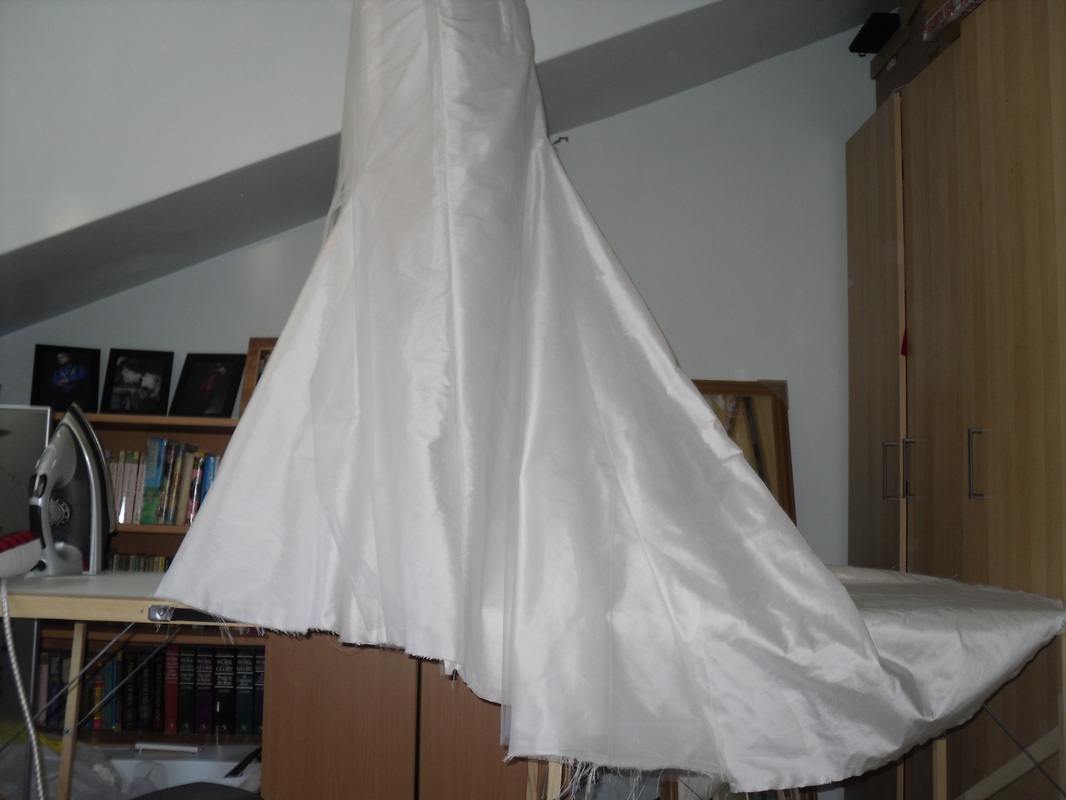
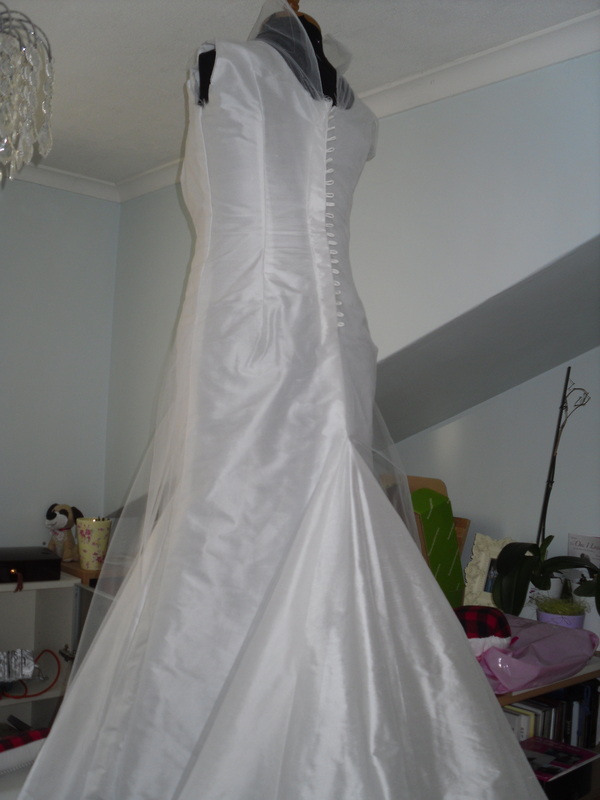
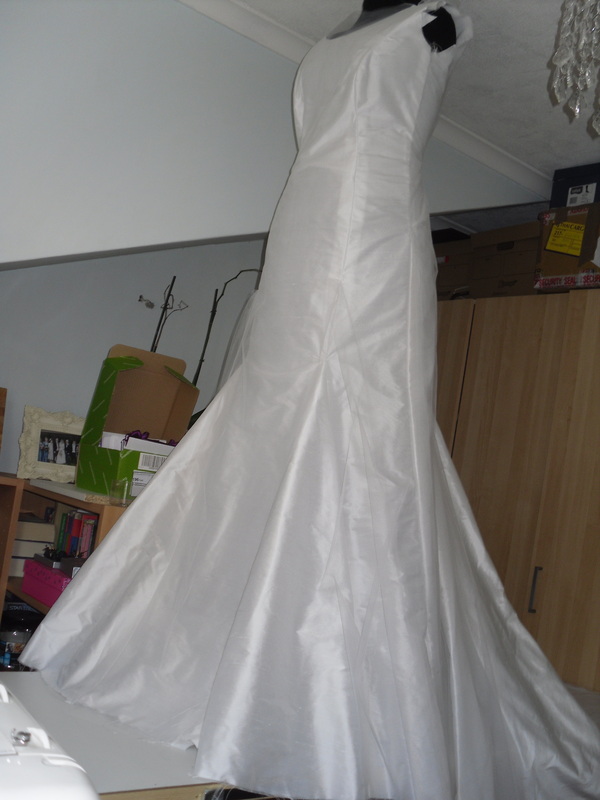
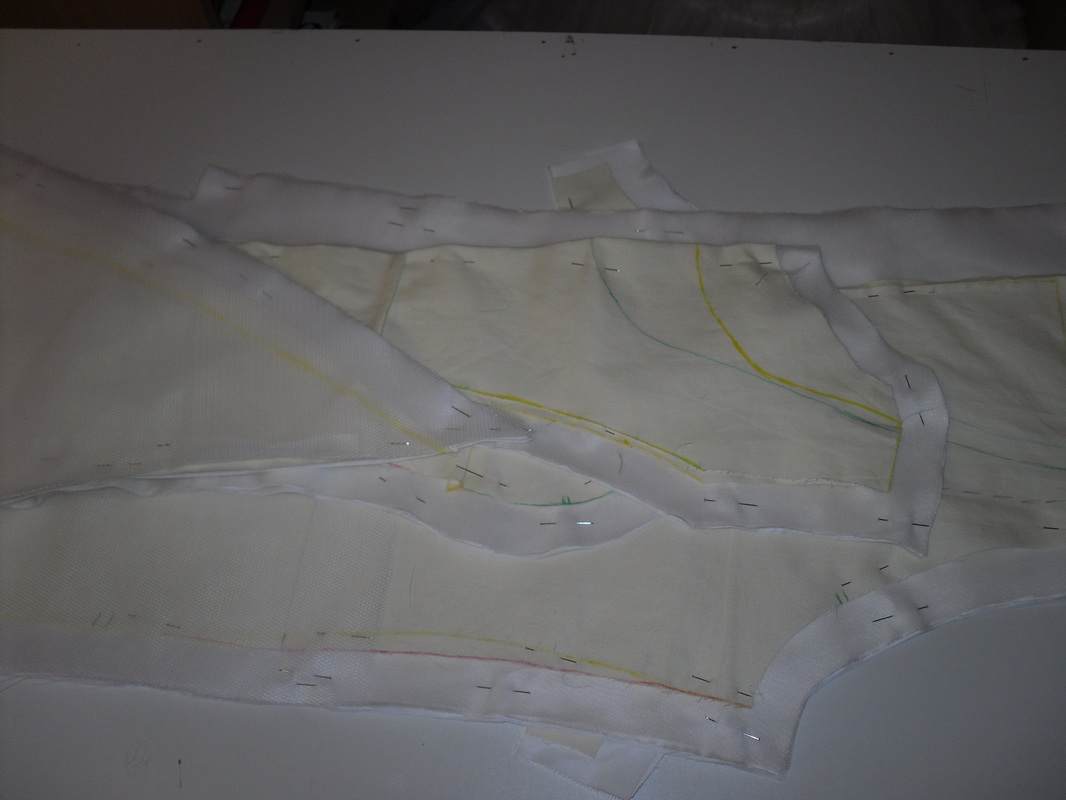
I was lucky enough to find a local sewing group, the thames valley offcuts, which meant I could go along to one of their meetings and finally have room to stand back and take a look at what I'm creating! My aim for the afternoon was to get everything pinned in place, which I managed (although a few of them have fallen off again since - stupid pins!)
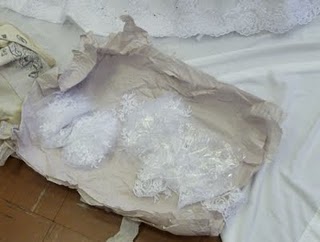
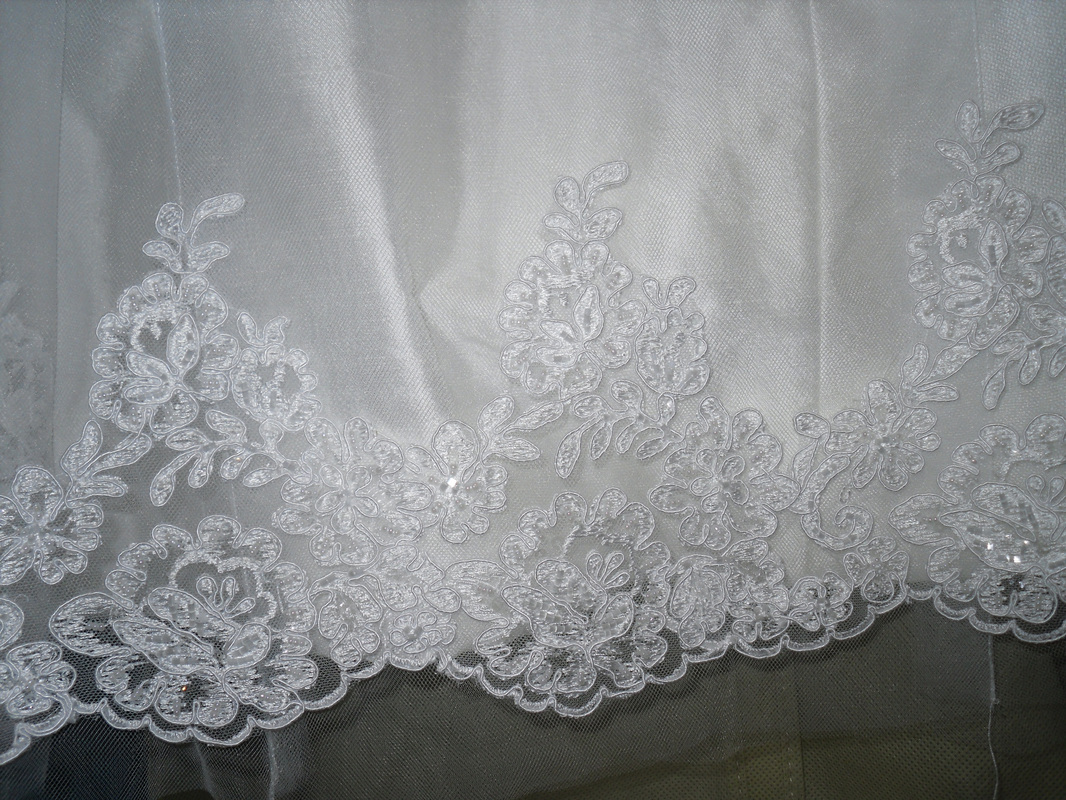
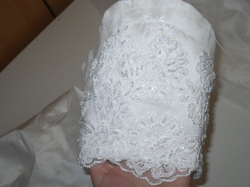
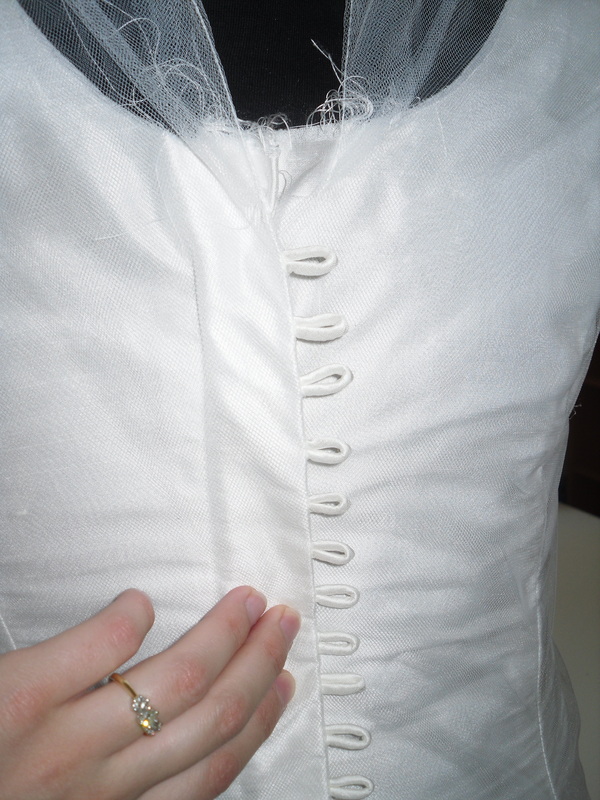
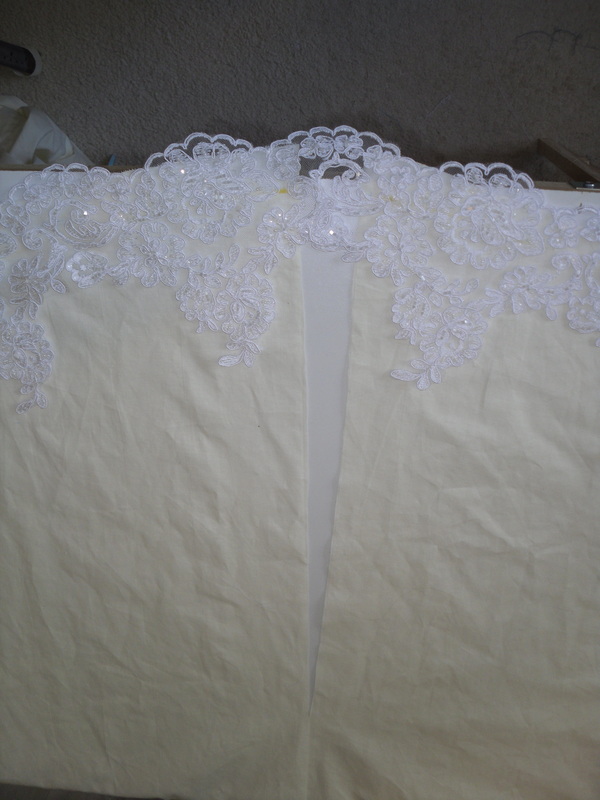
From now on, I have loads and loads of hand sewing to do. I had planned to stop updating here but I've realised that I need the motivation! So far, I've stitched on the trim around the bottom, down one side of the back opening and a few of the motifs on the skirt. The plan is to do a little each day so I don't end up with a sore back.
From now on, I have loads and loads of hand sewing to do. I had planned to stop updating here but I've realised that I need the motivation! So far, I've stitched on the trim around the bottom, down one side of the back opening and a few of the motifs on the skirt. The plan is to do a little each day so I don't end up with a sore back.


 RSS Feed
