FarAboveRubies
  • Blogs
    • Blog
    • My Wedding Dress
  • Gallery
    • Formal Wear Gallery
    • Historical Costume Gallery
    • Theatre Gallery
  • Shop

Stitching, stitching, stitching

5/28/2011

1 Comment

 
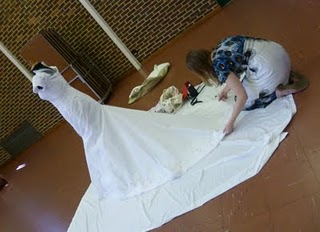
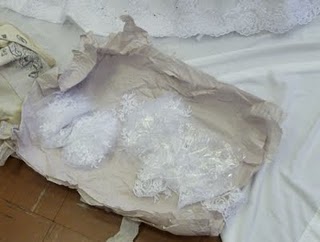
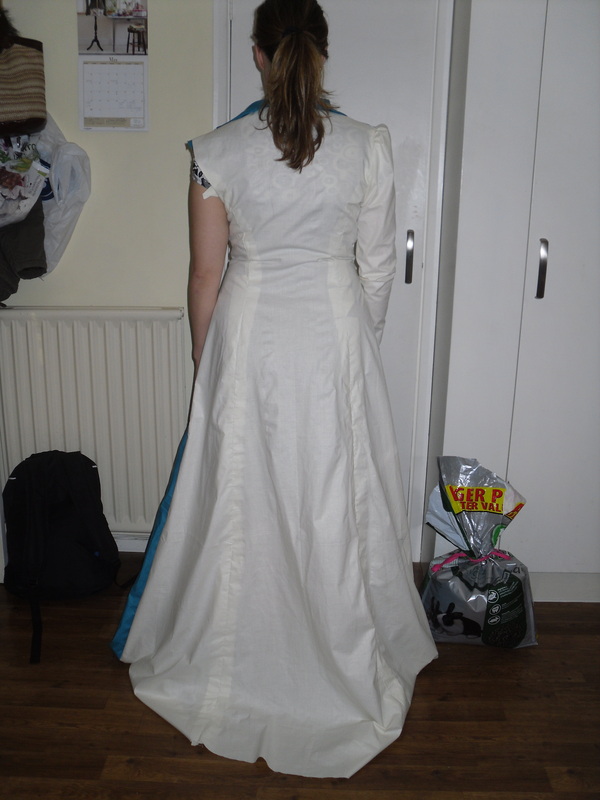
No pictures to show you but I wanted to let y'all know I'm still working - stitching, stitching stitching lace onto net, all by hand! So far I've done all round the bottom, the two rows either side of the center back and a lot of the motifs on the skirt. Still lots to do but I'm feeling pretty in control - 6 weeks to go and I'm sure it'll be done in time :)

In fact it may be check list time again:
6 rows left to do on the bodice,
4 1/2 motifs to do on the skirt,
button loops and buttons to do on the lace
Final fitting adjustments
Attatch the lining to zipper and hem

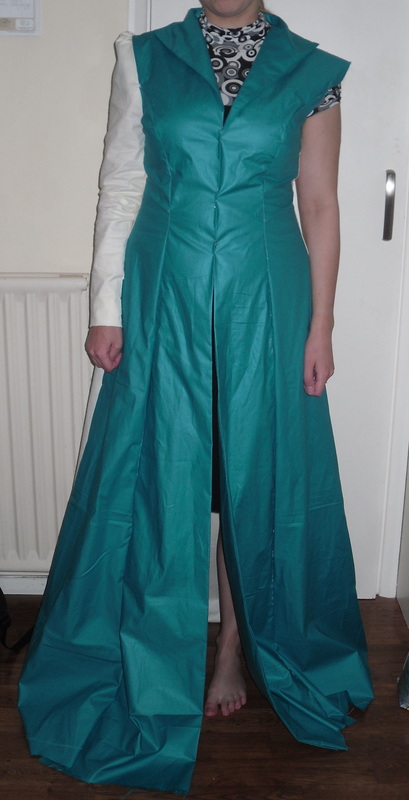
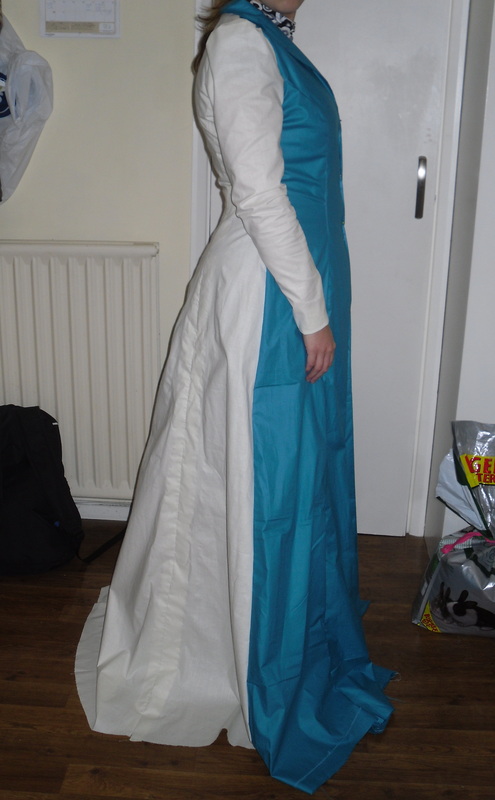
In other news, I cut the satin and lining for the coat. I think I'll start putting that together tomorrow and will have some pics for you soon!
1 Comment

Positioning the lace

5/17/2011

0 Comments

 
I was lucky enough to find a local sewing group, the thames valley offcuts, which meant I could go along to one of their meetings and finally have room to stand back and take a look at what I'm creating! My aim for the afternoon was to get everything pinned in place, which I managed (although a few of them have fallen off again since - stupid pins!)
From now on, I have loads and loads of hand sewing to do. I had planned to stop updating here but I've realised that I need the motivation! So far, I've stitched on the trim around the bottom, down one side of the back opening and a few of the motifs on the skirt. The plan is to do a little each day so I don't end up with a sore back.
0 Comments

The Coat

5/17/2011

0 Comments

 
For part of the wedding day I will need to have full length sleeves and a high neck line, so I've decided that rather than a separate dress or a bolero, I want a full length coat to go over the top. The pattern I'm using is Marfy S708 and I have to admit, all the good things people have said about them are true! The mock up fits perfectly - looks good and is comfortable. I have whit polyester duchess satin for the coat, I wanted something that wouldn't require any underlining and which would have a subtle shine.
0 Comments

Making a veil

5/17/2011

1 Comment

 
The first step was, as always, to trawl the internet looking for inspiration pictures. I was fortunate enough to find one with a full set of measurements, so I cut a rectangle to those dimensions, pleated it roughly and rounded the corners, then took the pleats out and folded it in half and trimmed the corners again so that it was symmetric.
The next step was to try out a variety of stitches on my new machine until I found the one I liked. Another function of my new machine was the knee lift for the foot - something I wasn't sure if I'd ever use when I bought it turned out to be extremely useful very first project! Using the knee lift, I was able to position thin strips of water soluble stabliliser both under and on top of the edge of the fabric. Then stitch, stitch, stitch. You don't need to the right on the edge, its easier to stitch a little way in and trim afterwards. I found I needed to apply a bit of tension to the fabric to get it to feed through properly, as the fabric was so thin.
After stitching all the way around, trim the edge close to the stitching. Then trim the stabilizer as close as you can to the stitching on the inside of the veil. This is because the stablizer takes a LOT of washing out if you don't want to get left with fabric which is either stiff or sticky, so the less of it there is left the better.
Finally, wash out the stabilizer, iron the tulle (carefully using a press cloth!) and gather the tully o

1 Comment

Piecing Lace

5/17/2011

0 Comments

 
I wanted to post pictures of the lace border where I pieced it at the front. I did this so that I could have the points falling on the seam lines - the other pattern pieces I resized before making up to match the distances, but that didn't seem like an appropriate approach for the center front.
To piece lace, first overlap the two pieces and decide where you want to keep the top layer and where you want to keep the bottom layer. Trim carefully, then top stitch in matching thread .
I'm really pleased with the result, especially as I didn't notice it myself when I got it out to work on another area.
0 Comments

    Author

    Ok, this is my secret wedding dress blog. I guess its mostly for my benefit, as a place where I can keep things, although I may share with a select few before the big day!

    Hey you! ;)

    According to the 'stats' people are looking at this site - I'd love to know who you are! Please feel free to comment :)

    Archives

    January 2012
    September 2011
    July 2011
    June 2011
    May 2011
    April 2011
    March 2011
    February 2011
    January 2011

    Categories

    All
    Accessories
    Bridesmaid
    Construction
    Fabric
    Foundation
    Mock Ups
    Nothing To Do With The Dress
    Planning

    RSS Feed

Powered by Create your own unique website with customizable templates.