The first step was, as always, to trawl the internet looking for inspiration pictures. I was fortunate enough to find one with a full set of measurements, so I cut a rectangle to those dimensions, pleated it roughly and rounded the corners, then took the pleats out and folded it in half and trimmed the corners again so that it was symmetric.
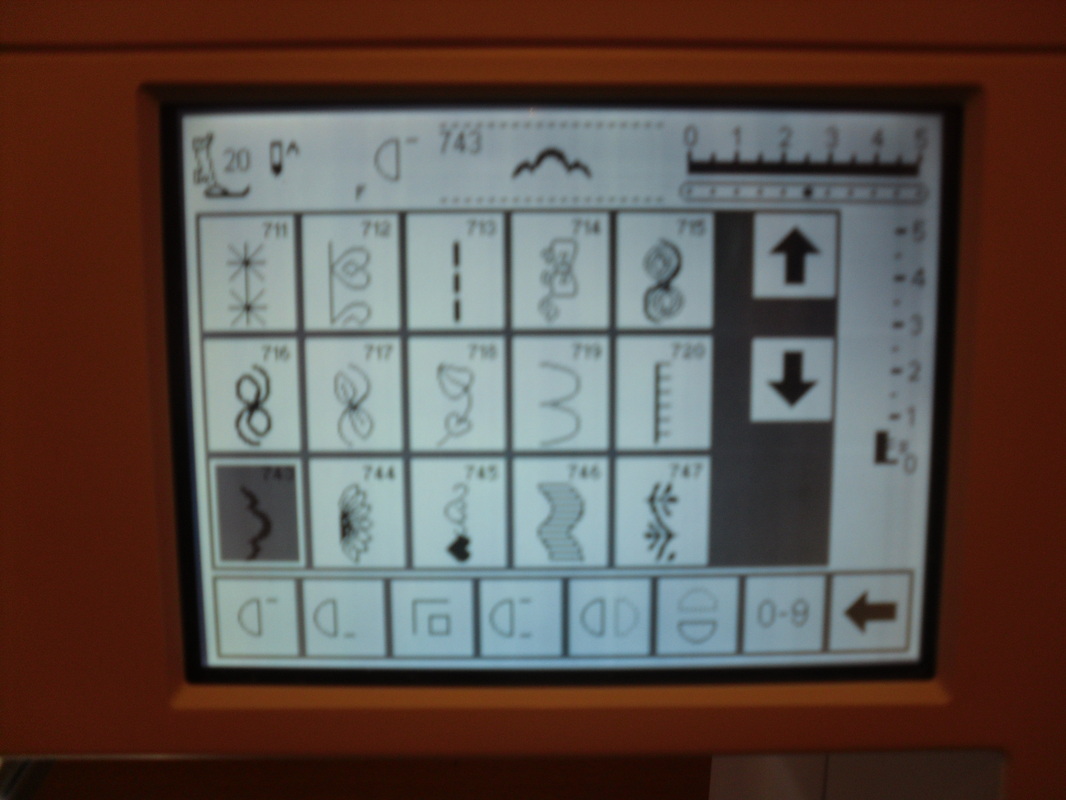
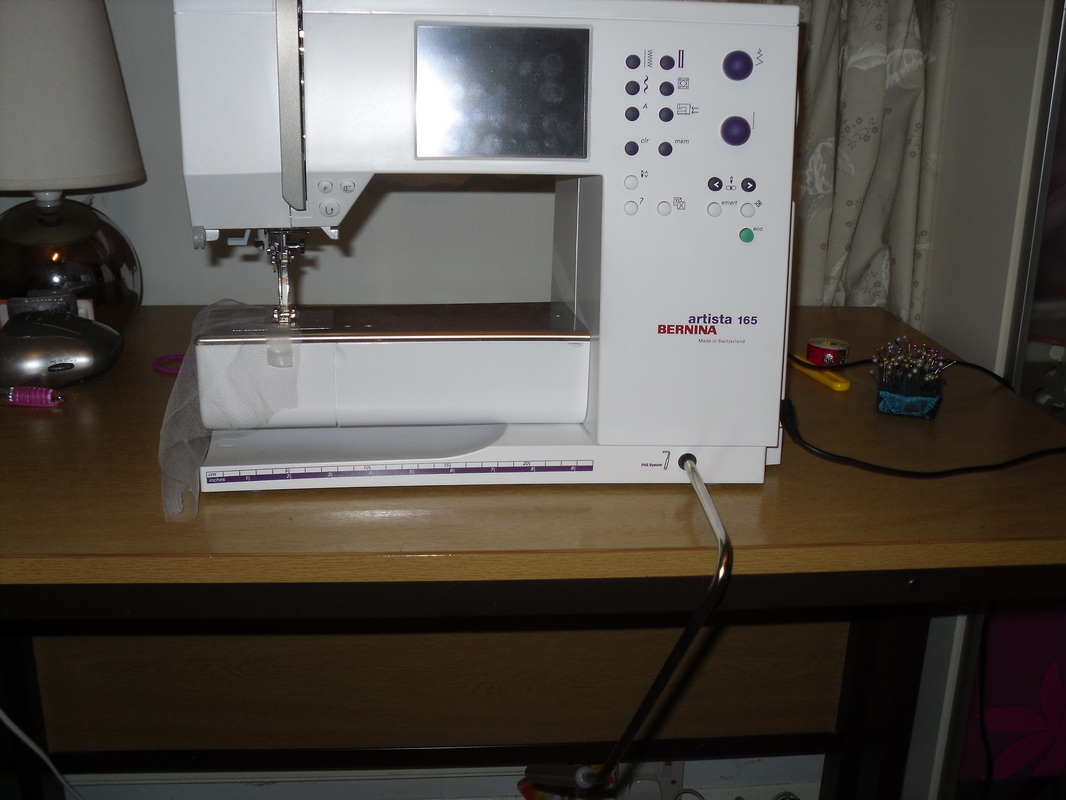
The next step was to try out a variety of stitches on my new machine until I found the one I liked. Another function of my new machine was the knee lift for the foot - something I wasn't sure if I'd ever use when I bought it turned out to be extremely useful very first project! Using the knee lift, I was able to position thin strips of water soluble stabliliser both under and on top of the edge of the fabric. Then stitch, stitch, stitch. You don't need to the right on the edge, its easier to stitch a little way in and trim afterwards. I found I needed to apply a bit of tension to the fabric to get it to feed through properly, as the fabric was so thin.
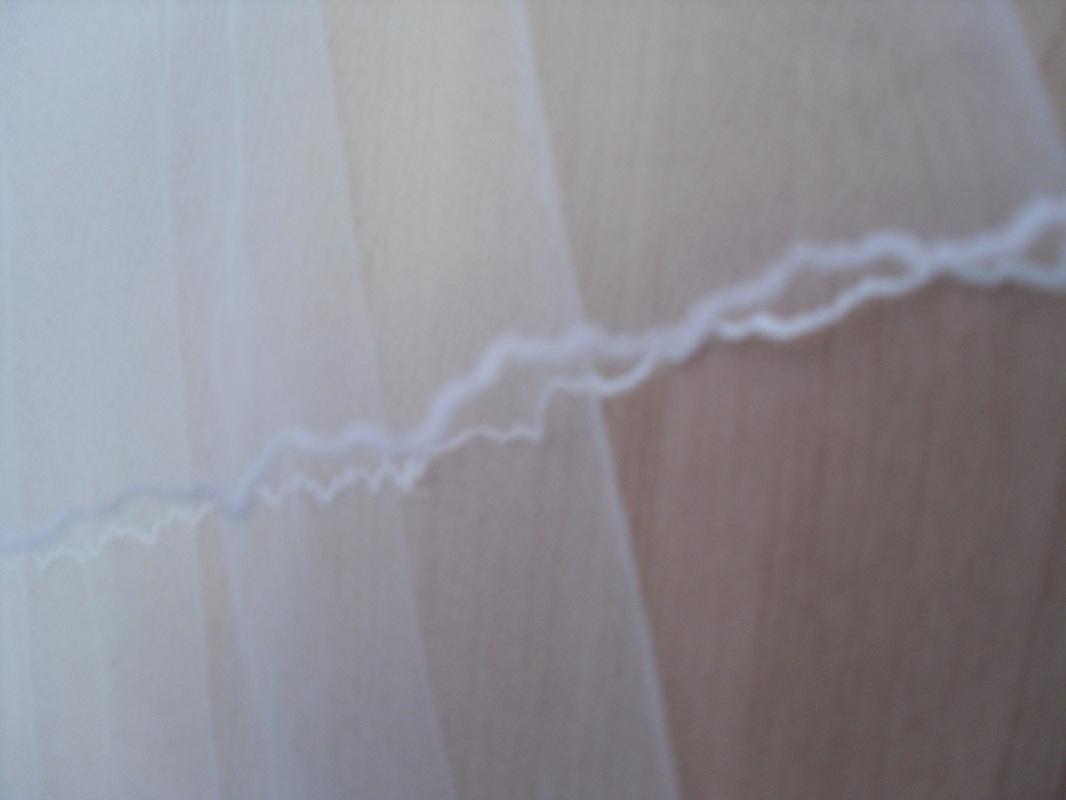
After stitching all the way around, trim the edge close to the stitching. Then trim the stabilizer as close as you can to the stitching on the inside of the veil. This is because the stablizer takes a LOT of washing out if you don't want to get left with fabric which is either stiff or sticky, so the less of it there is left the better.
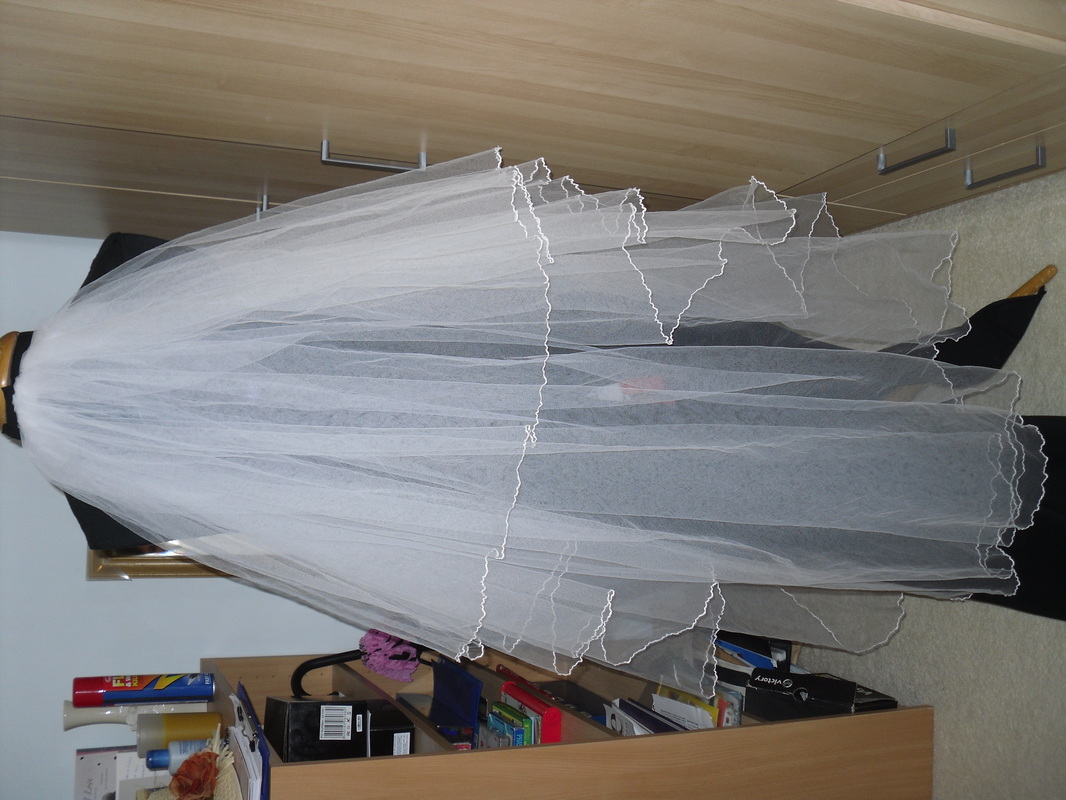
Finally, wash out the stabilizer, iron the tulle (carefully using a press cloth!) and gather the tully o
The next step was to try out a variety of stitches on my new machine until I found the one I liked. Another function of my new machine was the knee lift for the foot - something I wasn't sure if I'd ever use when I bought it turned out to be extremely useful very first project! Using the knee lift, I was able to position thin strips of water soluble stabliliser both under and on top of the edge of the fabric. Then stitch, stitch, stitch. You don't need to the right on the edge, its easier to stitch a little way in and trim afterwards. I found I needed to apply a bit of tension to the fabric to get it to feed through properly, as the fabric was so thin.
After stitching all the way around, trim the edge close to the stitching. Then trim the stabilizer as close as you can to the stitching on the inside of the veil. This is because the stablizer takes a LOT of washing out if you don't want to get left with fabric which is either stiff or sticky, so the less of it there is left the better.
Finally, wash out the stabilizer, iron the tulle (carefully using a press cloth!) and gather the tully o


 RSS Feed
