FarAboveRubies
  • Blogs
    • Blog
    • My Wedding Dress
  • Gallery
    • Formal Wear Gallery
    • Historical Costume Gallery
    • Theatre Gallery
  • Shop

Sewing Day 4

4/26/2011

0 Comments

 
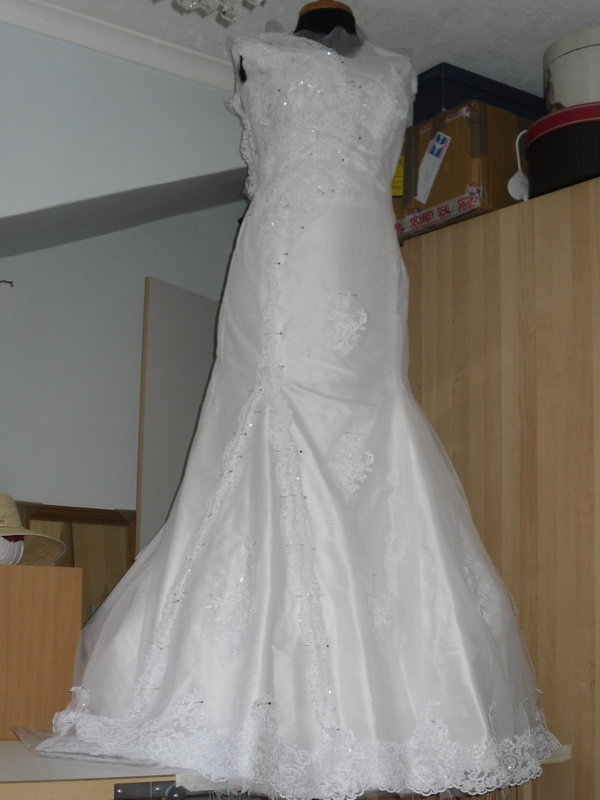
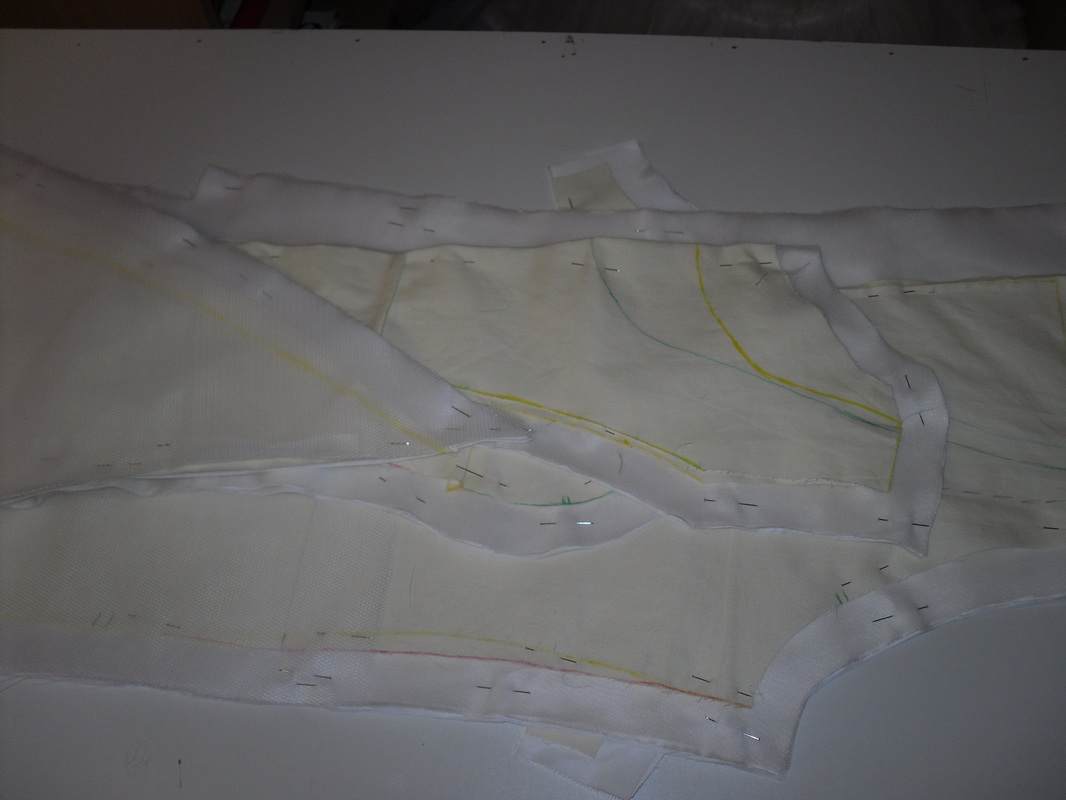
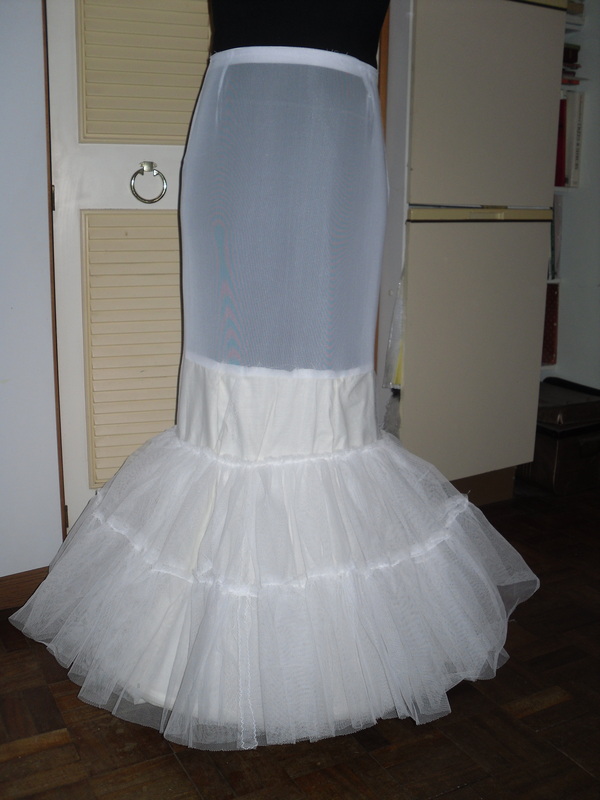
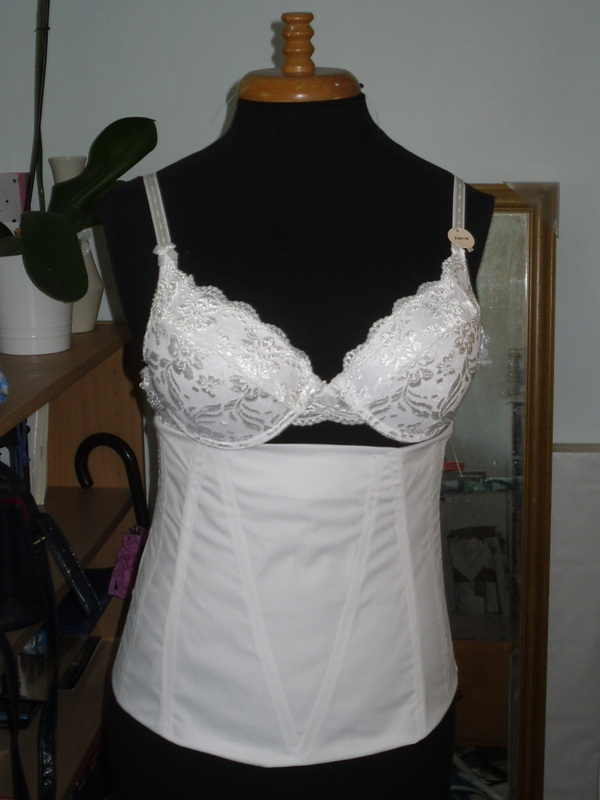
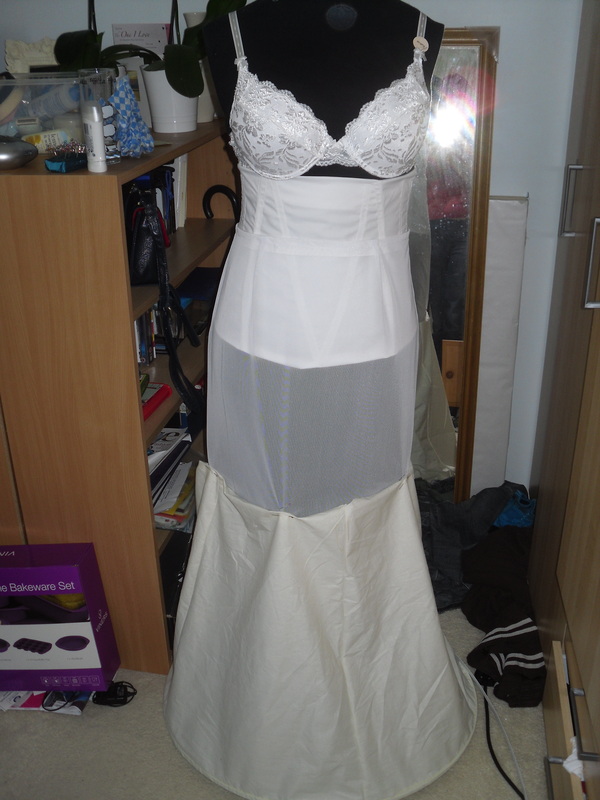
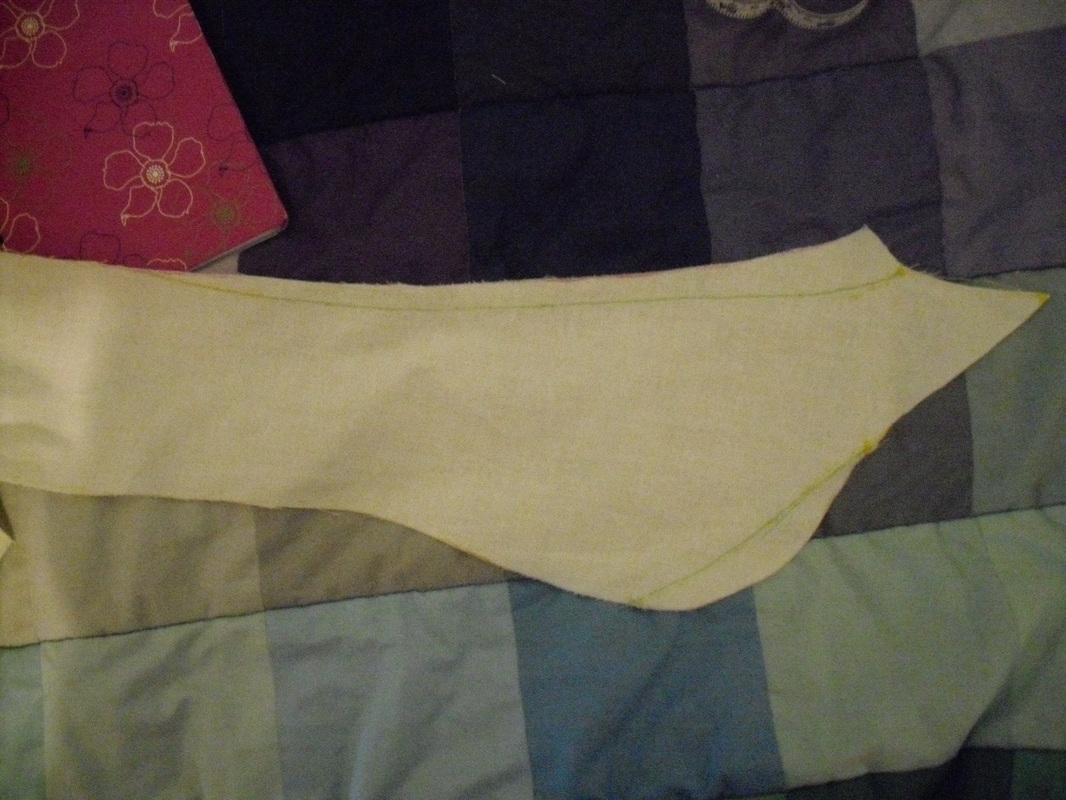
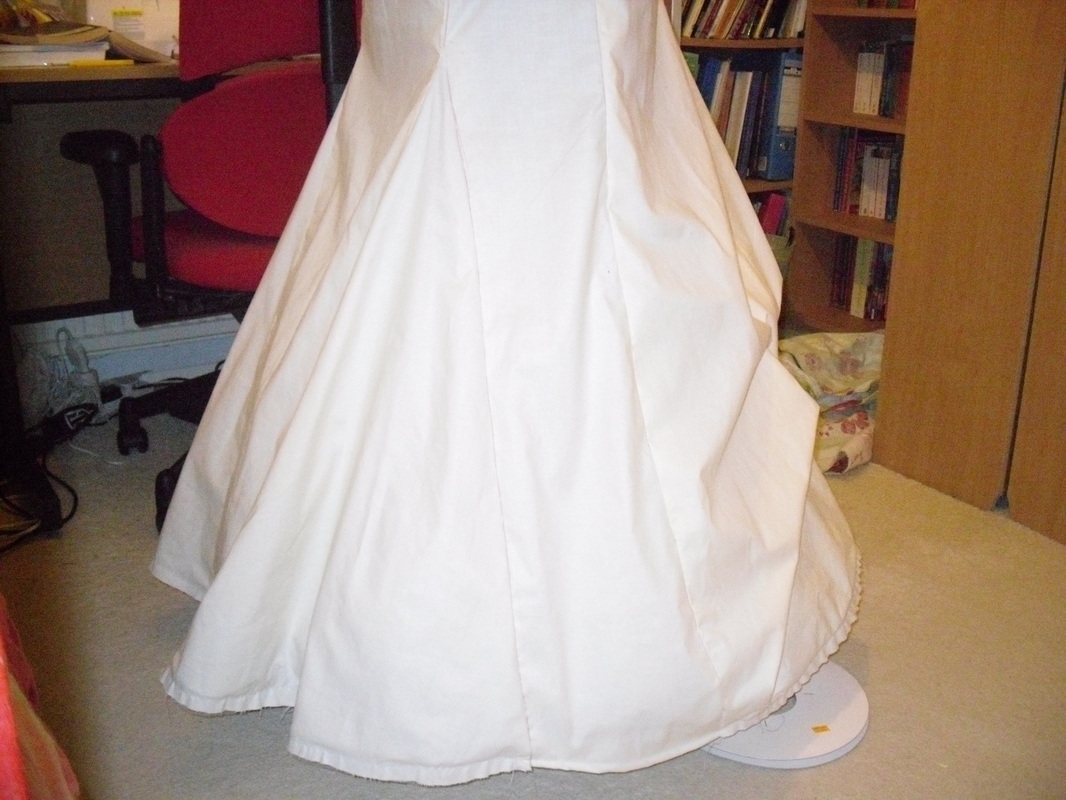
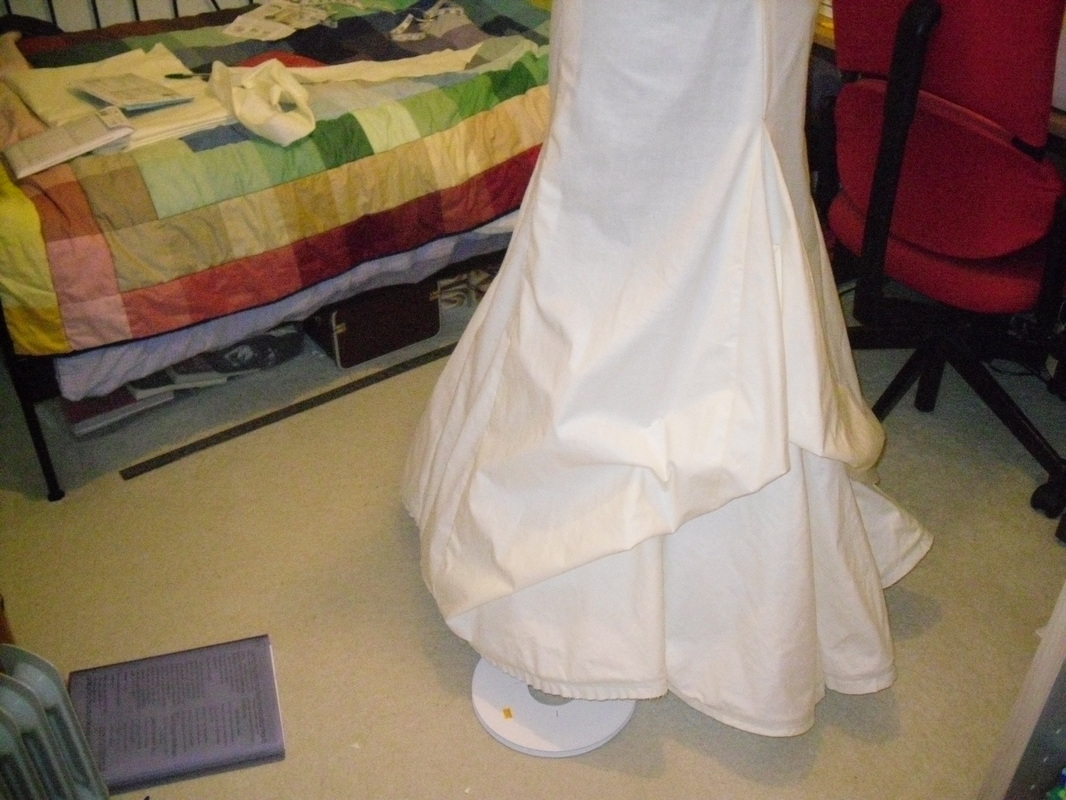
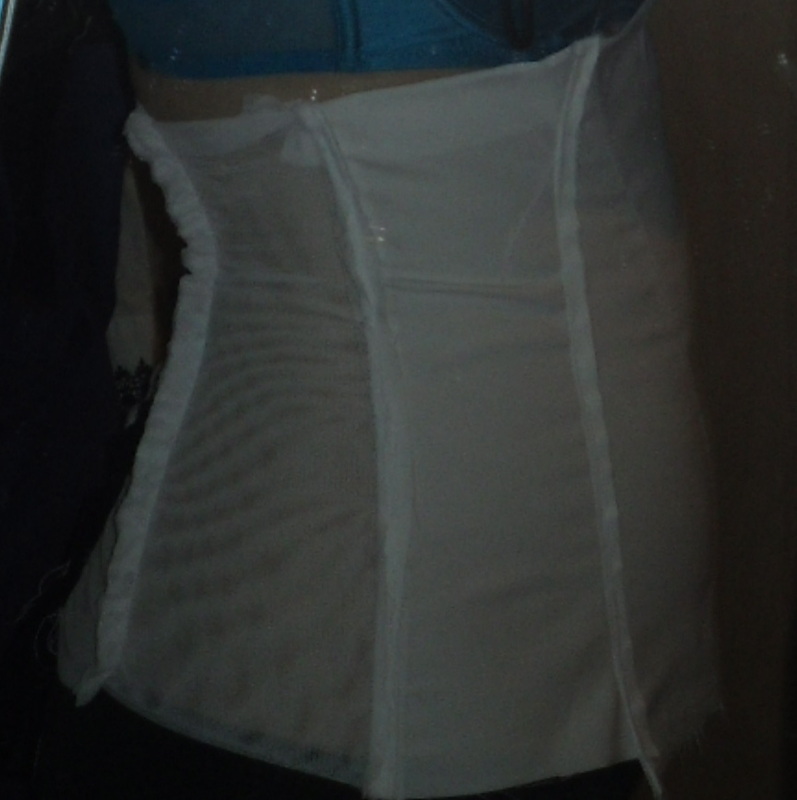
More progress! The tulle layer is now complete, the underskirt is 90% right (the train supporting section needs sorting out) and the bodice fits much better now.
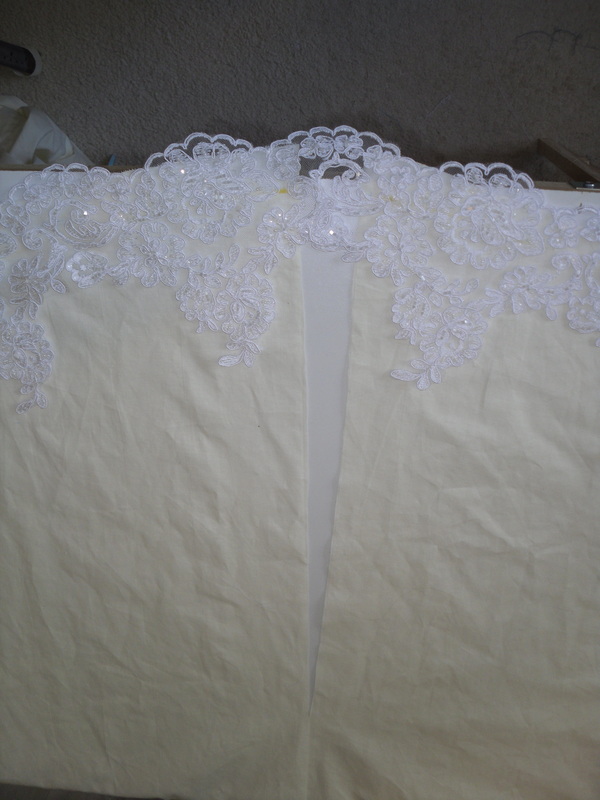
The next step is to hem the silk skirt, which I probably should have done today... but instead I but out the lace and pinned it on to see what the finished product will look like :D
Glad I did, cos I love it! I was doubting myself a bit before, but I'm excited again now. Pushing on in the evenings this week, then friday is another big sewing day - yay for the royal wedding giving me an extra bank holiday!
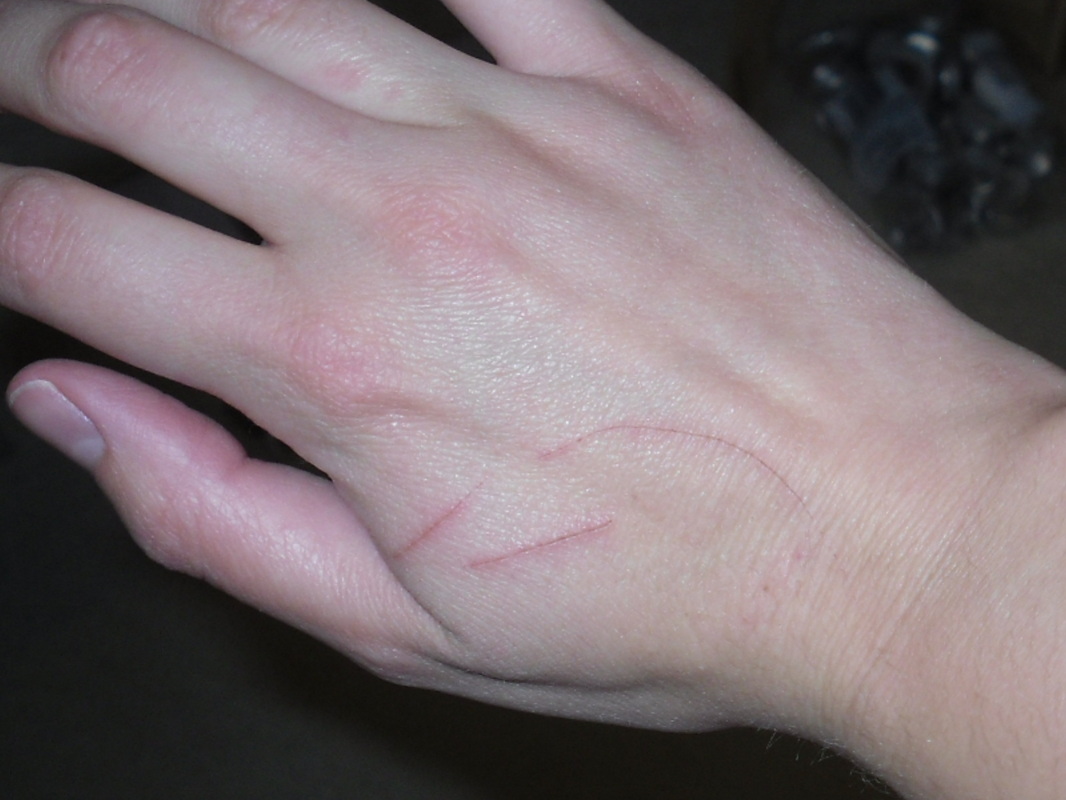
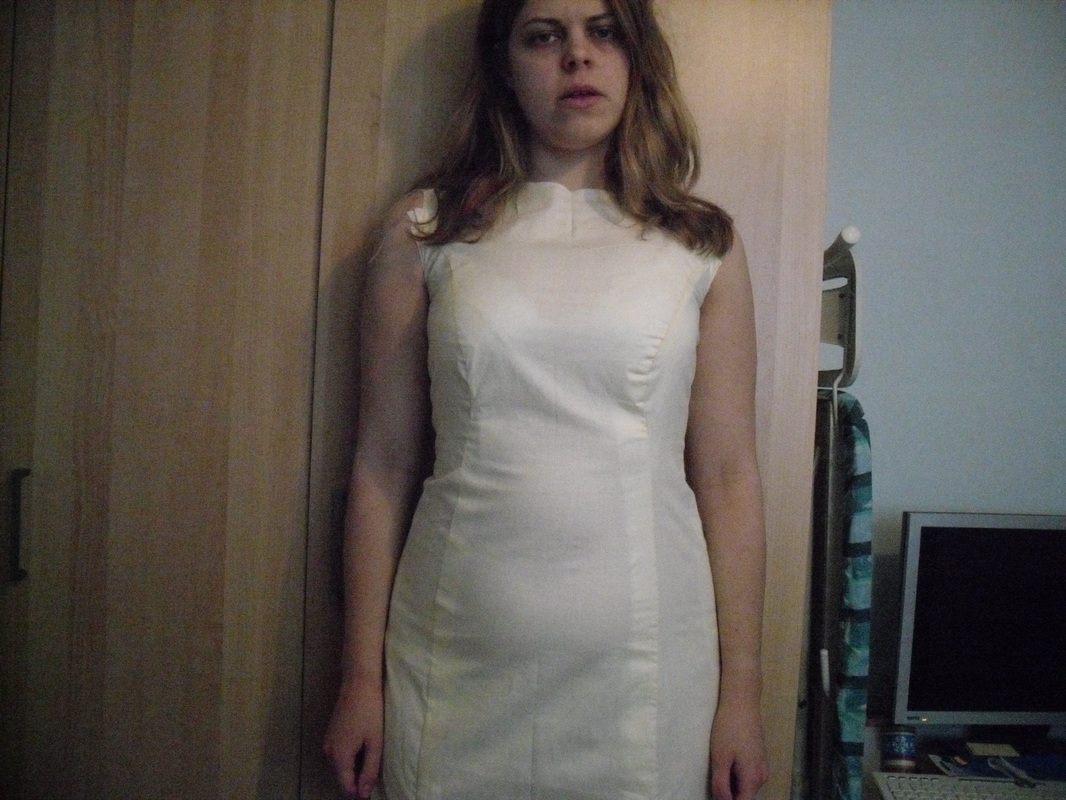
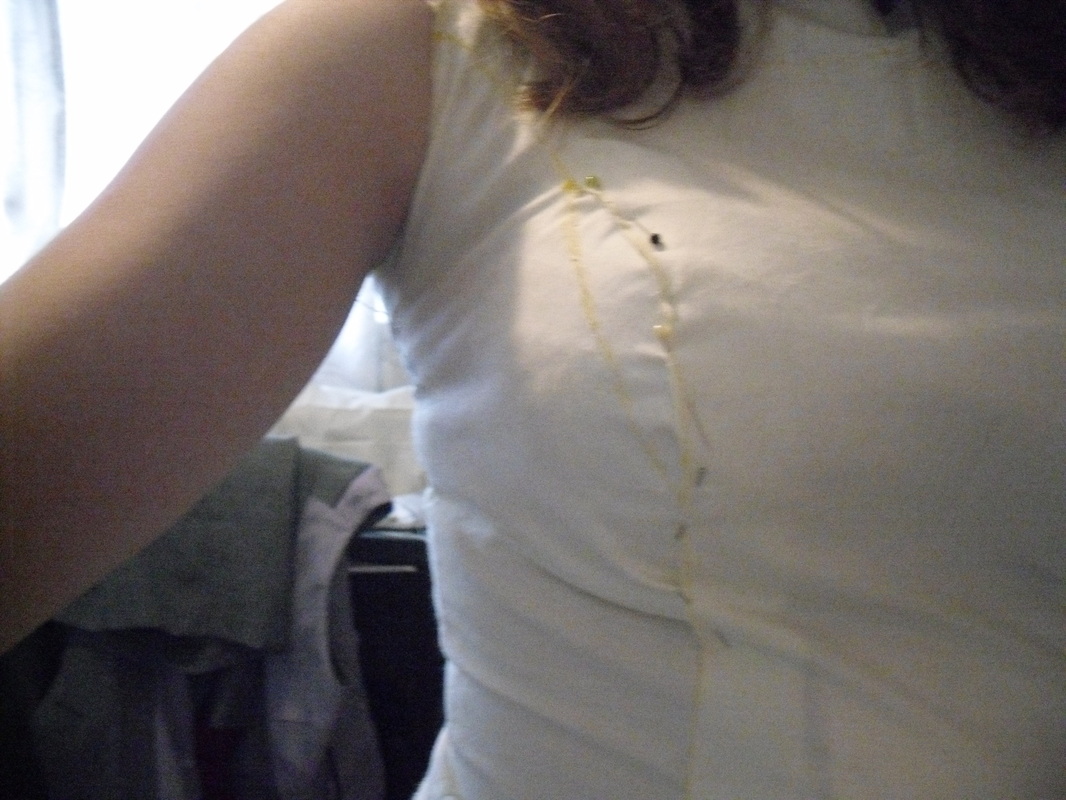
Oh, and the second picture is my industrial injury ;) Somehow, I caught my hand on a pin, then did it again about 5 minutes later. Luckily no blood on the dress :)
0 Comments

Sewing Day 2 - progress check

4/16/2011

0 Comments

 
Phew! That was a long day of sewing! But for once I achieved what I hoped to achieve :)

I worked some more on the petticoat - I'm now happy with the volume at the bottom, but made a silly miscalculation with the net which means its not wide enough 1/3 of the way down, so that need to be unpicked. I also need to replace the curtain lining with white lining fabric, but the top half is the final product.

I finished the mockup, including marking necklines and adding sleeves. I foolishly didn't take pictures before I cut it apart to use as a pattern. Oh well! I then adjusted a couple of pieces to line up with the scalloped edges properly - I need the points to fall on seam lines to meet up with the lace which will cover the seamlines.

Last but by no means least, I cut out: 2 layers of tulle, a layer of silk, a layer of lining fabric and interlining - dress net for below the waist and cotton lawn for above the waist. My back is gonna ache tomorrow!

Progress check:
Mockups
Before anything else, complete as many mock-ups as necessary to make sure the pattern design and fit is perfect.  DONE
Calculate yardages required using perfected mockup DONE (ok, mockups not finished but its close enough)
After purchasing lace, adjust pattern if necessary to place points of scallops over seams. DONE

Shopping
Foundation materials
-White Coutil (Purchased, www.fabricland.co.uk)
-Wide Plastic Boning (Purchased, fabricland)
-Narrow Plastic Boning (Purchased, Fabricland)
-Power Net (Purchased, fabricland)
-Hook and Eye tape (Purchased, Fabricland)
-Silk Dupion for lining (Purchased, Silk Baron)

Interior Fabrics
-Polyester lining (Purchased, Fabricland)
-Dress net to interline Skirt (Purchased, fabricland)
-Cotton Lawn to interline bodice (Purchased, fabricland)
-Horsehair Braid for hem (Purchased, fabricland)

Outer Fabrics
-Power woven White silk Dupion or Duchesse Satin (Purchased, Silk Baron)
-Tulle (Purchased, Fabricland)
-Lace (Purchased, Carrington Bridal)
  – must have a Scalloped edge, between 6” and 10” deep, the deeper the better
  - Must have (or be pieced to) long strips, 2-3" wide, which can be used for        covering seams.
  - Must have motifs which can be used to decorate skirt panels - about 7" long, more than one design would be great
   - Must be able to peice together to completely cover bodice and sleeves
Narrow Piping cord for Roleux loop (Purchased, Fabricland)
Cover buttons (Purchased, Fabricland)
Zip (Purchased, Fabricland)

Inner structure
Cut out coutil DONE
Cut out Power Net DONE
Cut out lining DONE
Assemble Mostly done - bottom edge left unfinished in case adjustments are required.
Add Boning DONE
Add Hooks and Eyes DONE

Petticoat
Draft Pattern DONE
Cot out and assemble
Add net
Add detachable train support

Lining
Cut out lining DONE
Assemble lining
Attach Lining
Attach zip
Attach inner structure to lining at side seams

Dress
Cut out Fabric DONE
Cut out interlining DONE
Cut out Net DONE
Hand tack interlining to fabric
Hand tack lace to fabric to Godet level, front and back seams
Stitch seams to Godet level, front and back seams
Apply Godet to net
Apply godet to fabric
Stitch and Trim side seams in net
Stitch side seams in fabric
Make and apply rolleaux button loops
Cover Buttons DONE
Stitch on buttons
Make sleeves
Attach sleeves
Cut skirt facing strips
Apply facing and horsehair to hem of skirt

Trimming
Cut out lace
Pin on lace
Allow to stretch and reposition
Attach lace
0 Comments

Sewing day 1 - lunchtime

4/8/2011

0 Comments

 
So now I'm officially engaged I've booked myself 4 sewing days over the next 4 weeks, and today is the first one.
Its lunchtime so I'm taking a break to collect my thoughts, and then going to collect me new sewing machine :) So what've I done today? So far, I've worked on the foundation garments and the fit of the mockup.
I basically took apart the underbodice that I'd made and reassembled it, using white hook and eye tape, replacing the boning (which had got rather bent up form being stored in a box), and replacing the powernet with a slightly larger panels and with a nice neat, seams on the inside finish. Its not finished off but I'm happy with the fit and shape now.
The second foundation garment I've realized I need is a petticoat. I used left over powernet to make the top section of the petticoat, darting it at the waist and using wide elastic as a waistband. This will be worn under the underbodice so hopefully it wont show through. The bottom section isn't wide enough yet, I plan to add two more panels and angle the panel more to keep it the same at the top. I think I'll add an extra row of steel at the bottom to make it a little stronger, and then net over the top to stop any lines showing.

The other thing I've done is work on the fit of the bodice. I fixed one problem a week ago - the fact that it was just too tight on the bust. It didn't actually look bad but it felt bad, and I discovered when I tried it on with the seams over the bust unstitched that the problem was that the curve of the bust started too low down, so my boobs were being squashed down. I pinned it with it on and redrew the seam lines, feel much better now!
The remaining problem was an annoying wrinkle under my boobs which appeared whenever I stood less than perfectly straight. With the help of my mum, I figured out that it was due to the front being too long (now I write this I realise its probably related to the problem above), an we fixed it with a 1cm horizontal tuck across the front.
And finally, a couple of pictures of the skirt over the hoop, trying out bustleing.
0 Comments

First Corselet Mock Up

3/5/2011

0 Comments

 
So this is my first attempt at the underbodice - I was actually surprised with how effective it was, it really did flatten my tummy without feeling too uncomfortable.
The pattern ws made by drawing in underbust and low hip cutting lines on the pattern I came up with below, cutting the coutil exactly to this pattern and the powernet about half this size.
The instructions I followed are here
However, I do think its a little too tight - its difficult to do up, and even more difficult to swivel round after I've done it up at the front. I think the coutil section is fine, its the powernet that needs more space - I guess since powernet comes in different strengths this is something that probably just comes down to trial and error.
It also needs boning added at the back to keep it from bunching up vertically, and I need to find white lingery elastic to finish the edges of the powernet.
0 Comments

    Author

    Ok, this is my secret wedding dress blog. I guess its mostly for my benefit, as a place where I can keep things, although I may share with a select few before the big day!

    Hey you! ;)

    According to the 'stats' people are looking at this site - I'd love to know who you are! Please feel free to comment :)

    Archives

    January 2012
    September 2011
    July 2011
    June 2011
    May 2011
    April 2011
    March 2011
    February 2011
    January 2011

    Categories

    All
    Accessories
    Bridesmaid
    Construction
    Fabric
    Foundation
    Mock Ups
    Nothing To Do With The Dress
    Planning

    RSS Feed

Powered by
✕