So in my last post I shared some of my dressing gown inspiration. After some searching on the internet I found this blog post
which gave me the clues I needed to draft the pattern. I started with my basic bodice and skirt blocks.
For the back bodice, I ignored the shoulder darts (as a lower armhole is appropriate for a dressing gown anyway) and kept the waist darts as they are.
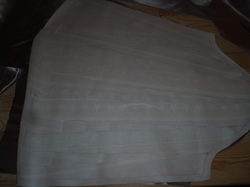
For the front bodice, I pivoted both the darts to the side just under the armhole, and drew a straight line from the neckline at the shoulder to 10 cm across from the centre at the waistline.
For the skirt, I pivoted out the darts to create an A-line skirt shape, then added the 10cm band at the centre front.
The gown was assembled using french seams, and binding used to finish the armhole. I added a wide bias strip around the front edges of the gown to finish the edges.
which gave me the clues I needed to draft the pattern. I started with my basic bodice and skirt blocks.
For the back bodice, I ignored the shoulder darts (as a lower armhole is appropriate for a dressing gown anyway) and kept the waist darts as they are.
For the front bodice, I pivoted both the darts to the side just under the armhole, and drew a straight line from the neckline at the shoulder to 10 cm across from the centre at the waistline.
For the skirt, I pivoted out the darts to create an A-line skirt shape, then added the 10cm band at the centre front.
The gown was assembled using french seams, and binding used to finish the armhole. I added a wide bias strip around the front edges of the gown to finish the edges.
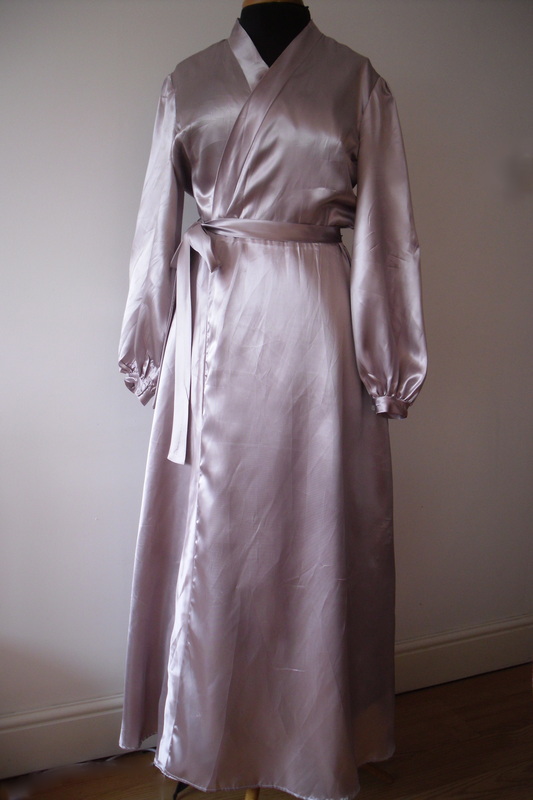
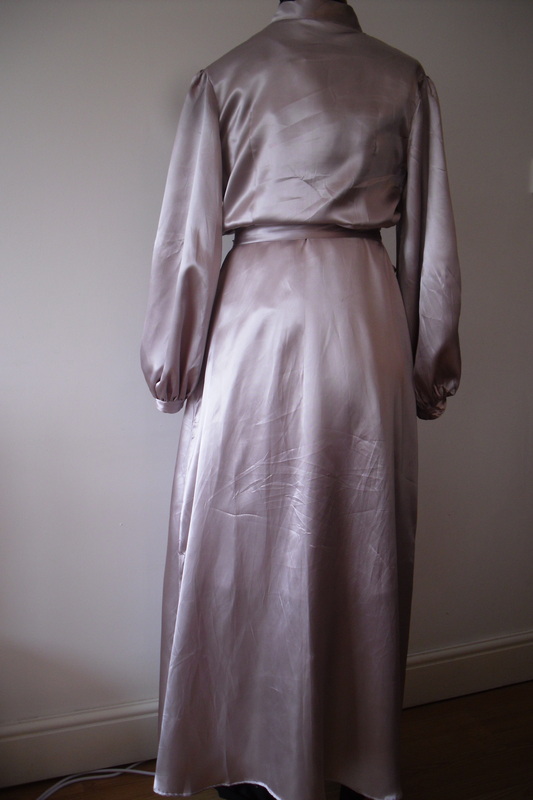
For the sleeves, I wanted something that would echo the bishop style of the Lucile robe shown in the previous post. I refered to the instructions for a bishop sleeve given in 'Metric Pattern cutting' by Winifred Aldritch. These basically consist of slashing the sleeve from wrist to shoulder and spreading the pieces out, adding more material to the back of the sleeve than to front. You then add a little bit of length (to allow the fabric to drape down), and when assembling the sleeve you gather the long wrist edge into a fitted cuff. I.m pretty pleased with the result, although if I made it again I think I'd add another inch or maybe 2 to the length of the sleeve, and I think it need to droop down just a little more. I may have to experiment with this, as I suspect the stiffness of the fabric also has an impact on how much 'poof' you get.
I decided to use some stash fabric for this project, and ended up choosing some dusky pink polyester satin. This was a mixed success - the colour was perfect, and the fabric draped beautifully and felt suitably luxurious. Unfortunately, I discovered when I wore it that the fabric creases horribly - I actually ironed it to the best of my ability before taking the photos above, but I'm not sure it'll ever be crease free again! So we'll call this one a wearable toile.
Apart from that I'm really happy with this one, it was quick and easy to make so I may well be making more of these in the future.
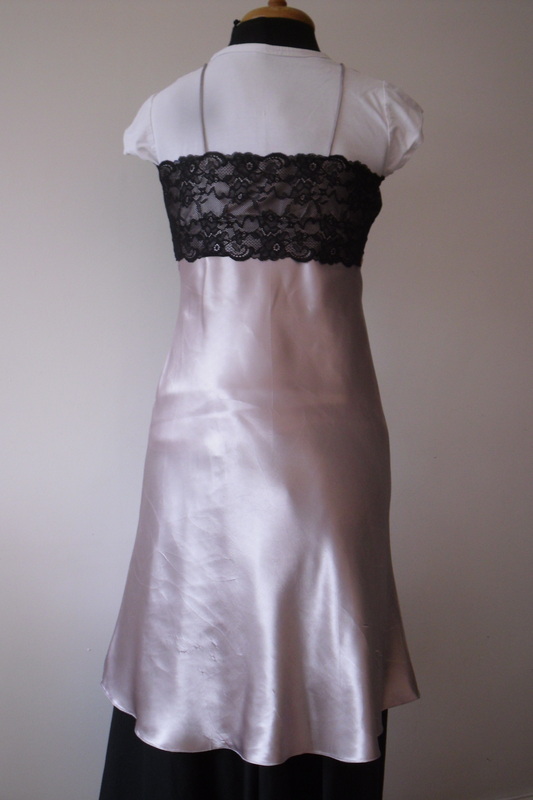
I also made a matching slip using the fantastic free ruby slip pattern.
I'm not going to tell you how I made this as the instructions on the site cover everything you could possibly need to know! As I was short on both time and money for this project, I bought 2 pair of black lace boxers in Primark and found that these gave me just enough lace to make the bodice, including matching the scallops. I did have to piece to get extra width on the sides, and make use of the stretch properties of the lace for the back.
I'm so pleased with how this turned out - the bias cut skirt hangs and fits perfectly and a slip is always useful so I'll definately be using the pattern again :)

 RSS Feed