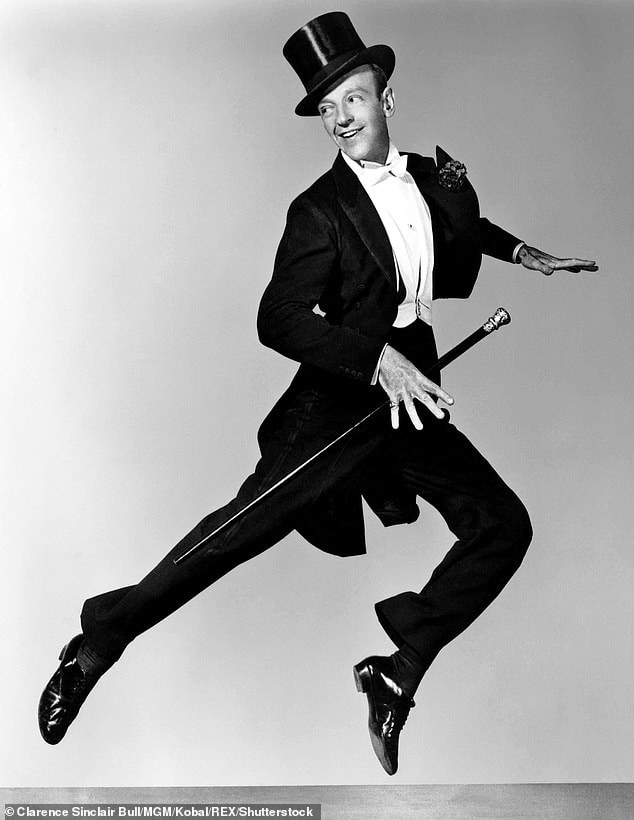
In my project introduction post I gave a link to the tailcoat pattern I was planning to use. Well, it aint it.
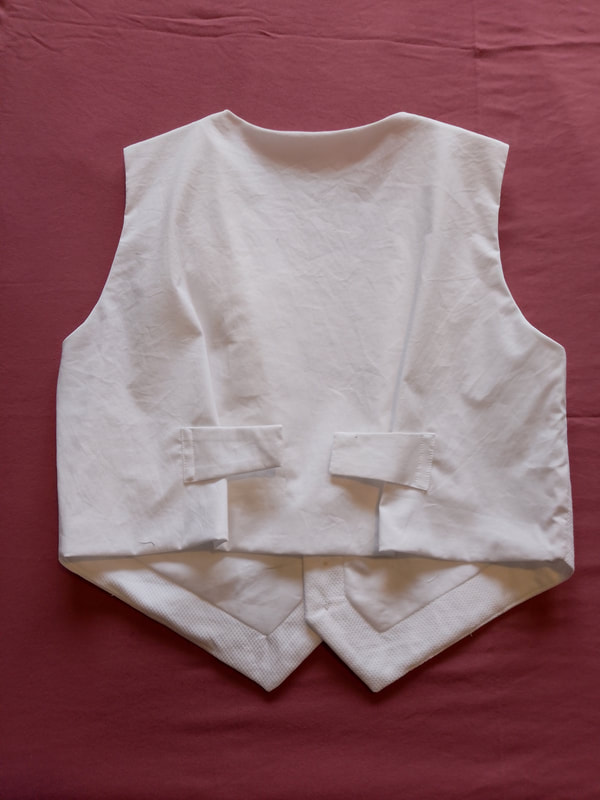
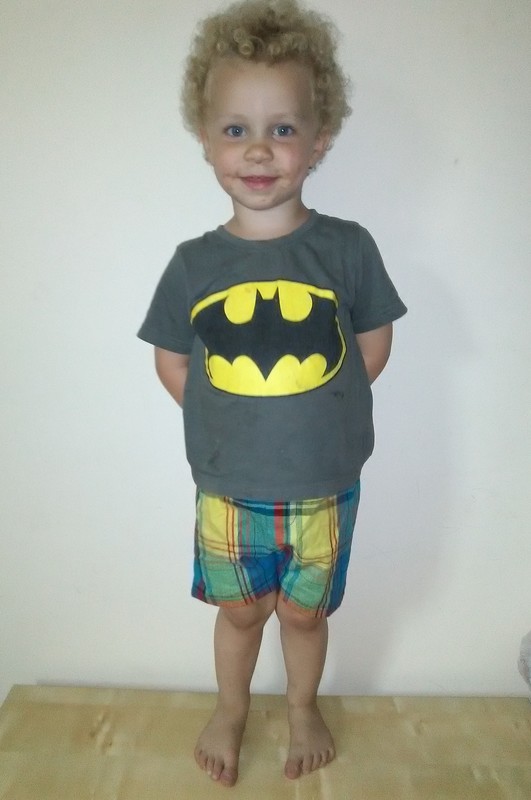
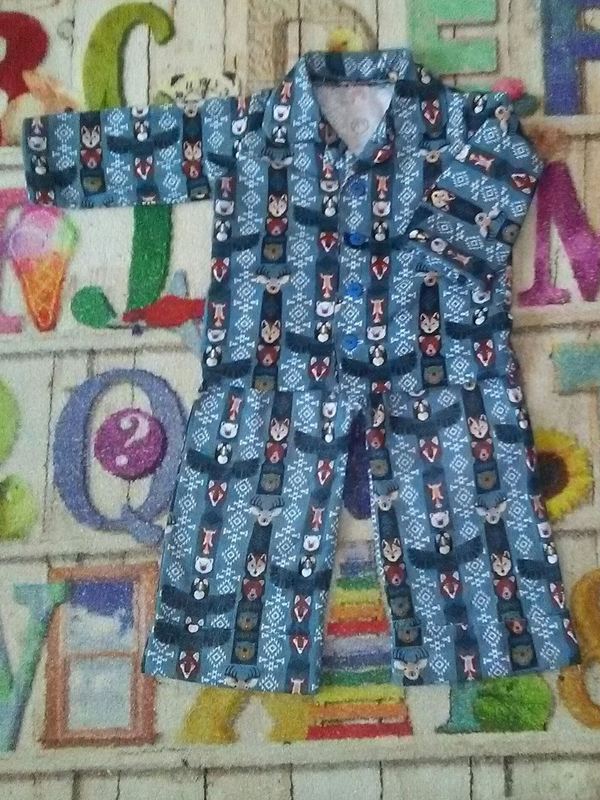
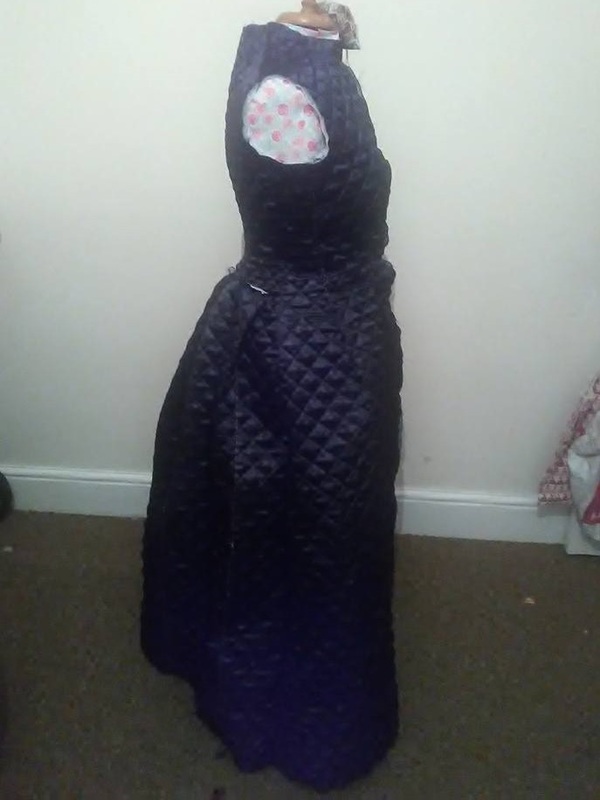
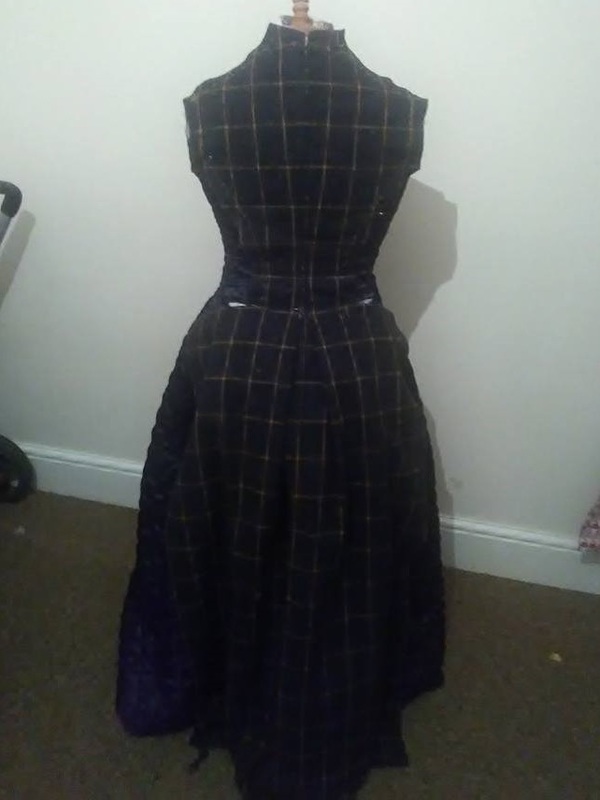
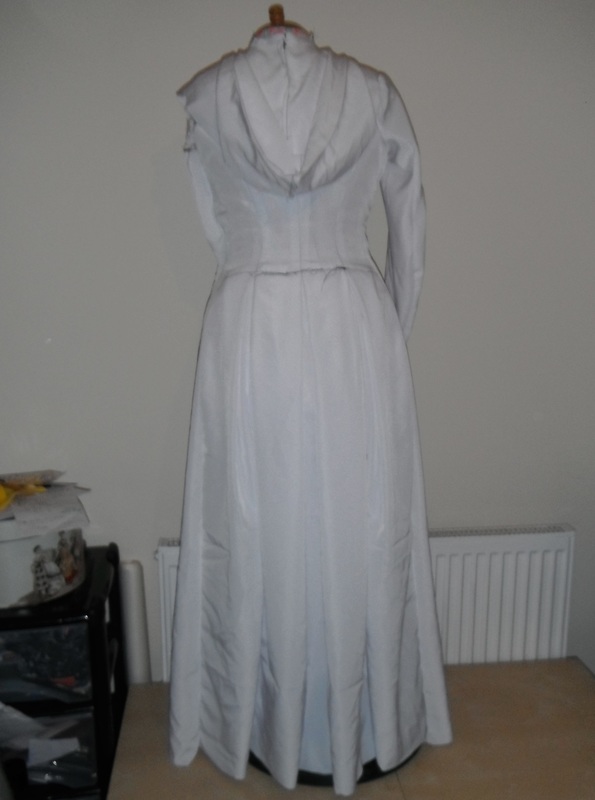
I do have to say that it turned out to be an OK fit, considering I'm using a pattern system presumably designed with adult men as it's main customers and using only a single measurement (chest circumference) to scale the entire pattern. Height and waist measurement were all pretty spot on.
I do have to say that it turned out to be an OK fit, considering I'm using a pattern system presumably designed with adult men as it's main customers and using only a single measurement (chest circumference) to scale the entire pattern. Height and waist measurement were all pretty spot on.
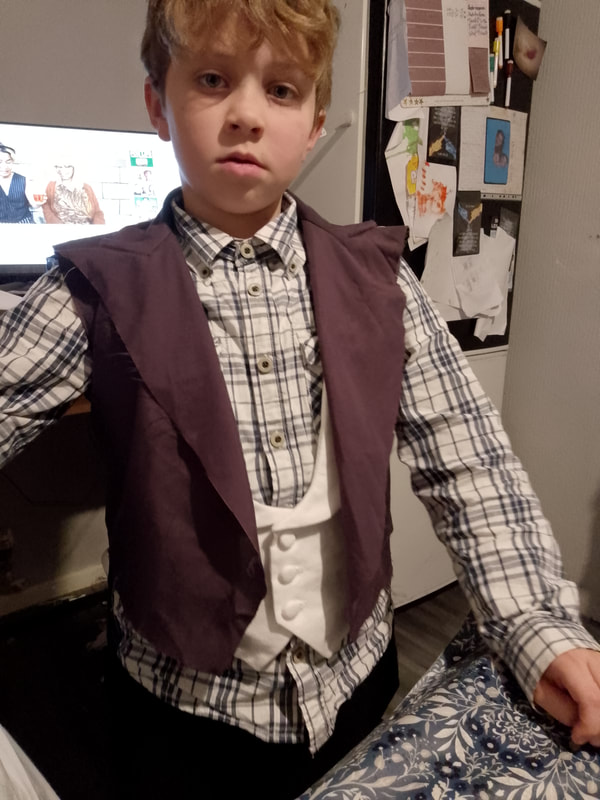
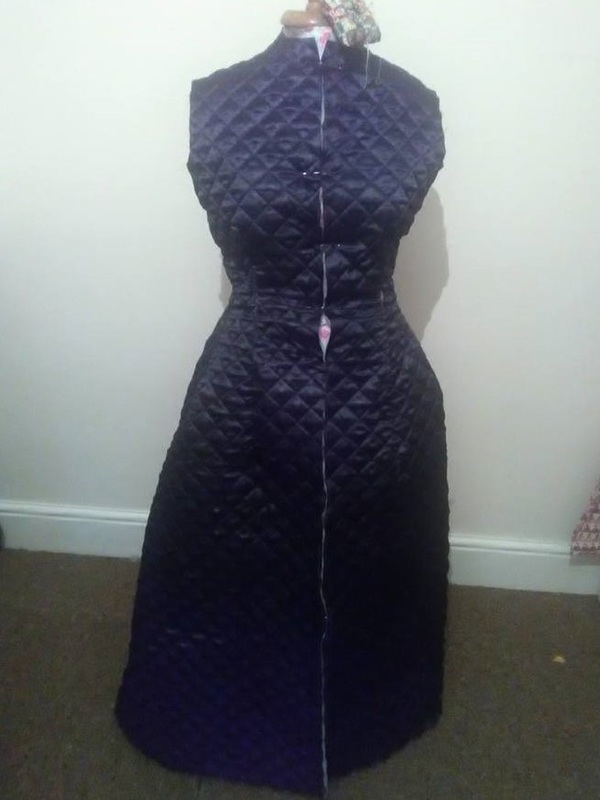
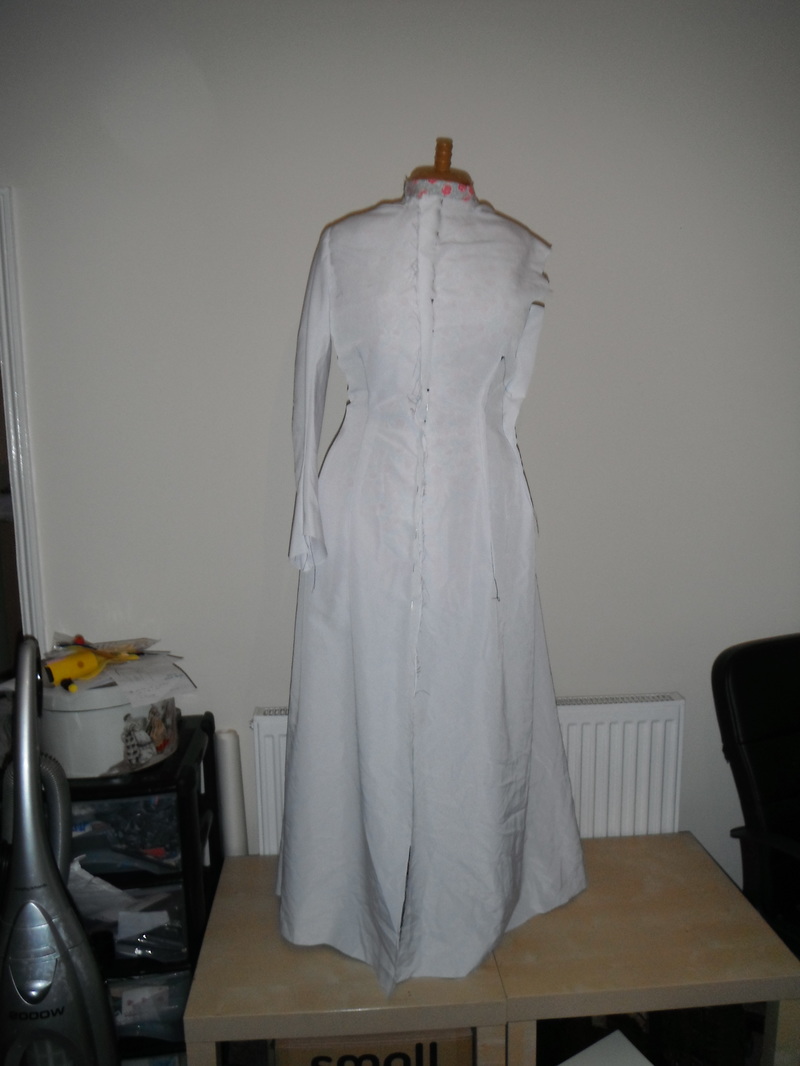
Sorry for the messy kitchen backdrop, this was a quick shot for me to look at and think about what to do next!
If I was making a quick costume rather than trying to create something elegant and beautiful, I would totally use this pattern.
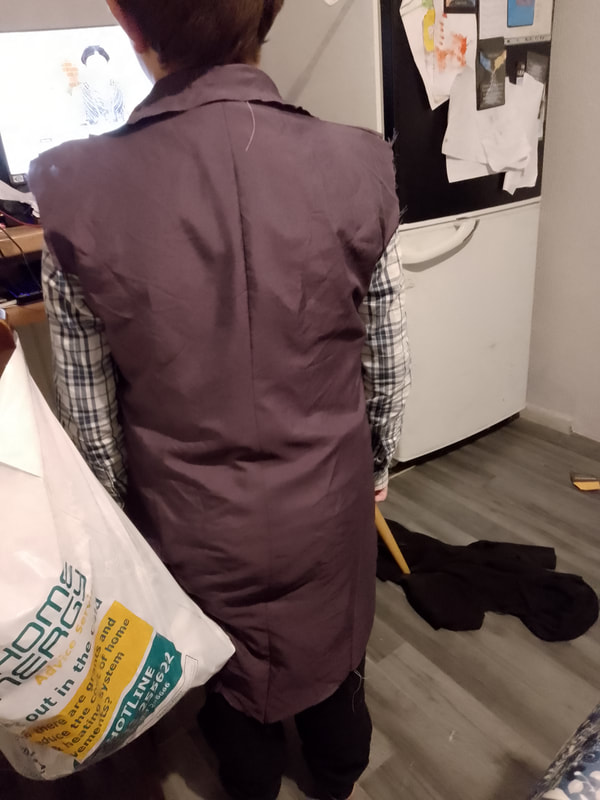
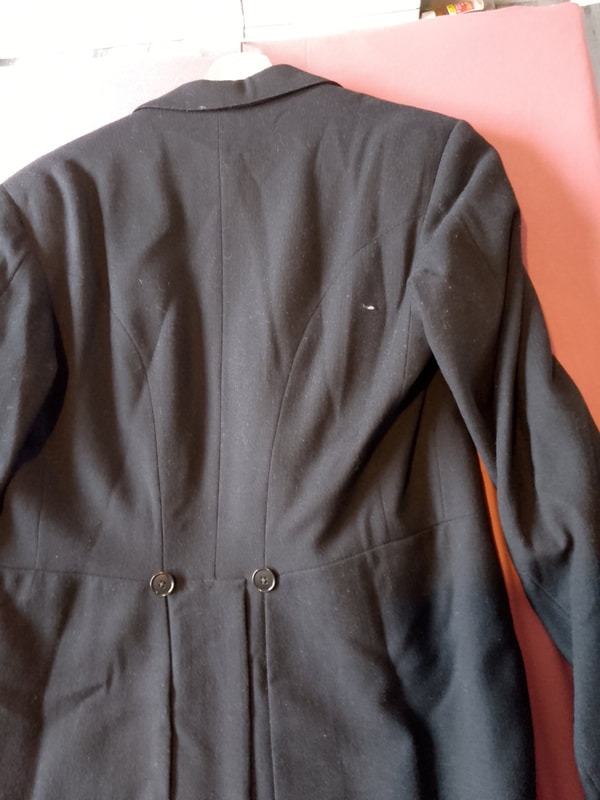
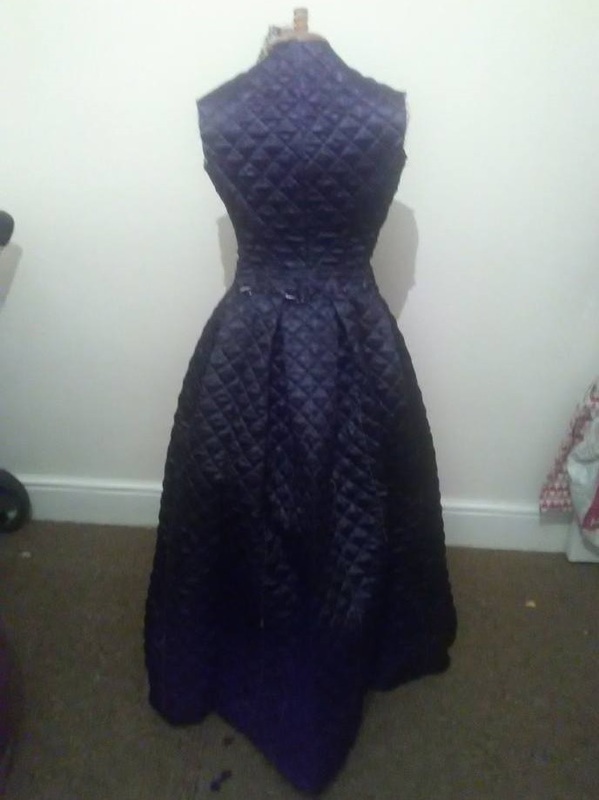
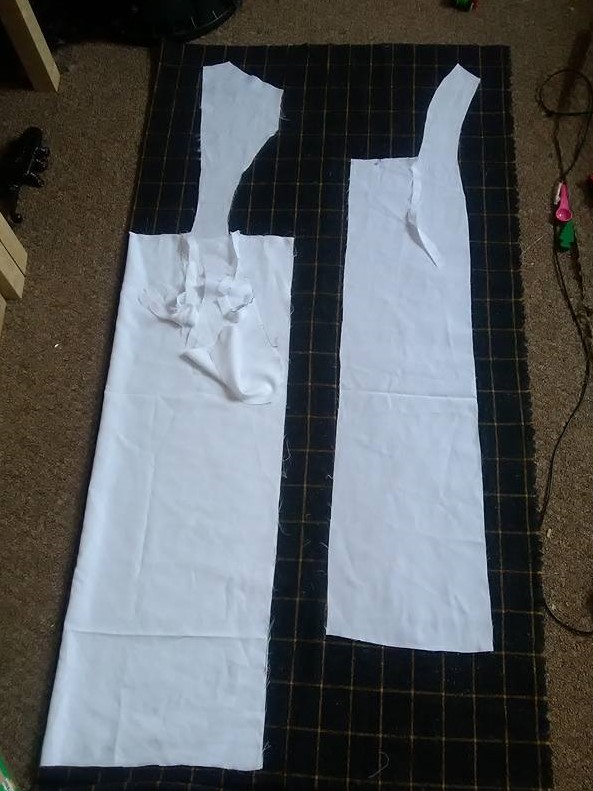
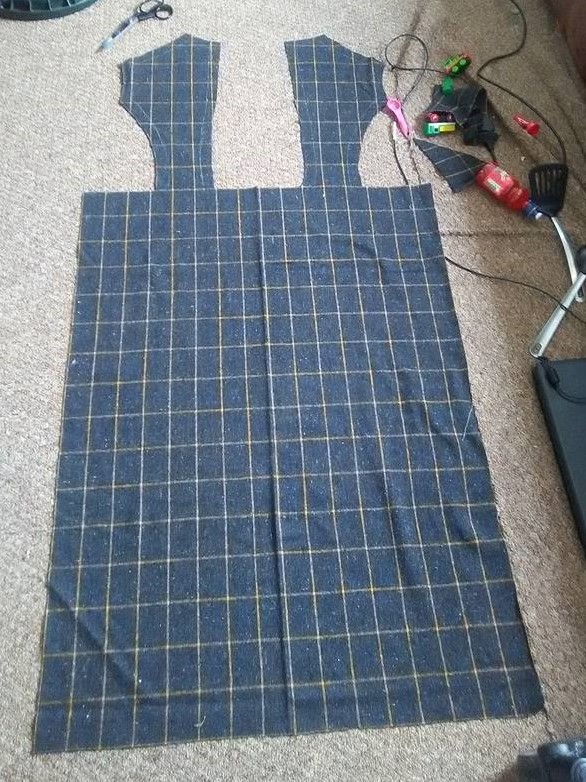
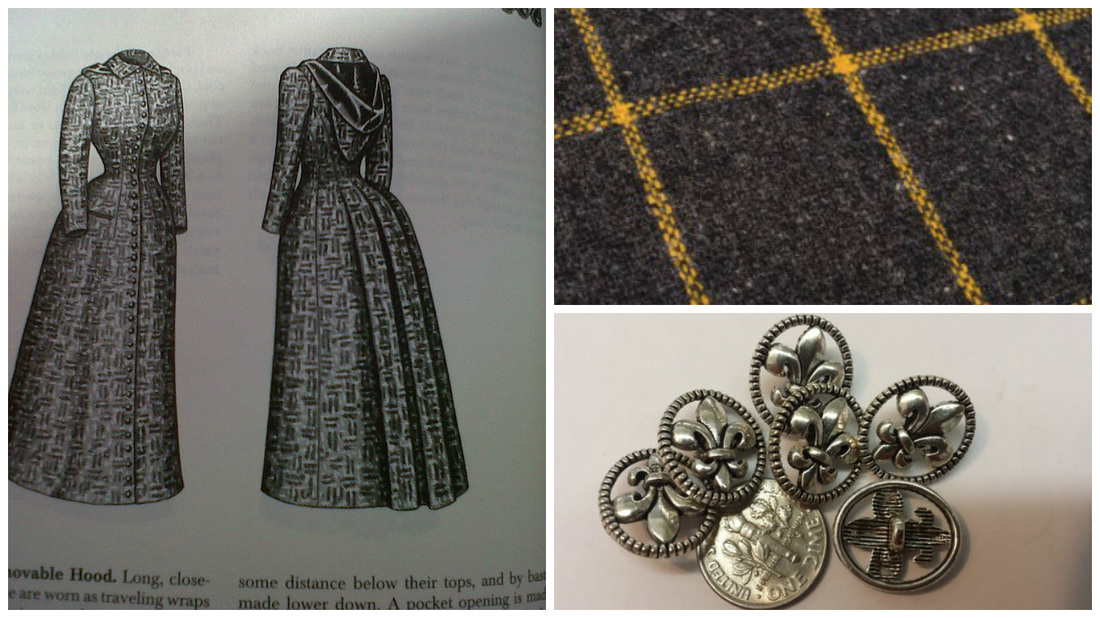
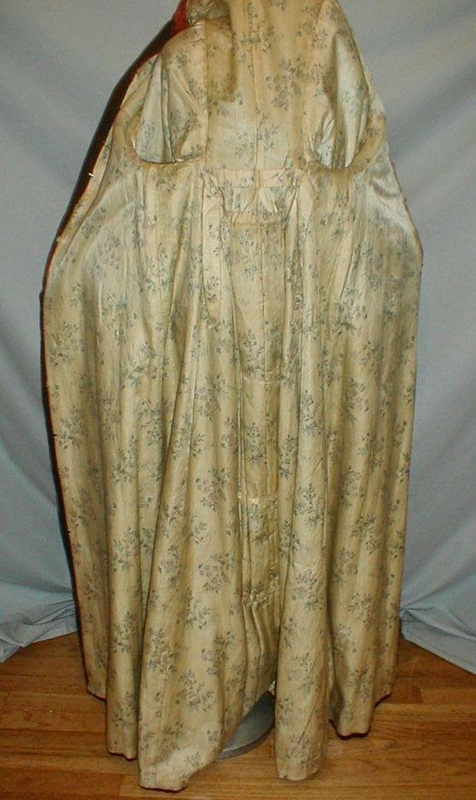
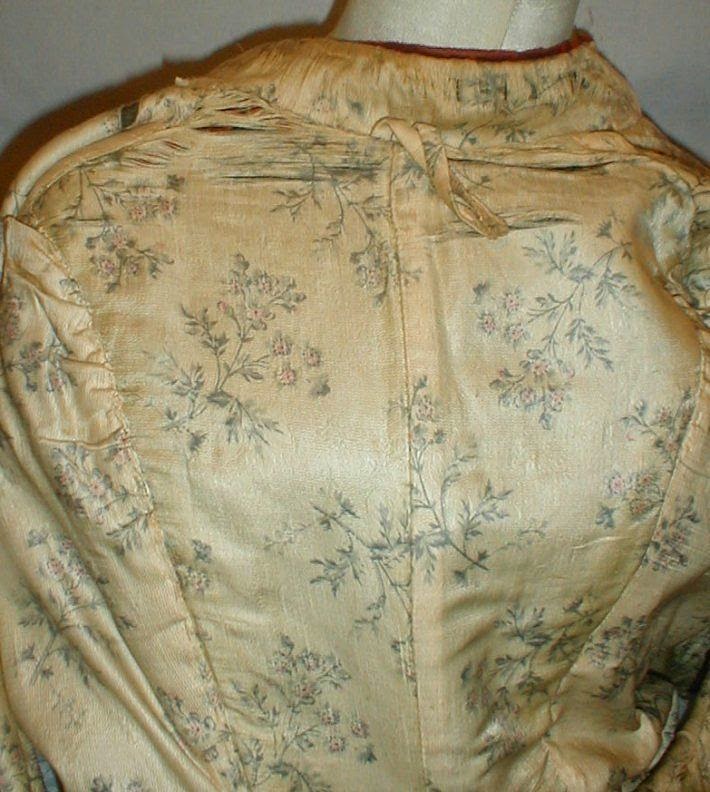
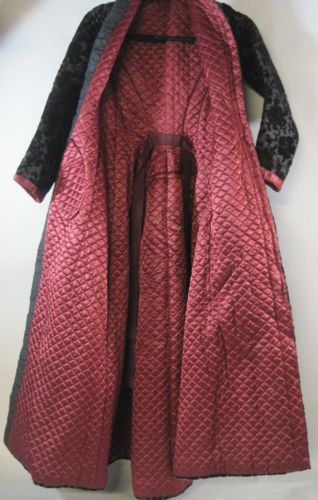
But... it just doesn't have those elegant tailcoat lines. The back is cut in a single piece with none of the lovely shaping that the inspiration tailcoat has.
If I was making a quick costume rather than trying to create something elegant and beautiful, I would totally use this pattern.
But... it just doesn't have those elegant tailcoat lines. The back is cut in a single piece with none of the lovely shaping that the inspiration tailcoat has.
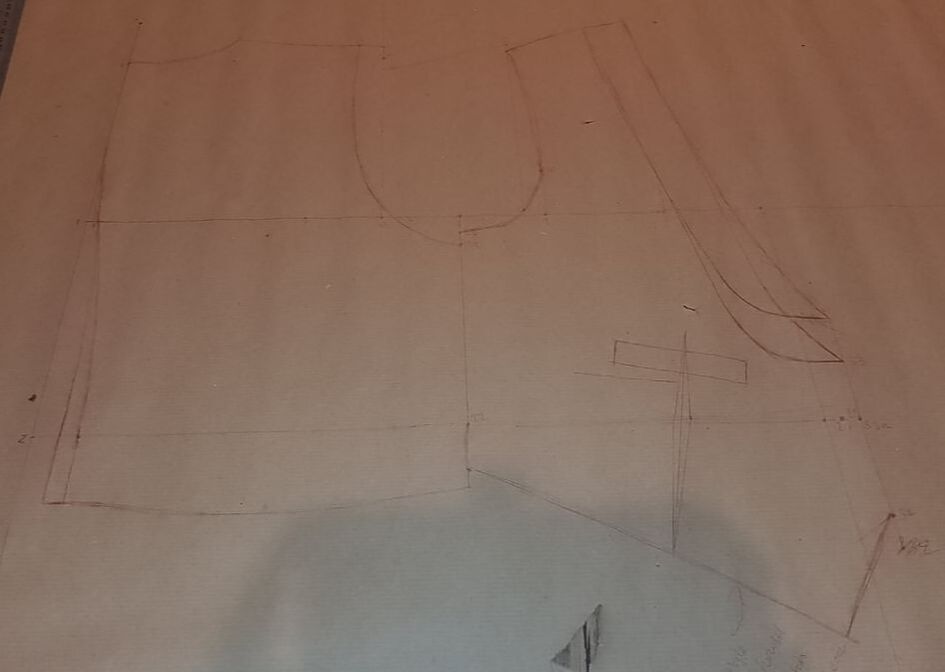
So, on to plan B. I spent an hour or two searching for online drafting instructions, found some diagrams with the right shapes but none which also included the directions for drafting. But I did stumble upon the fabulous tailor and cutter forum hosted at movsd.com/BespokeCutter/index.php and the kind people there pointed me to the diagrams and instructions I need!
Results of the next attempt coming soon.
Results of the next attempt coming soon.


 RSS Feed